How To Decorate a Christmas Tree
by SpAlGa
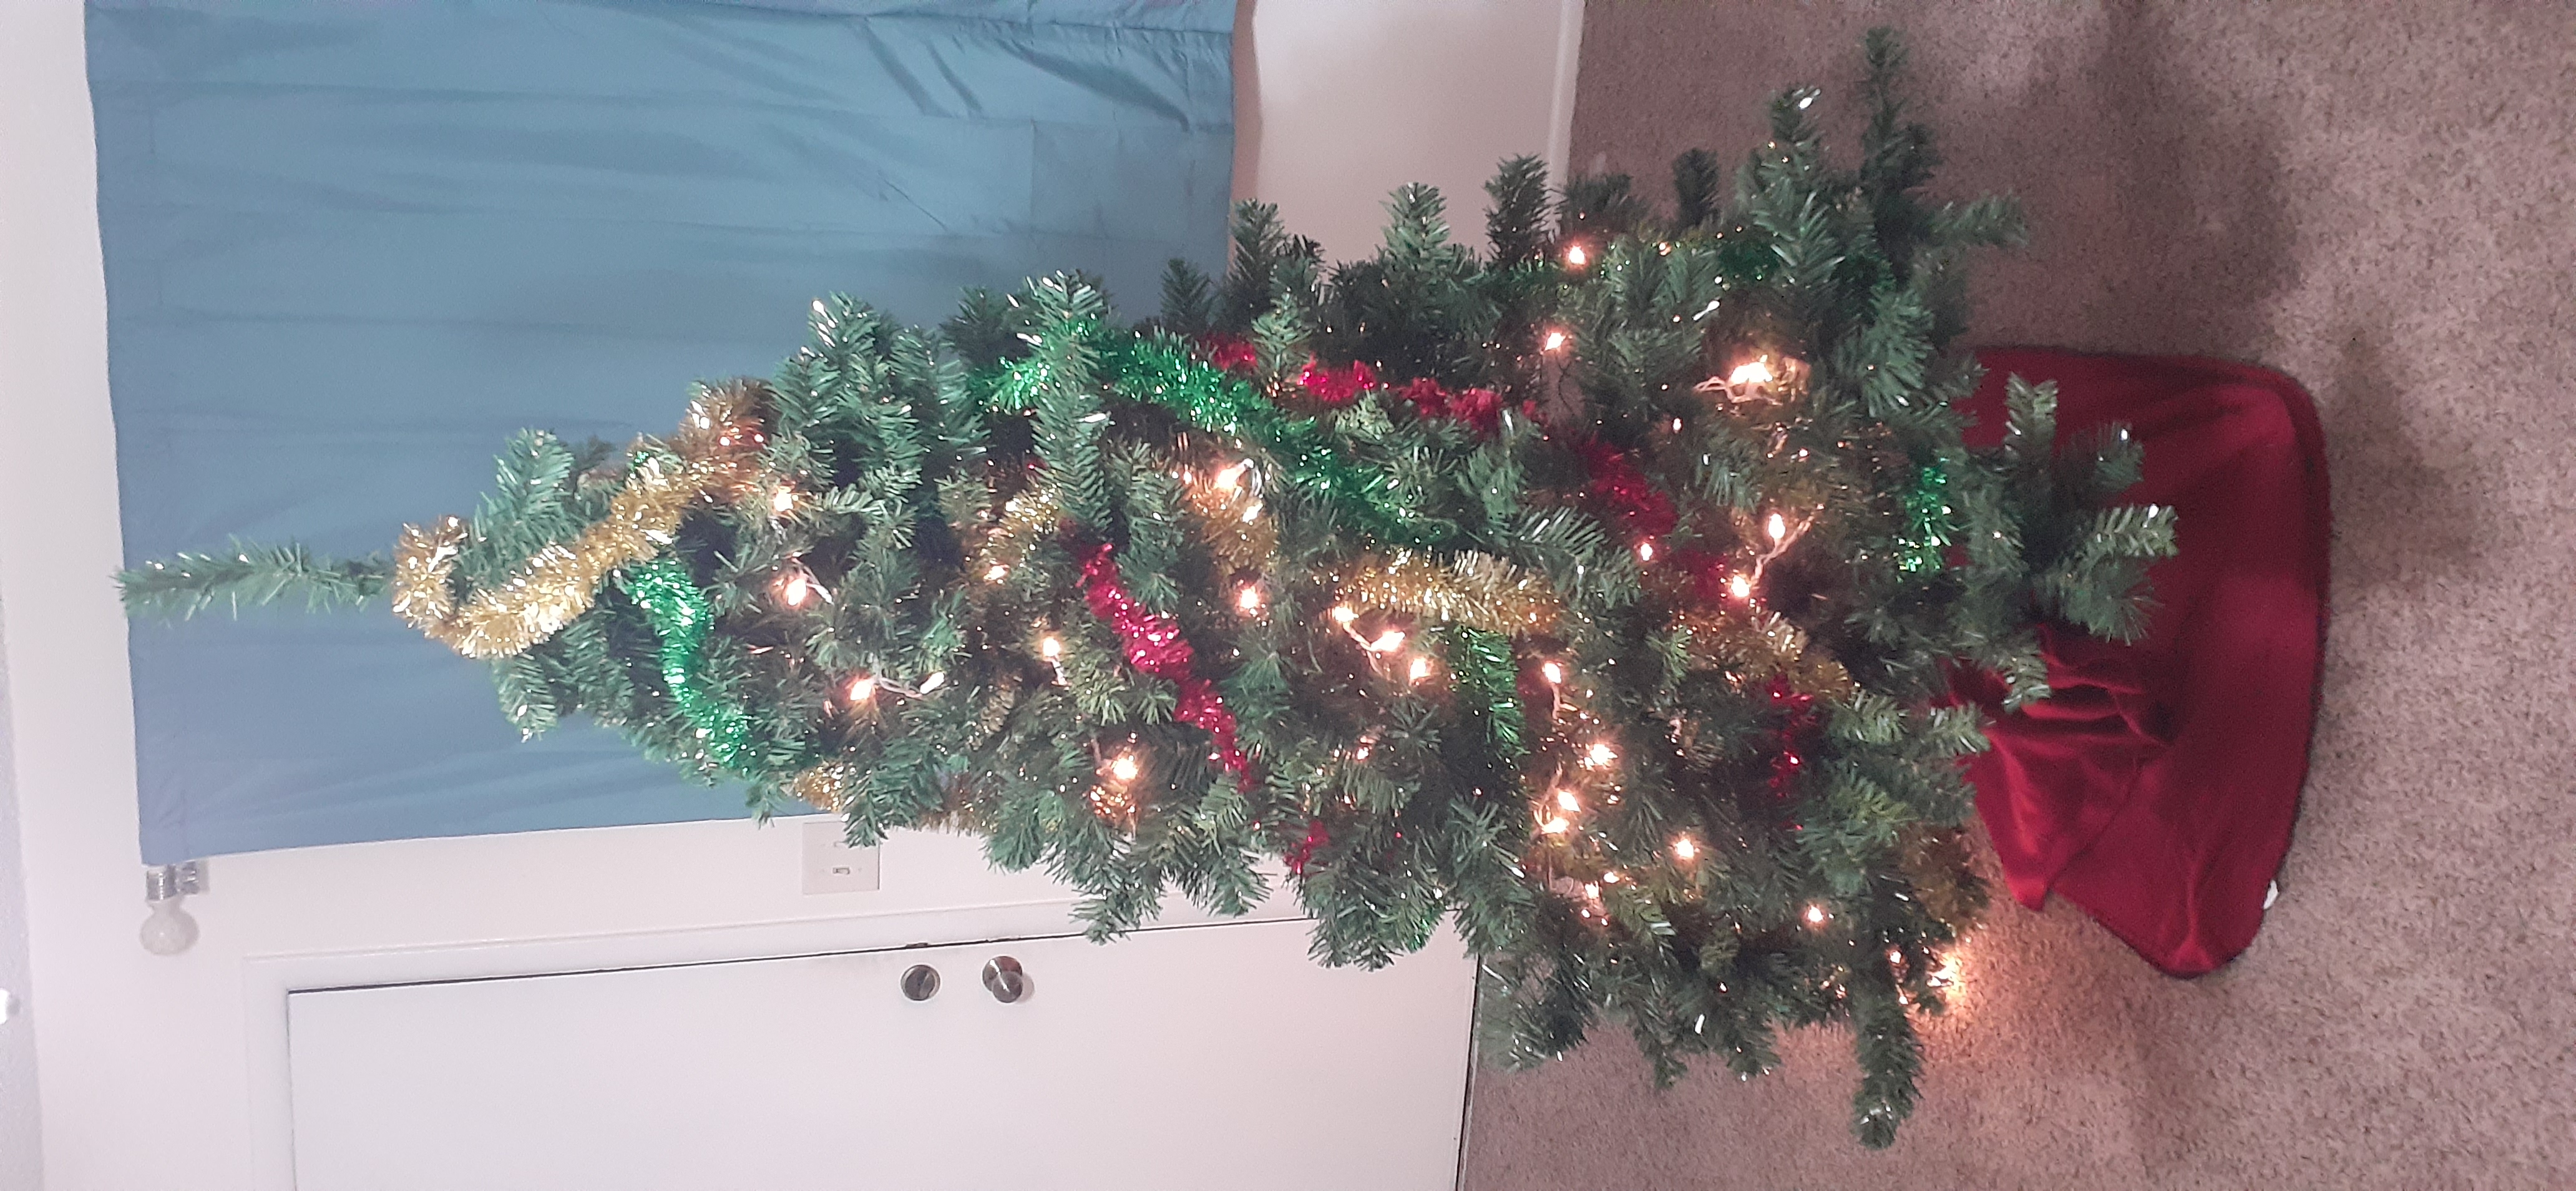
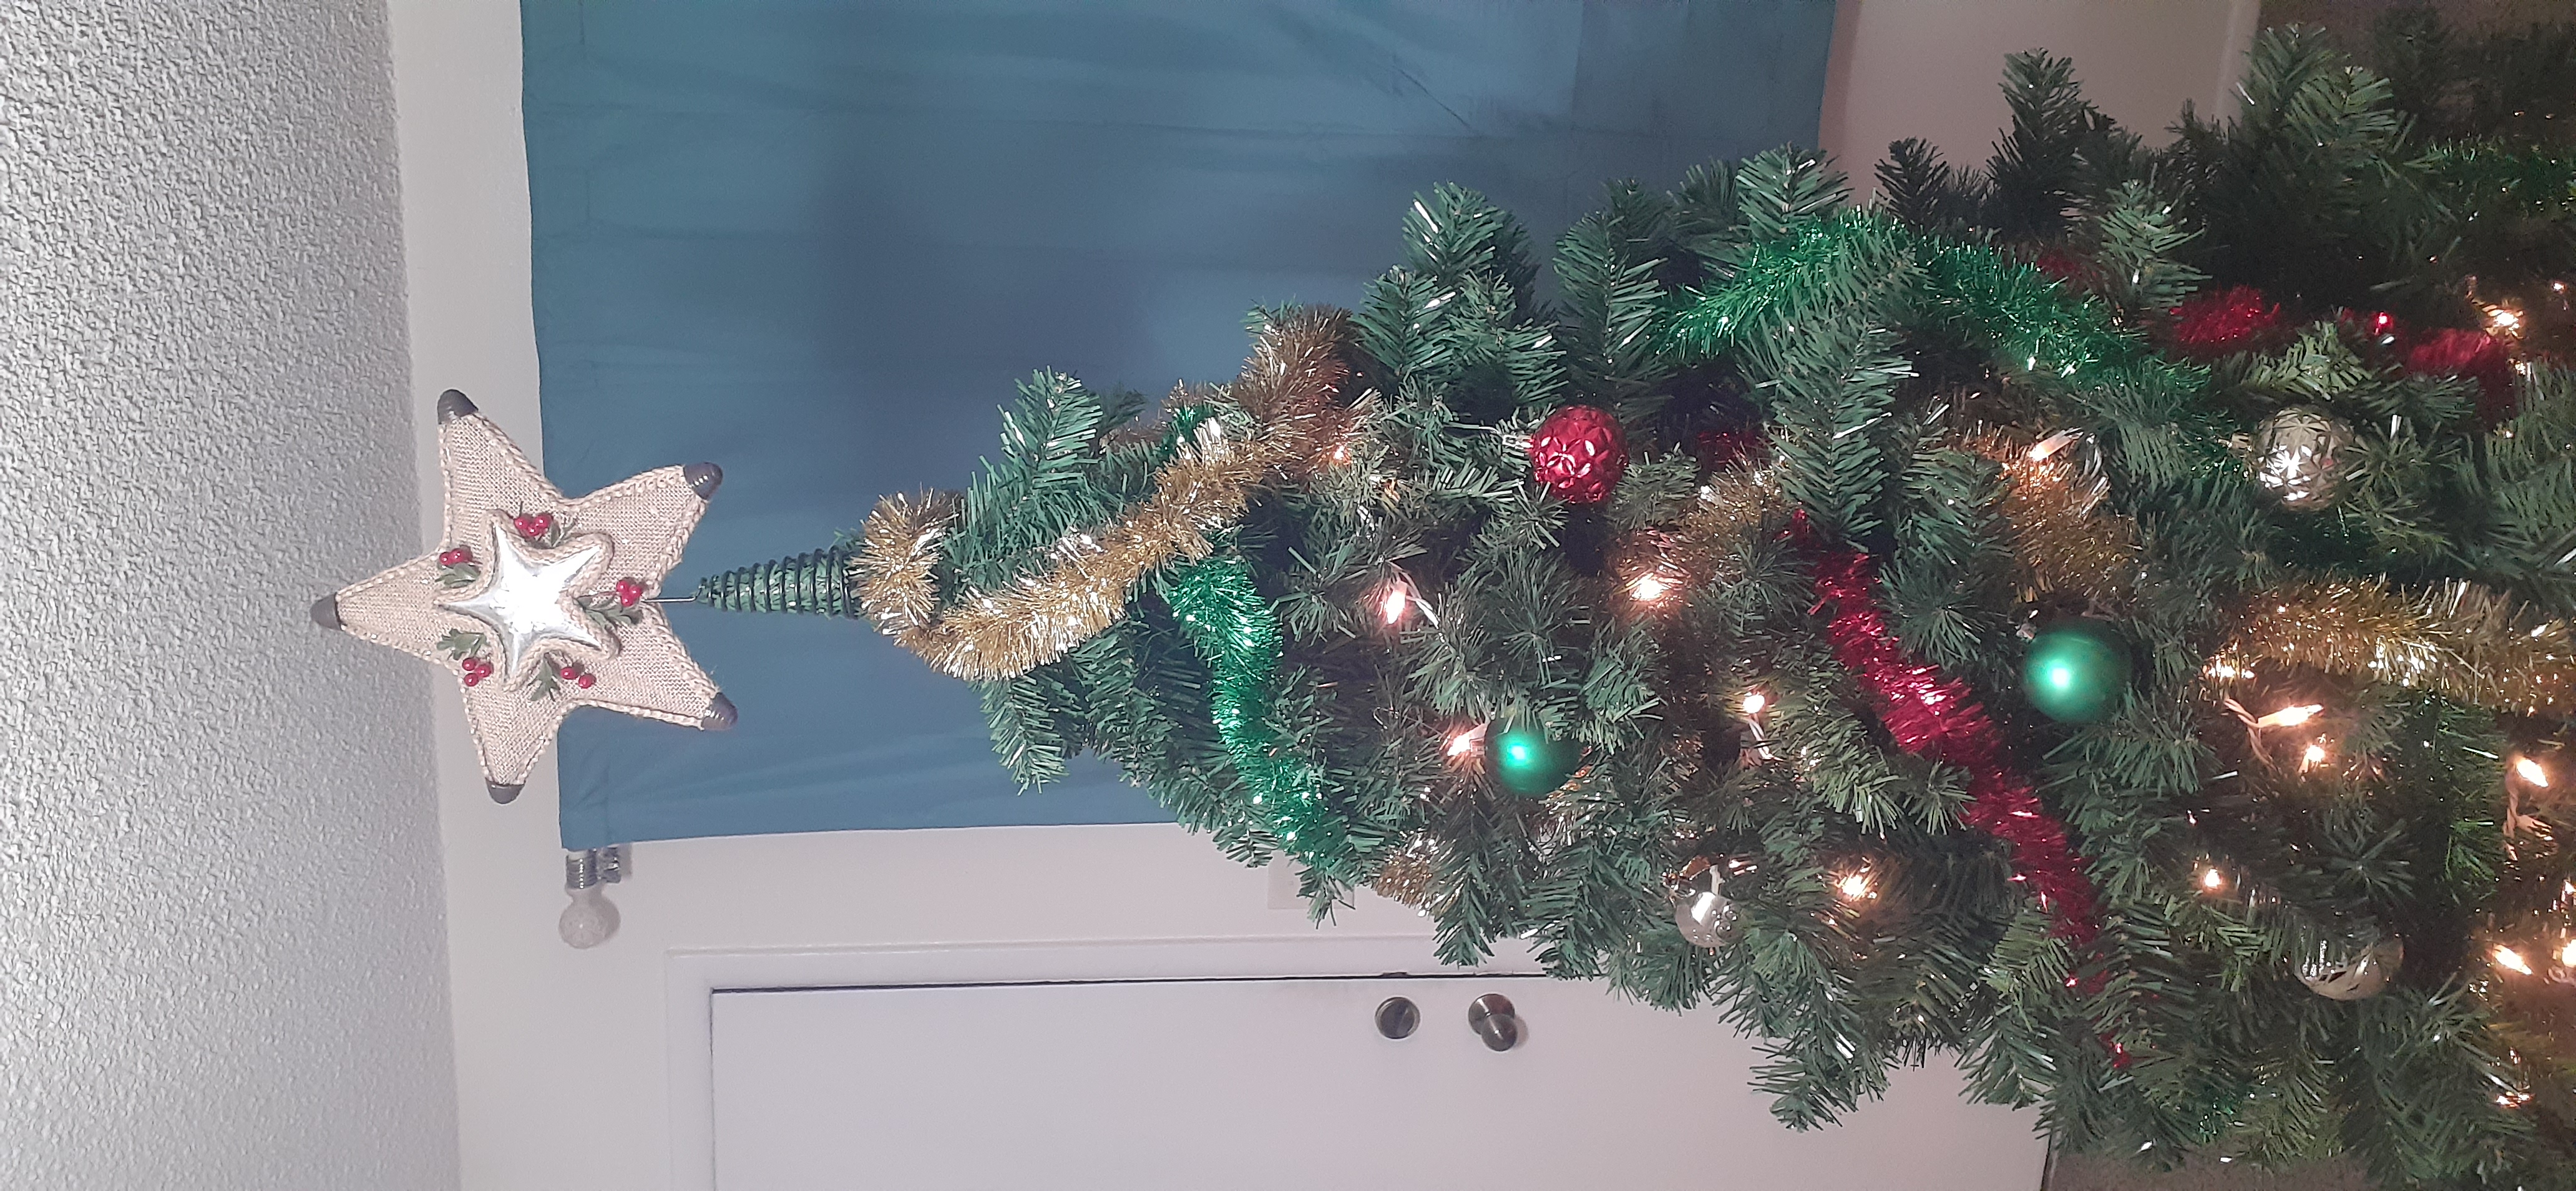
The Goal
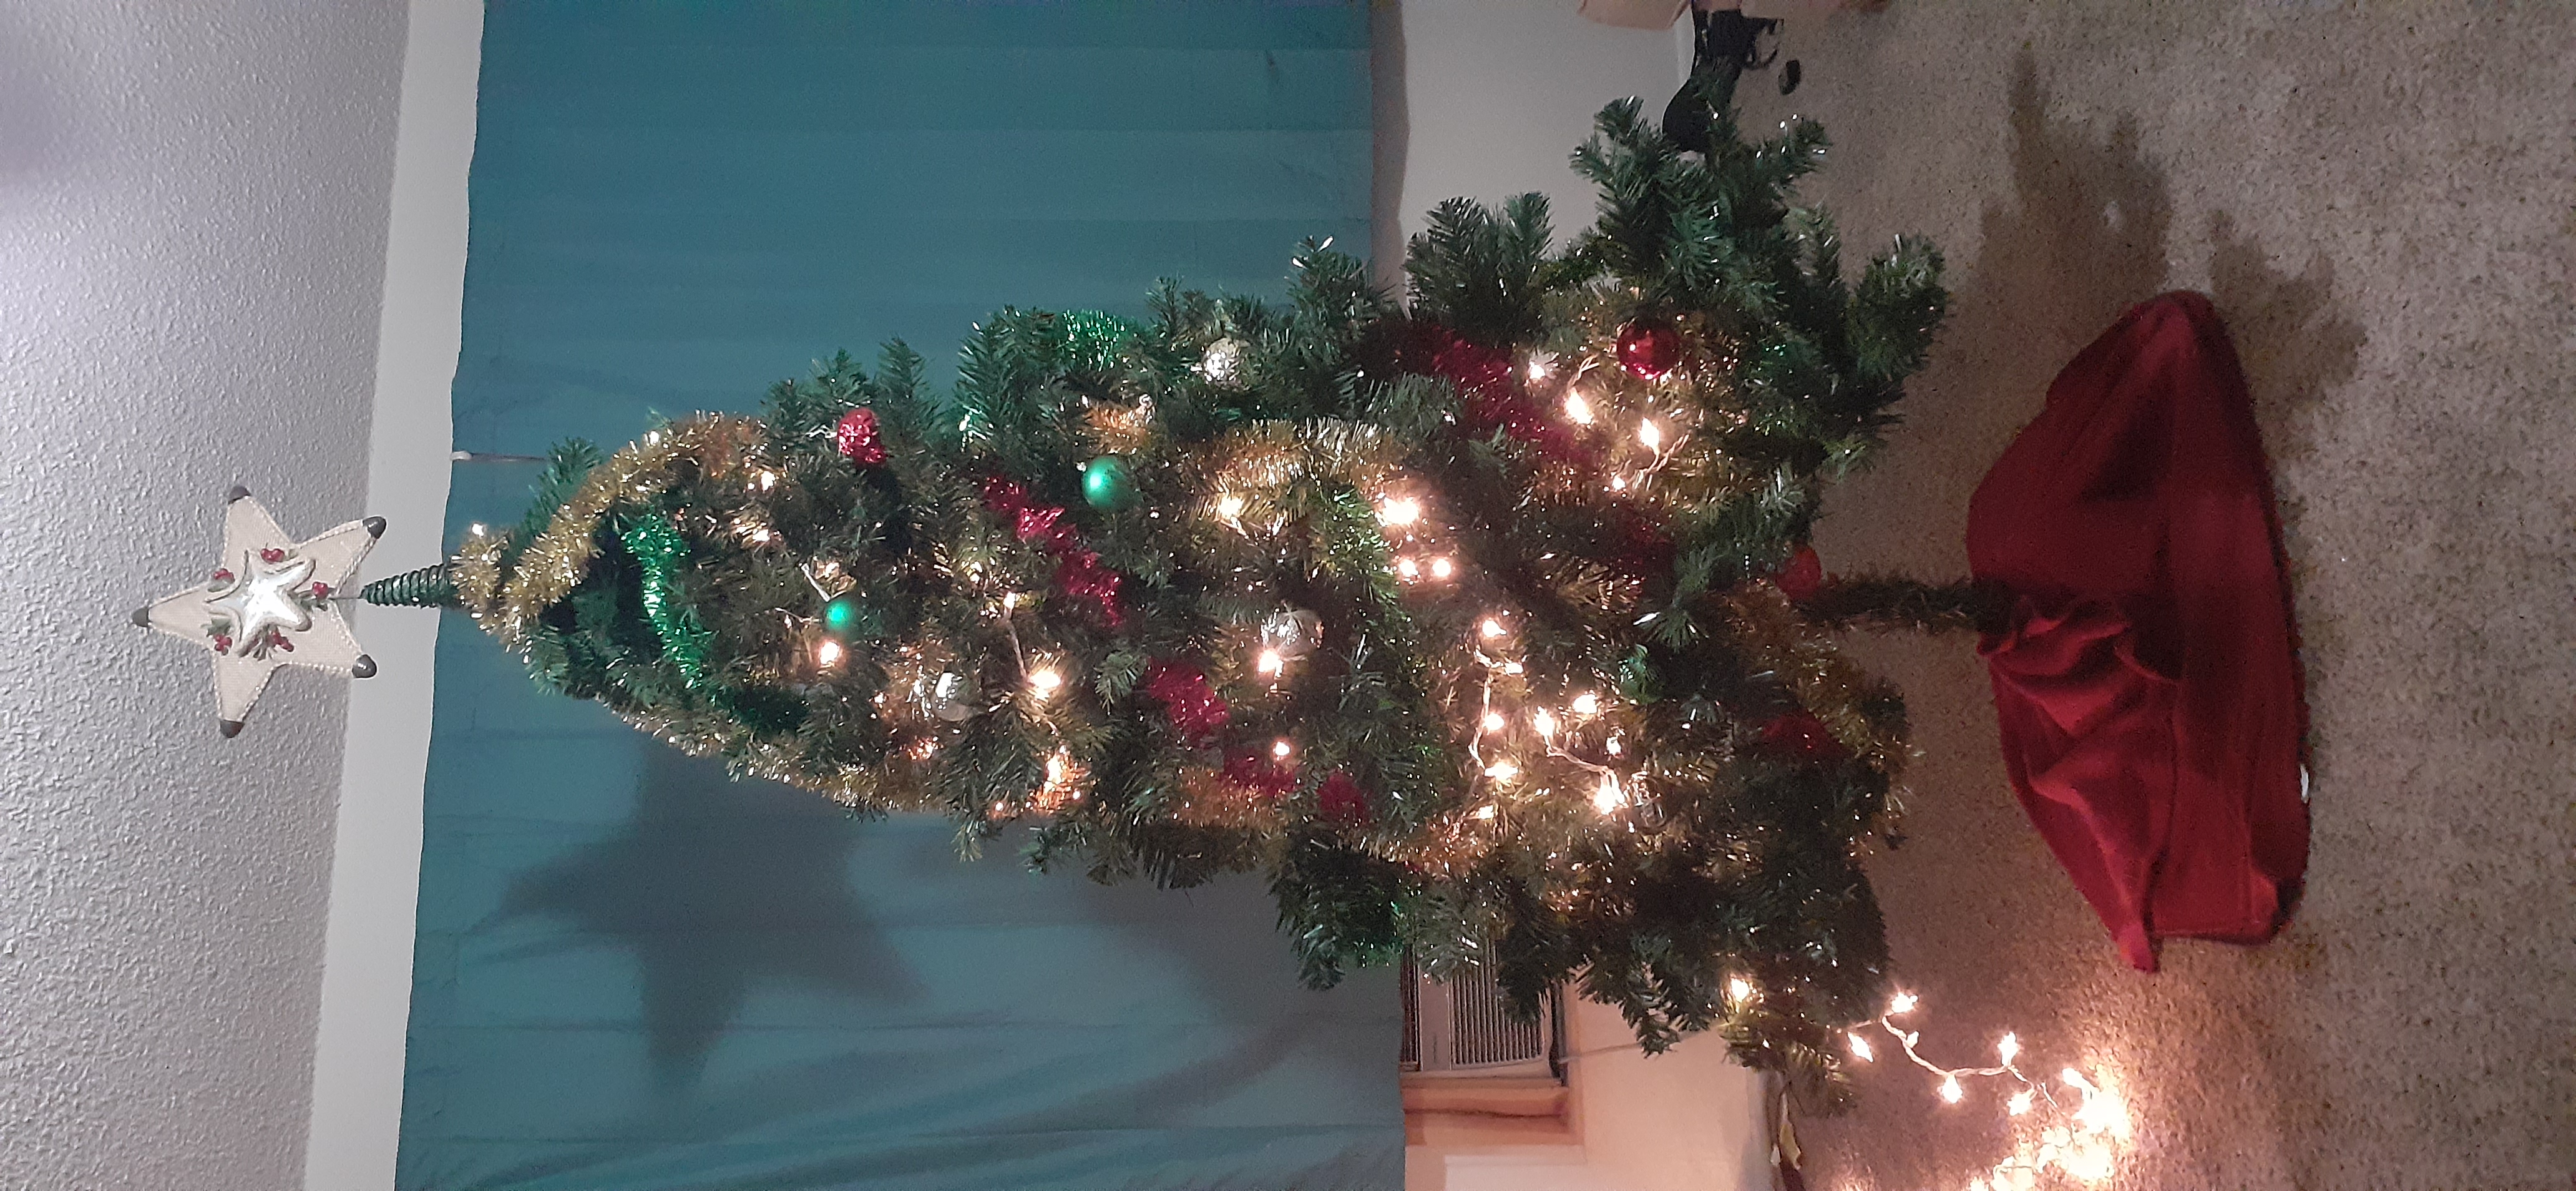
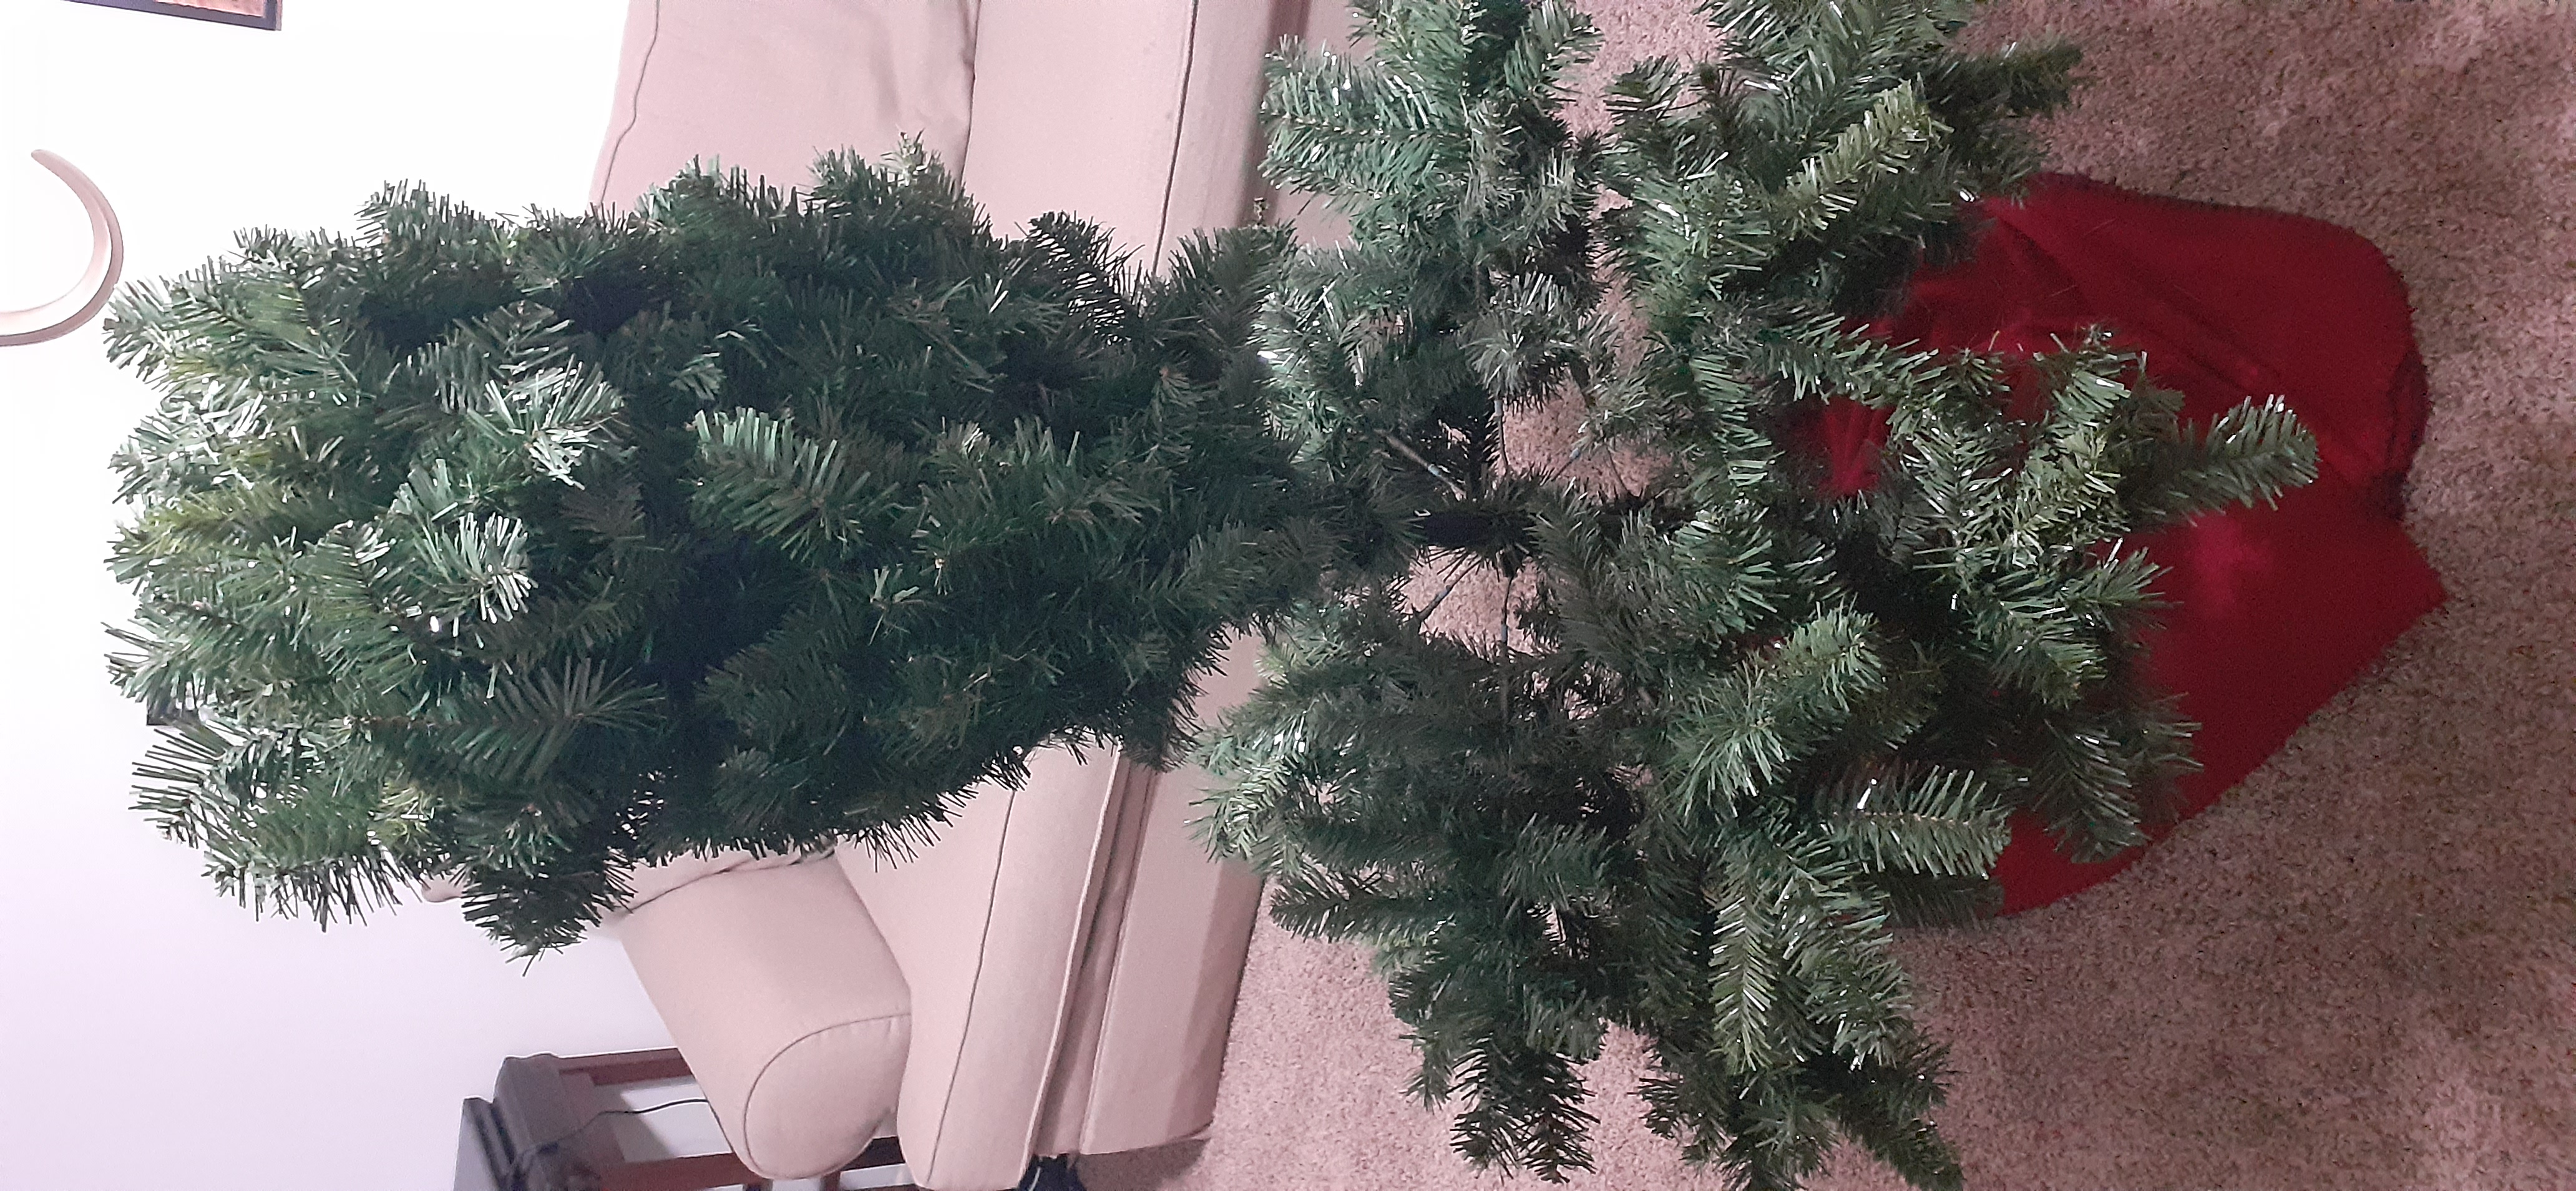
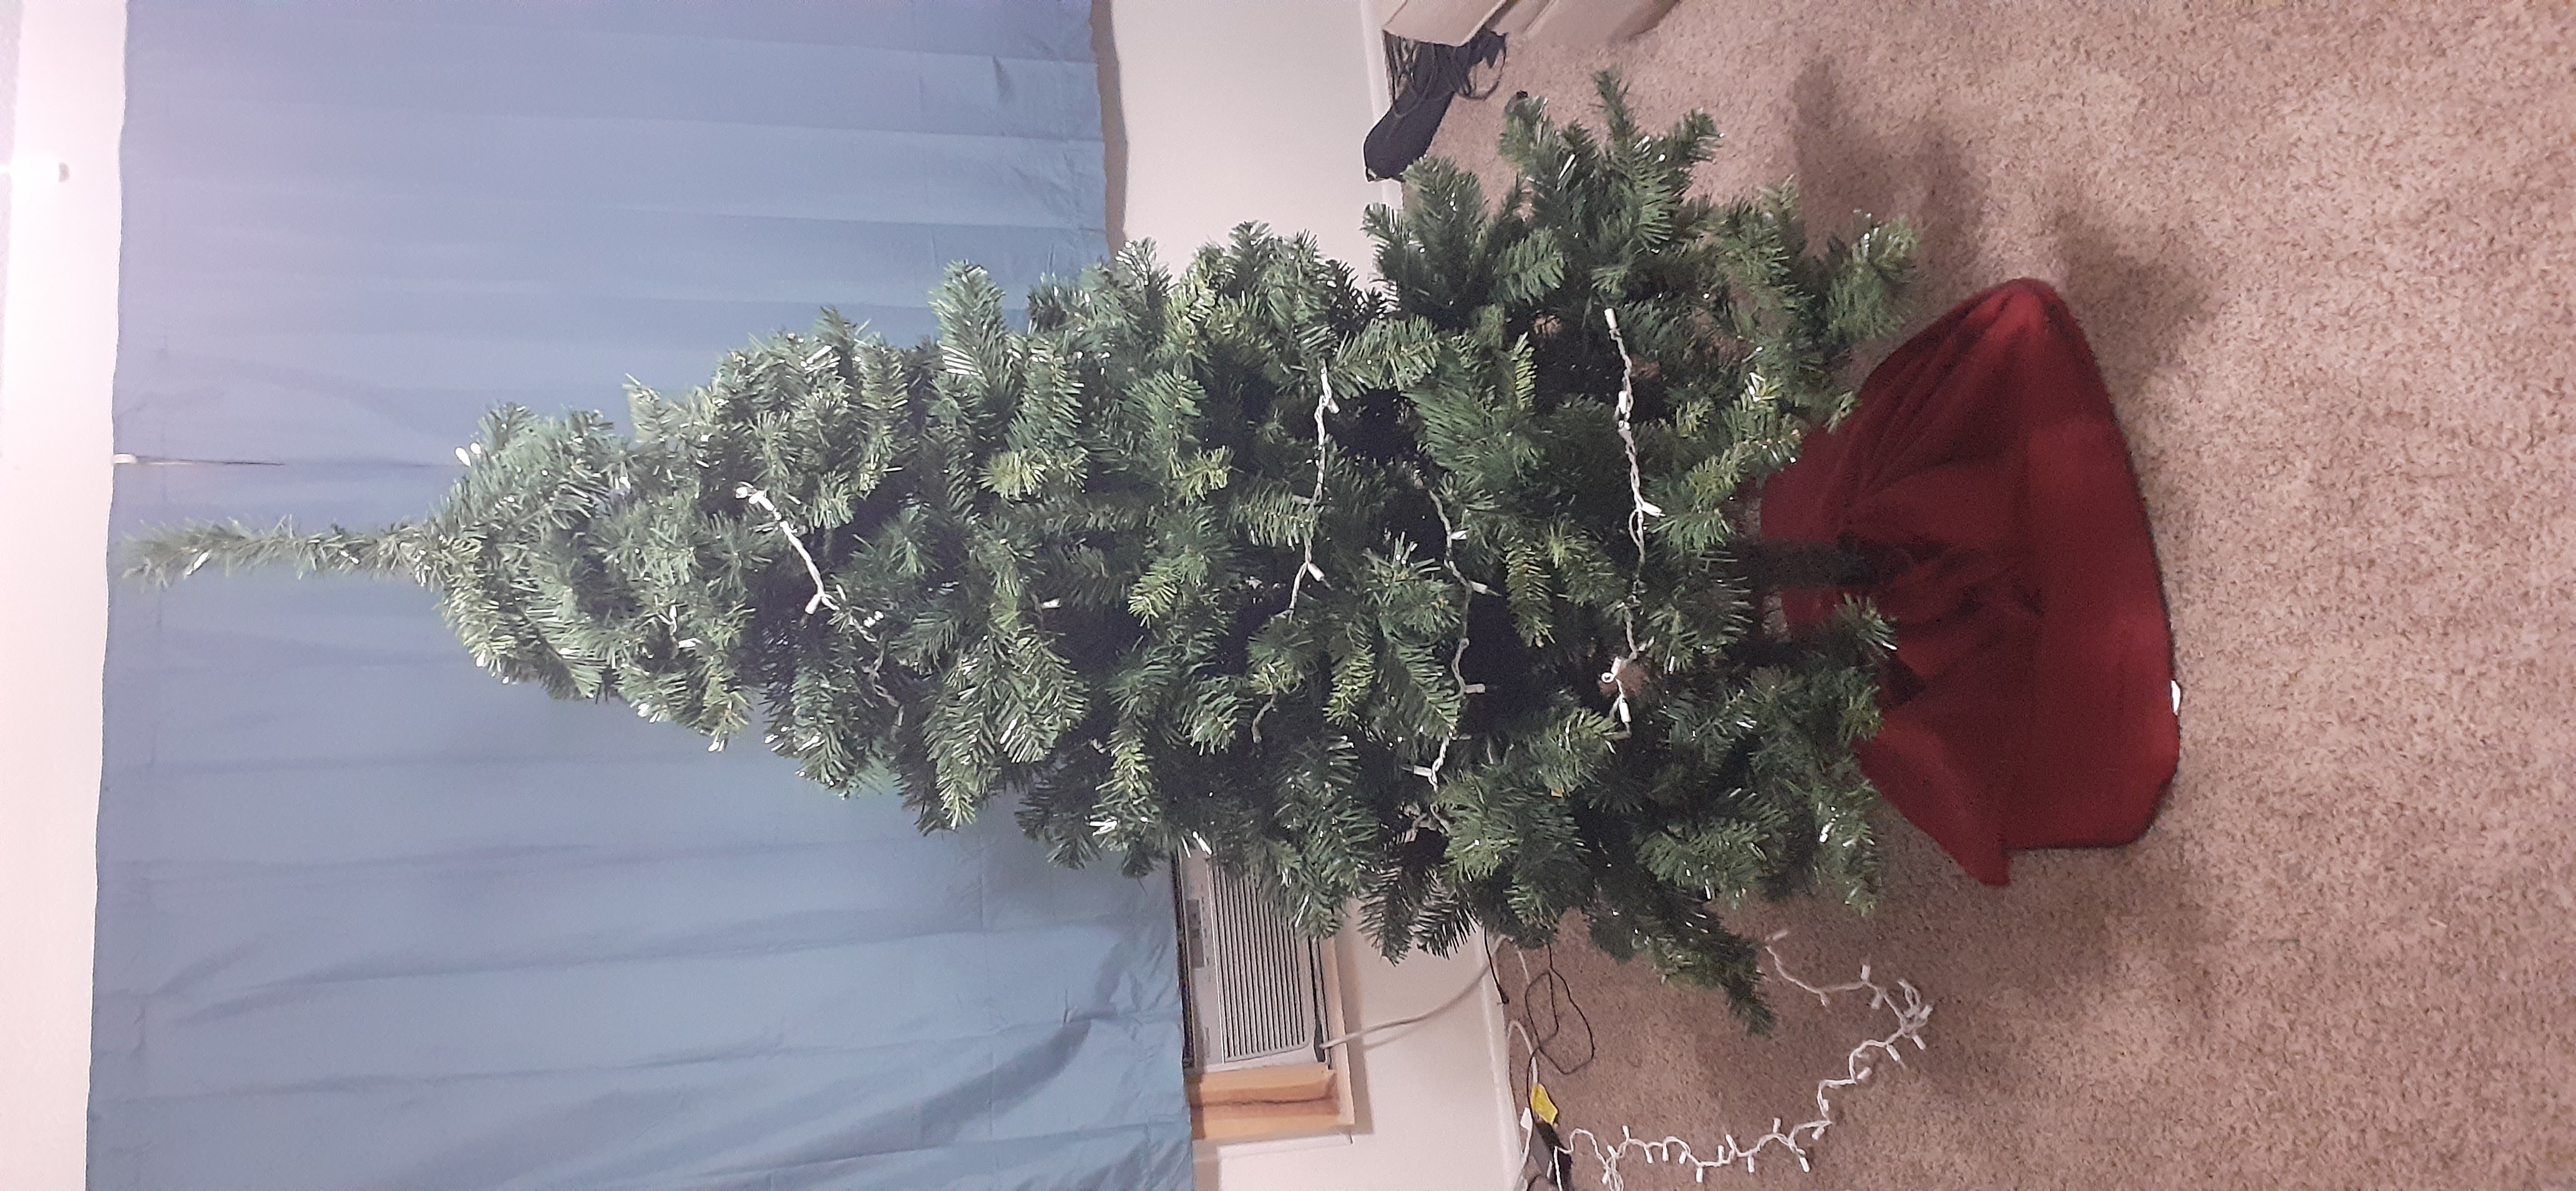
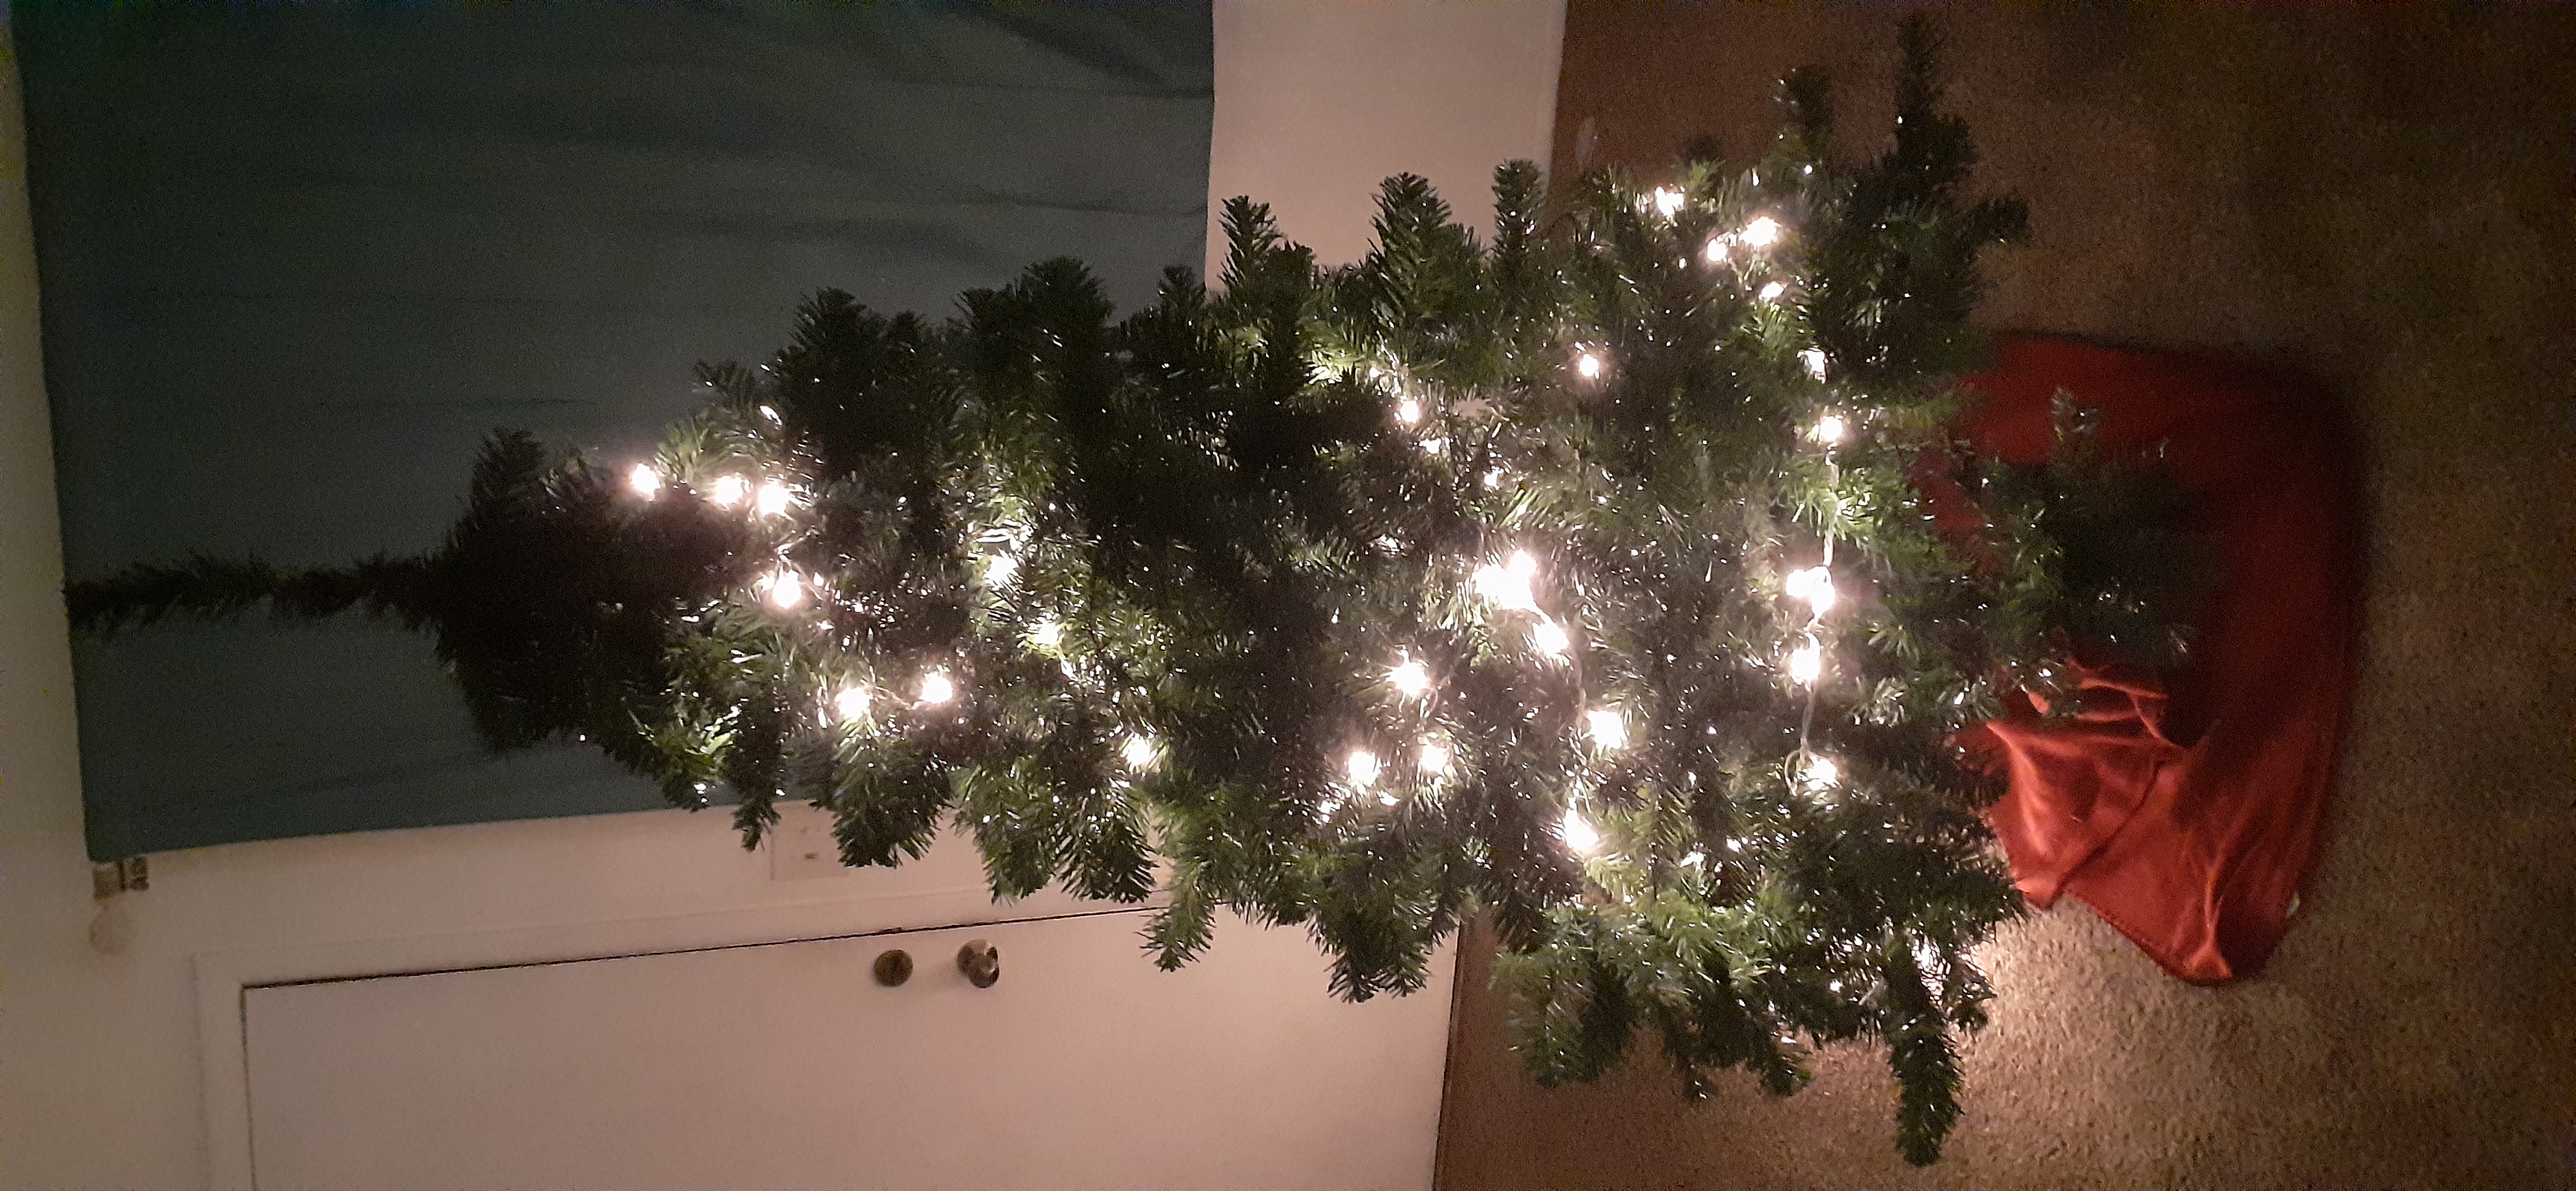
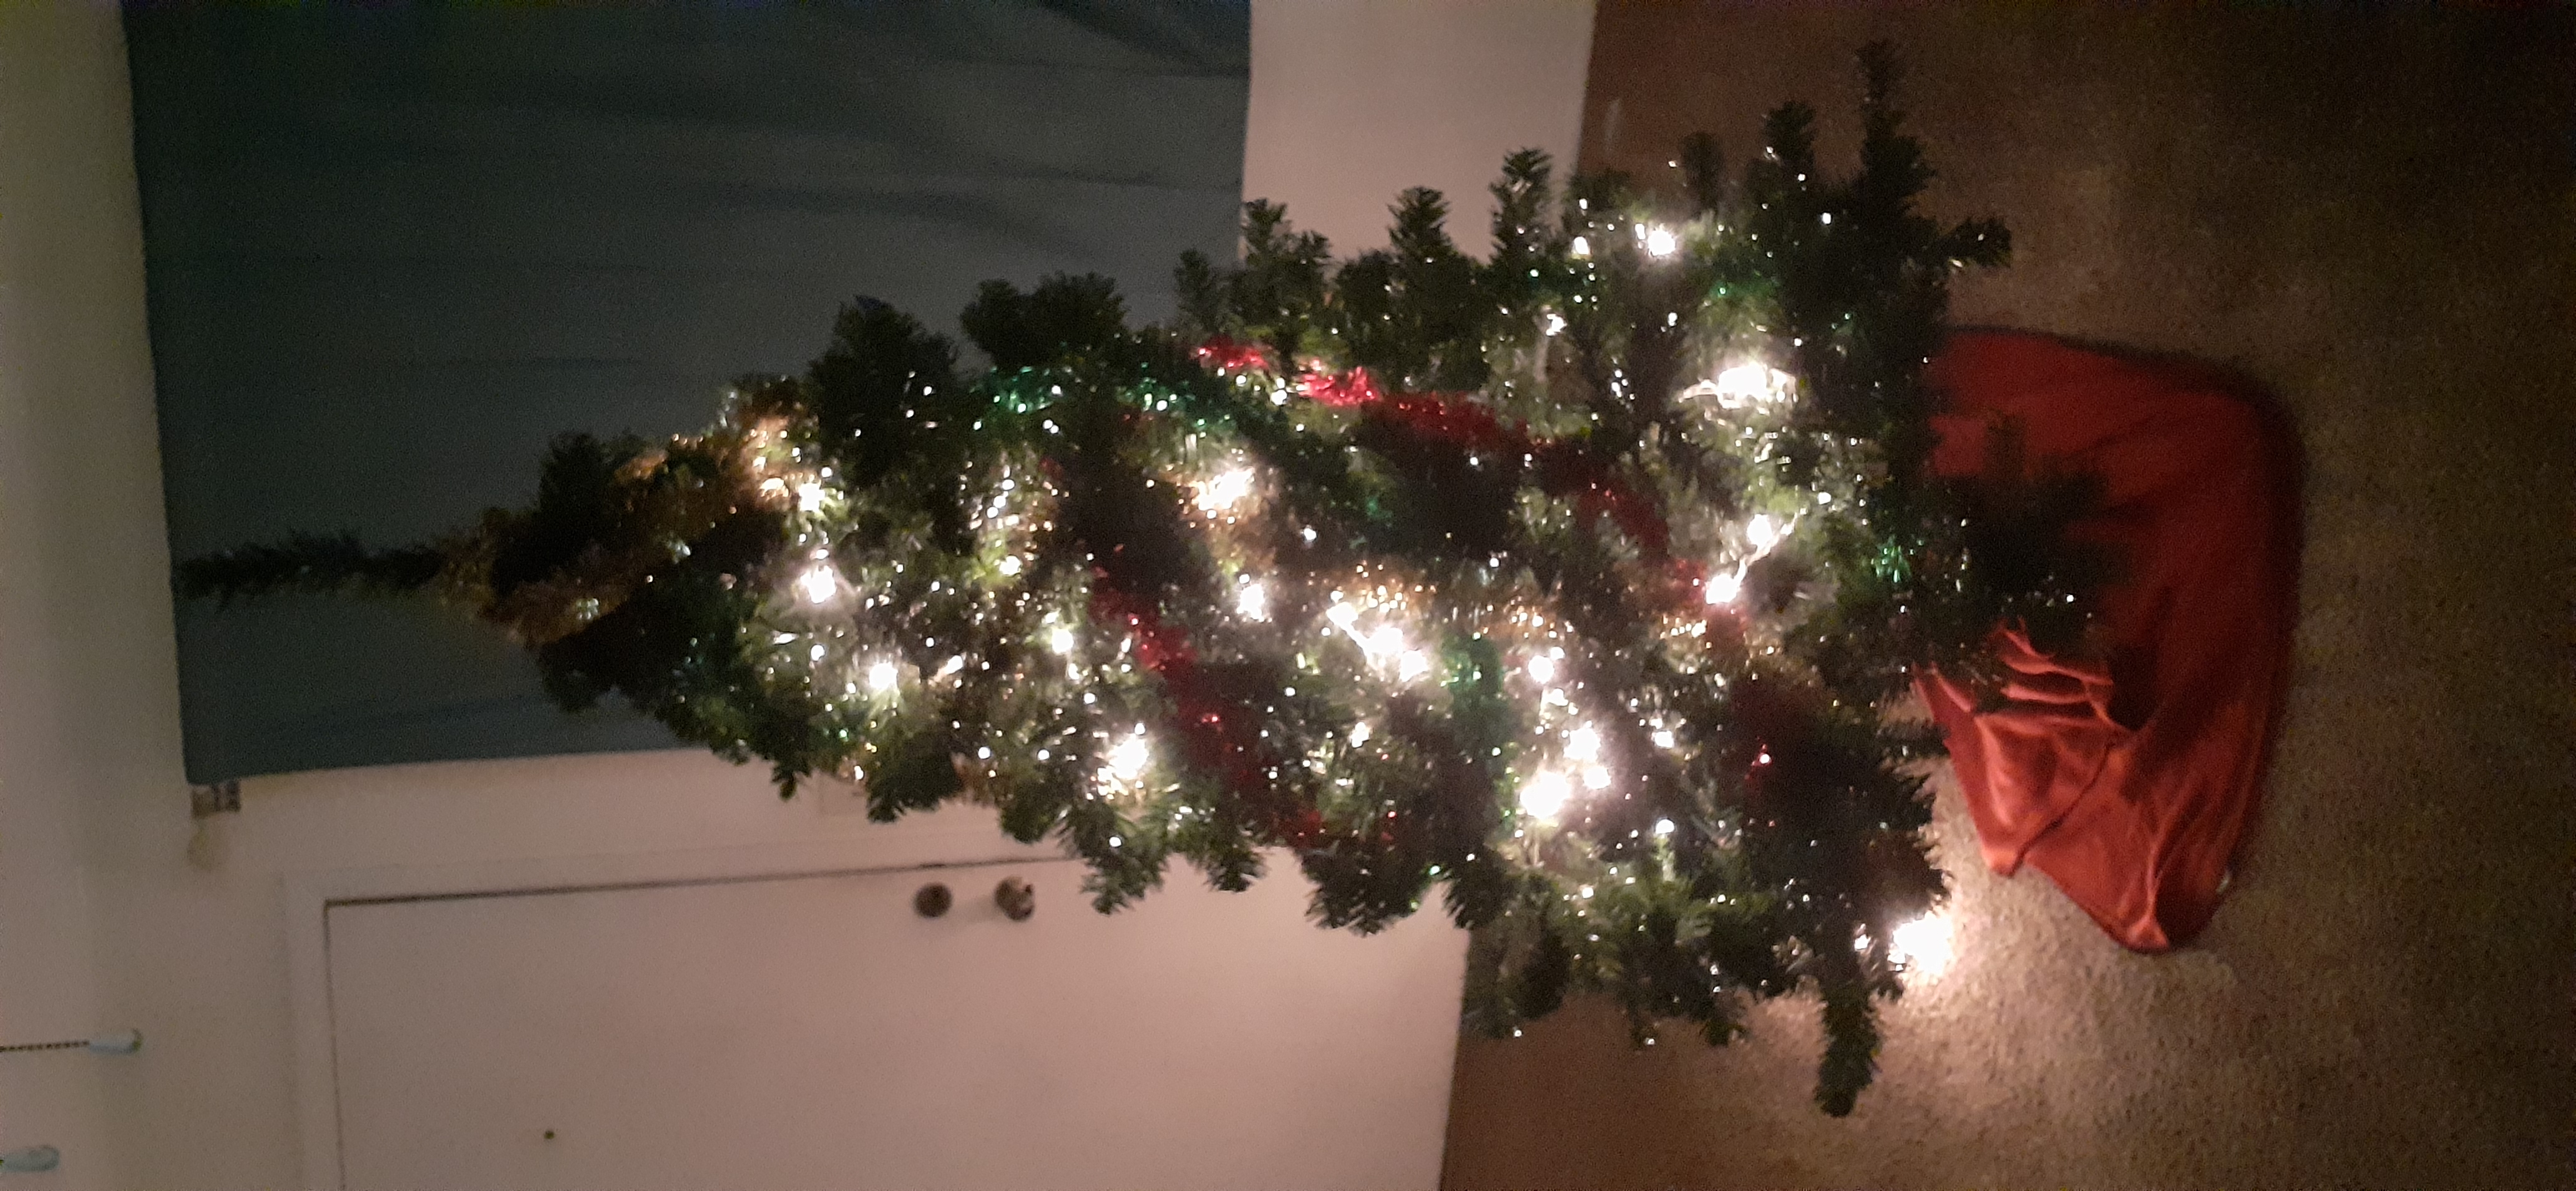
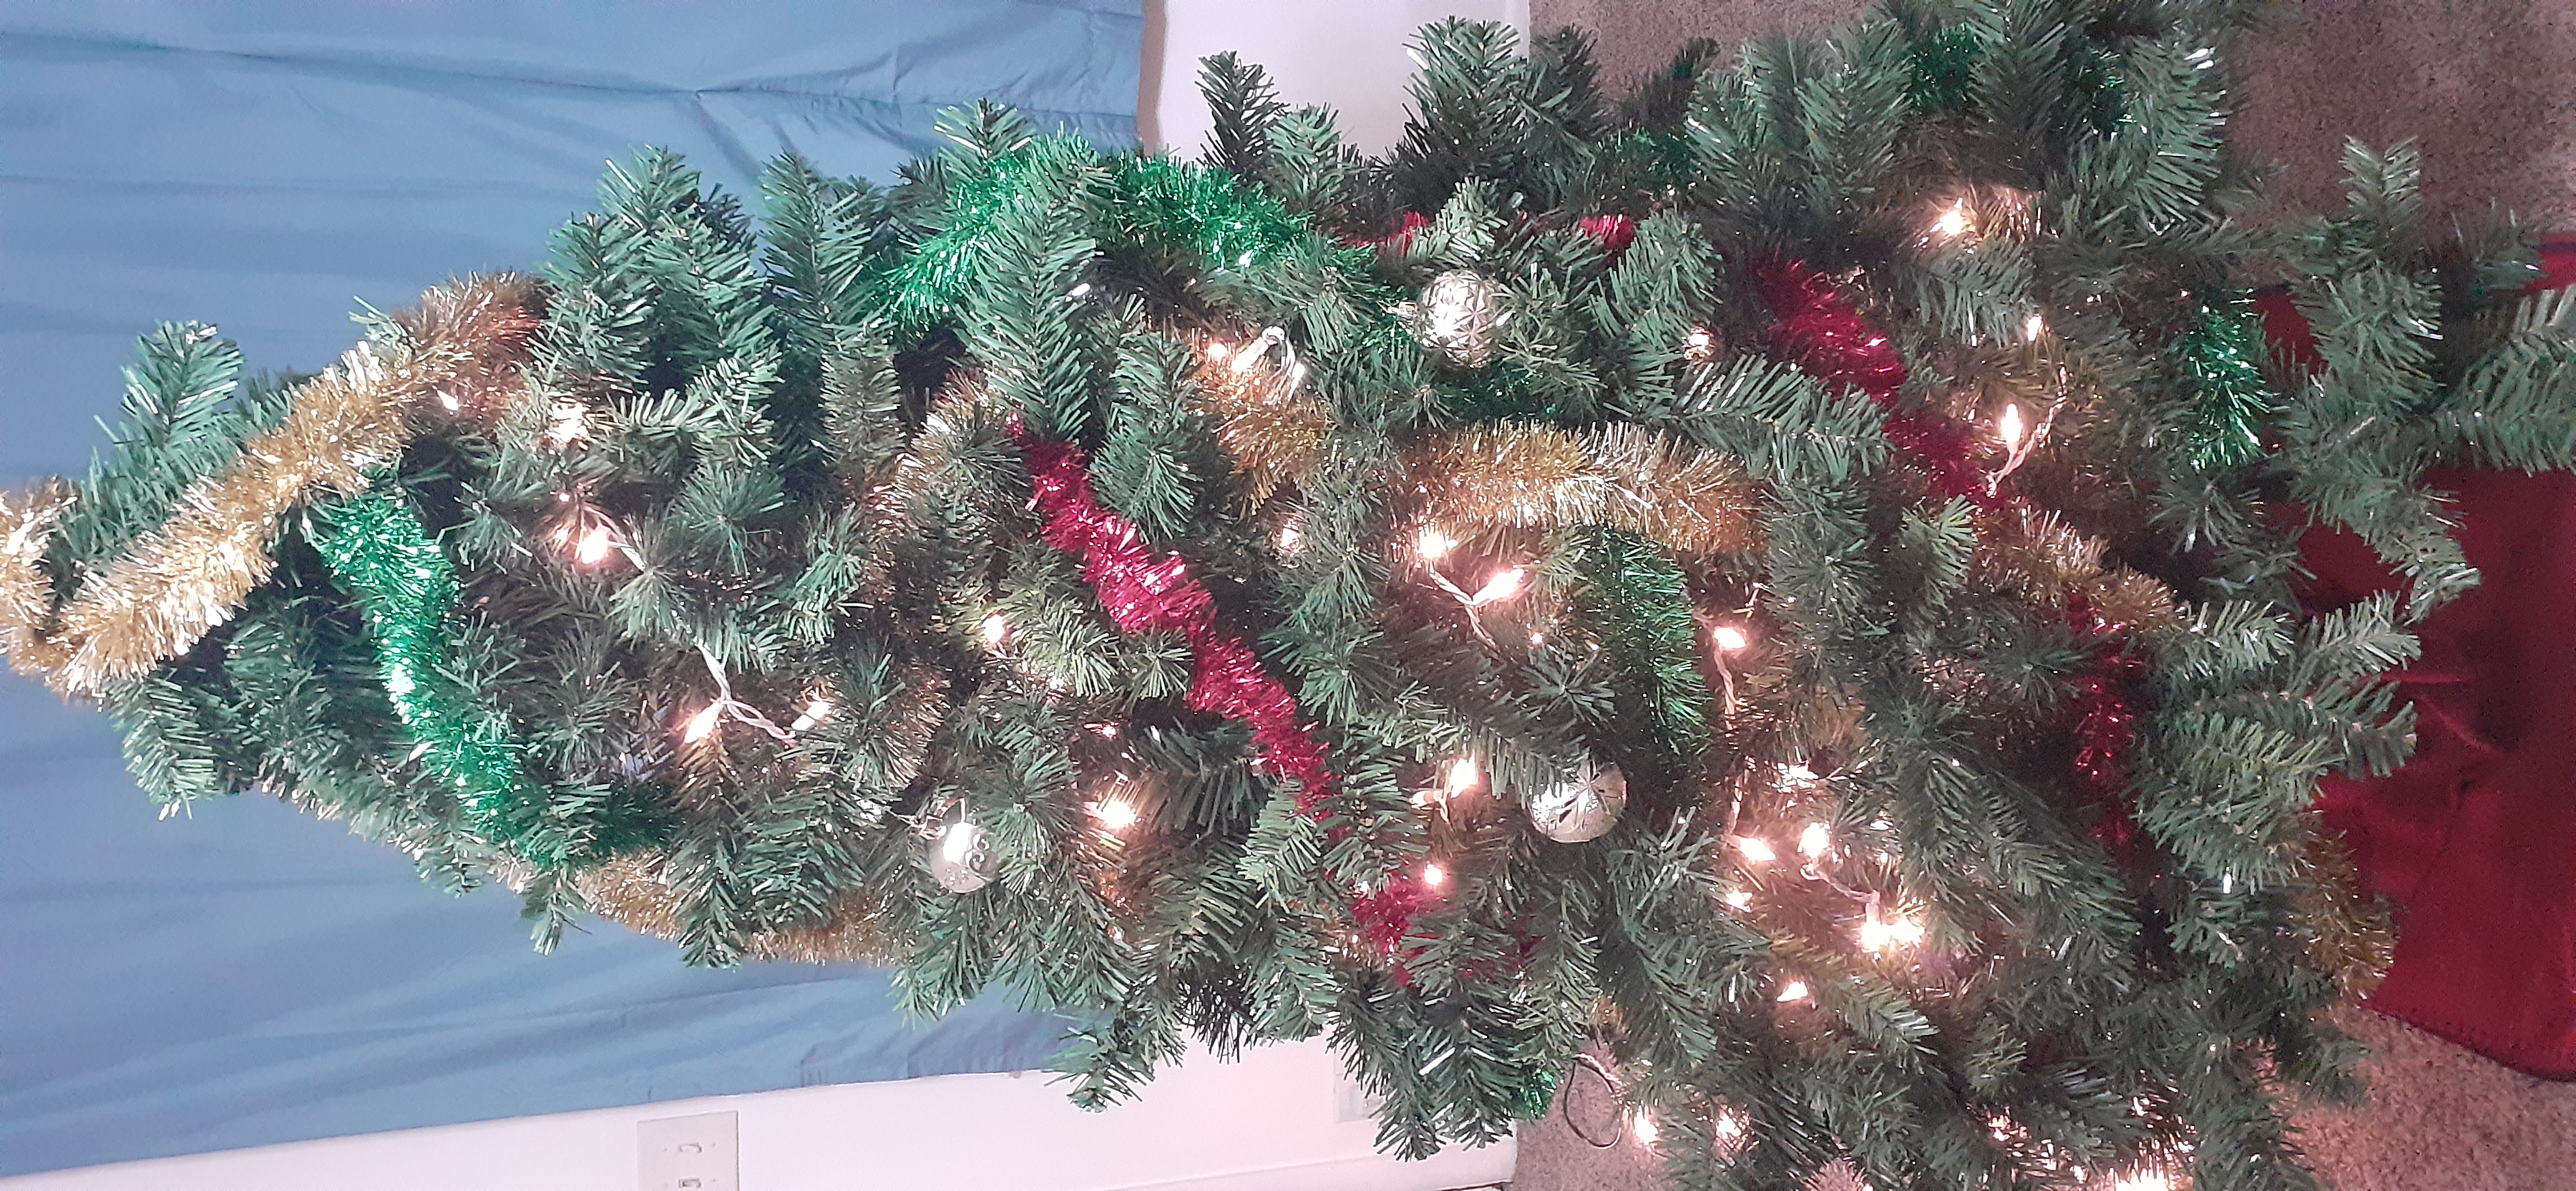
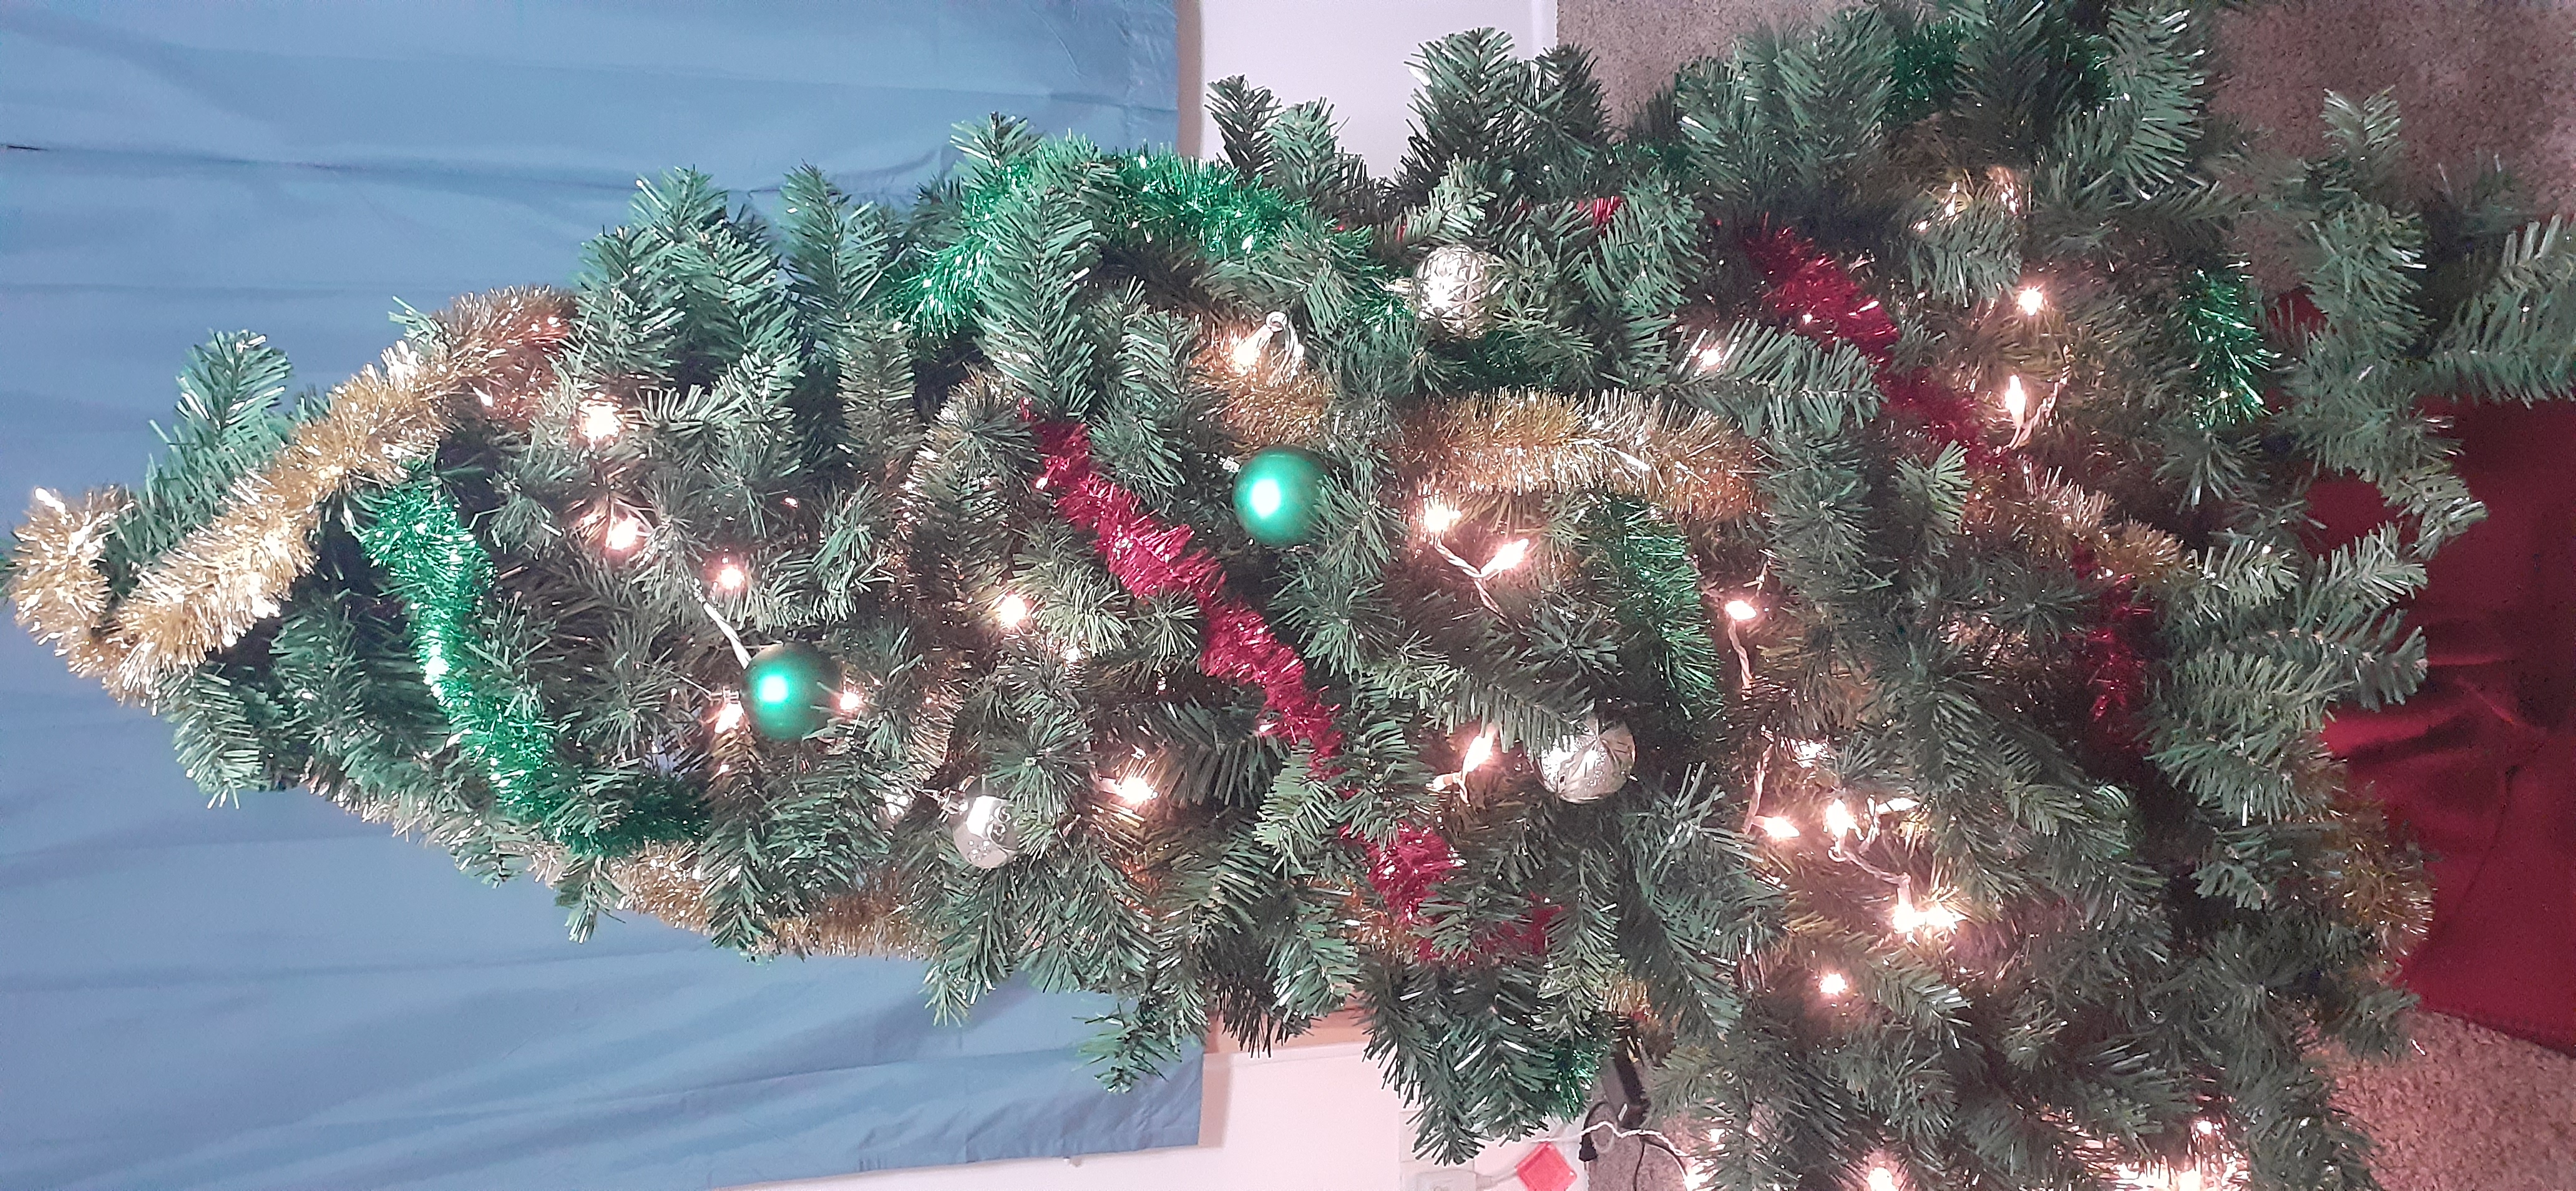
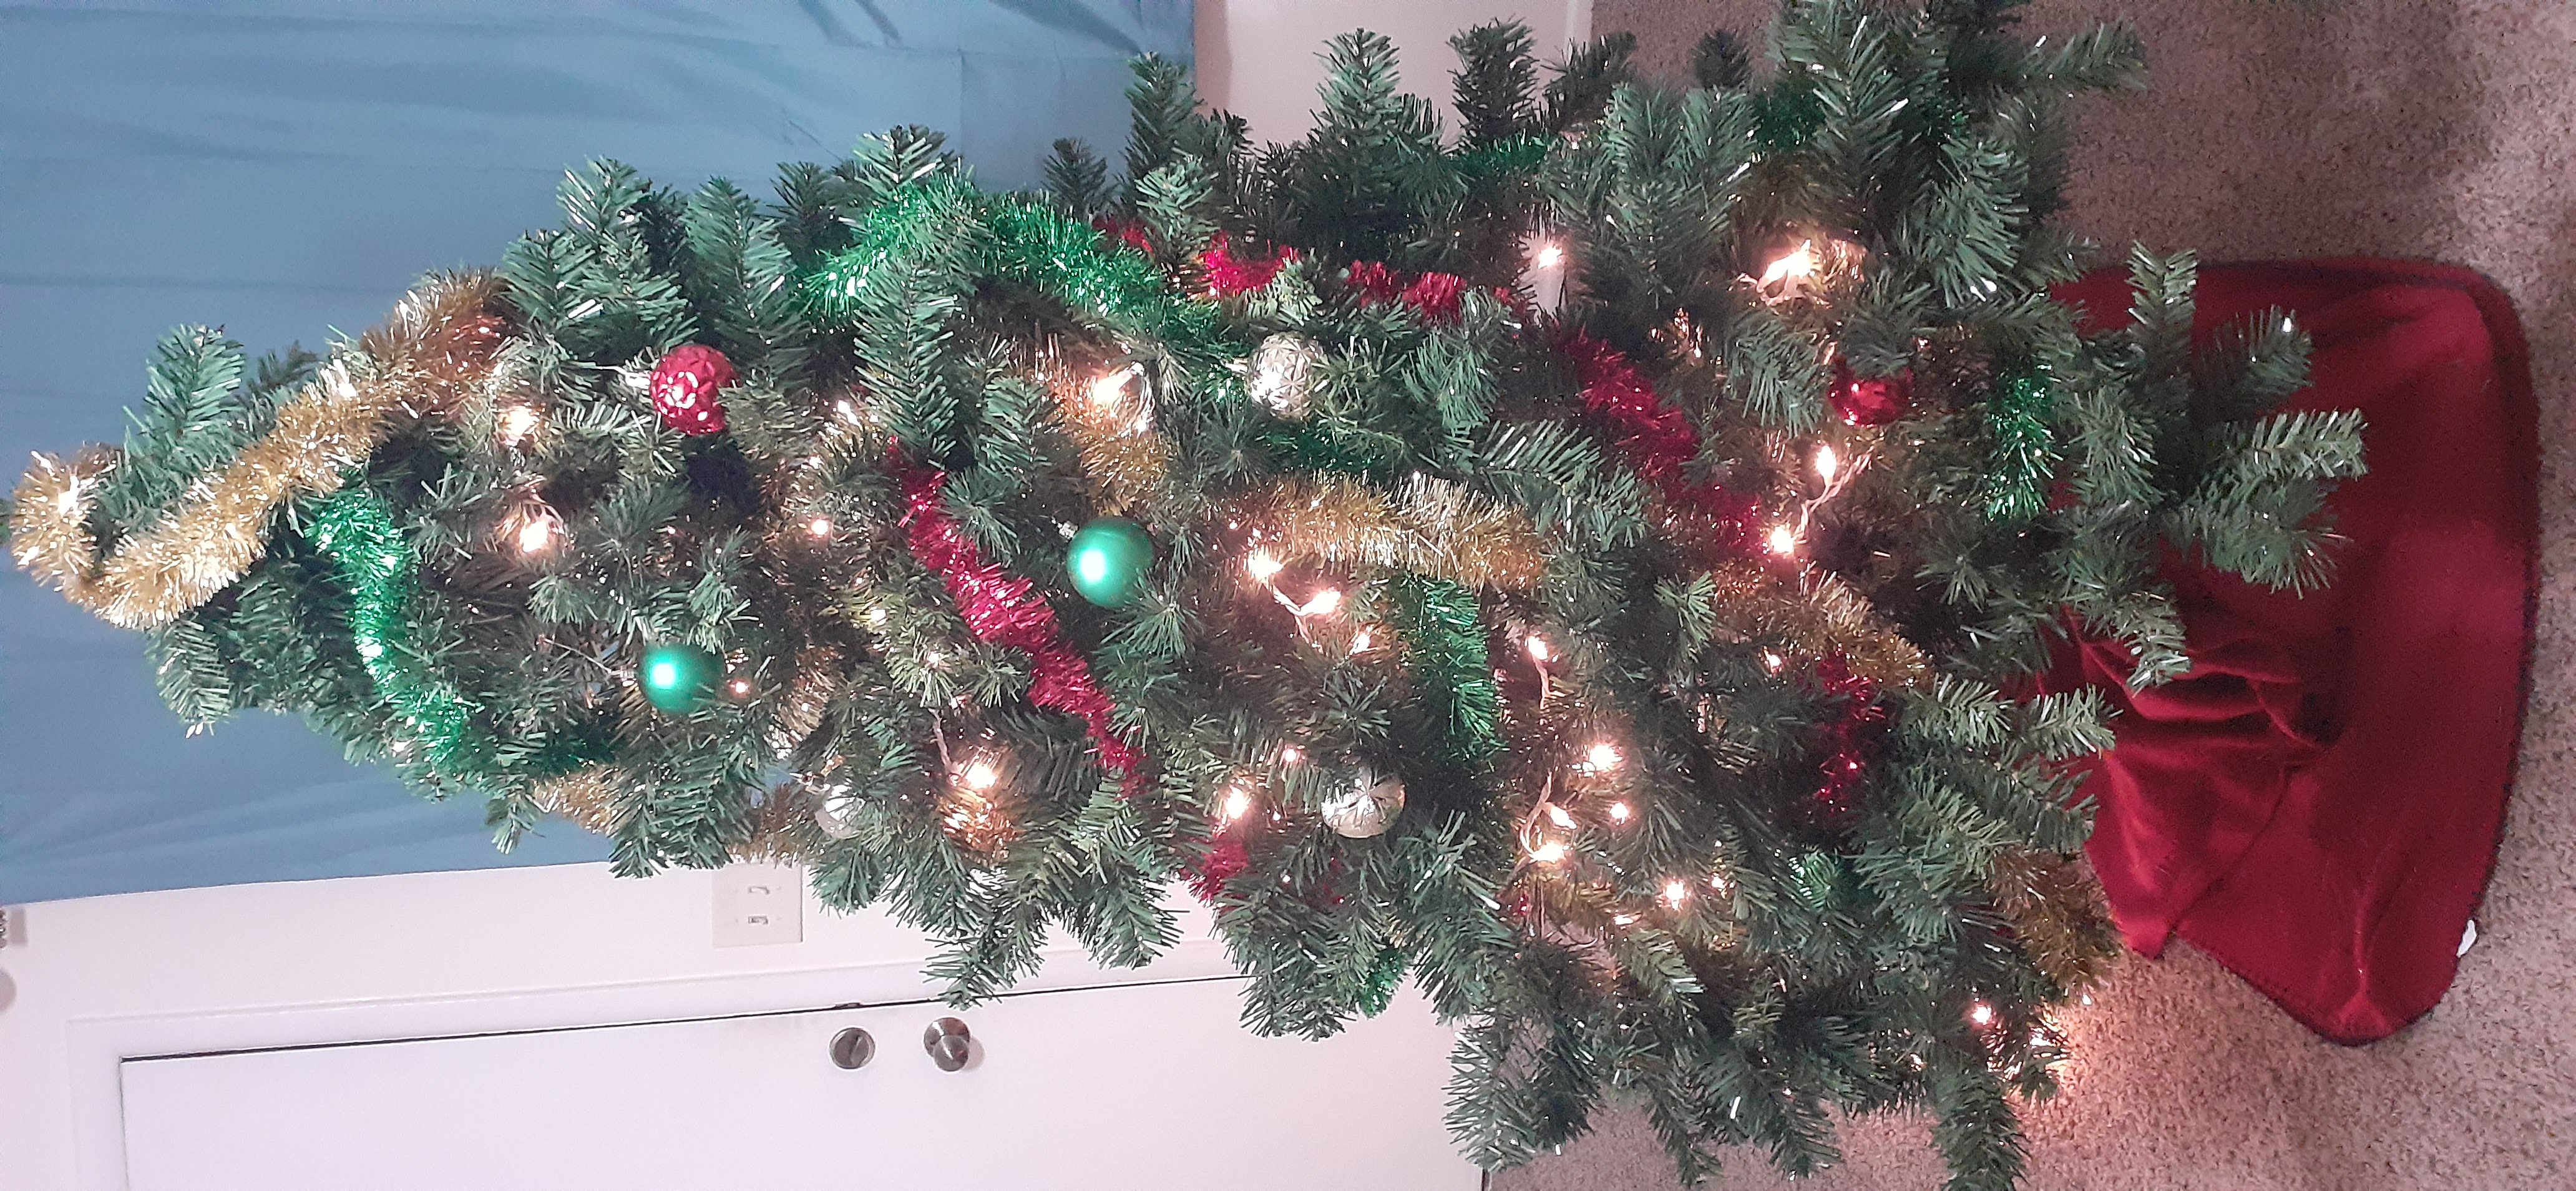
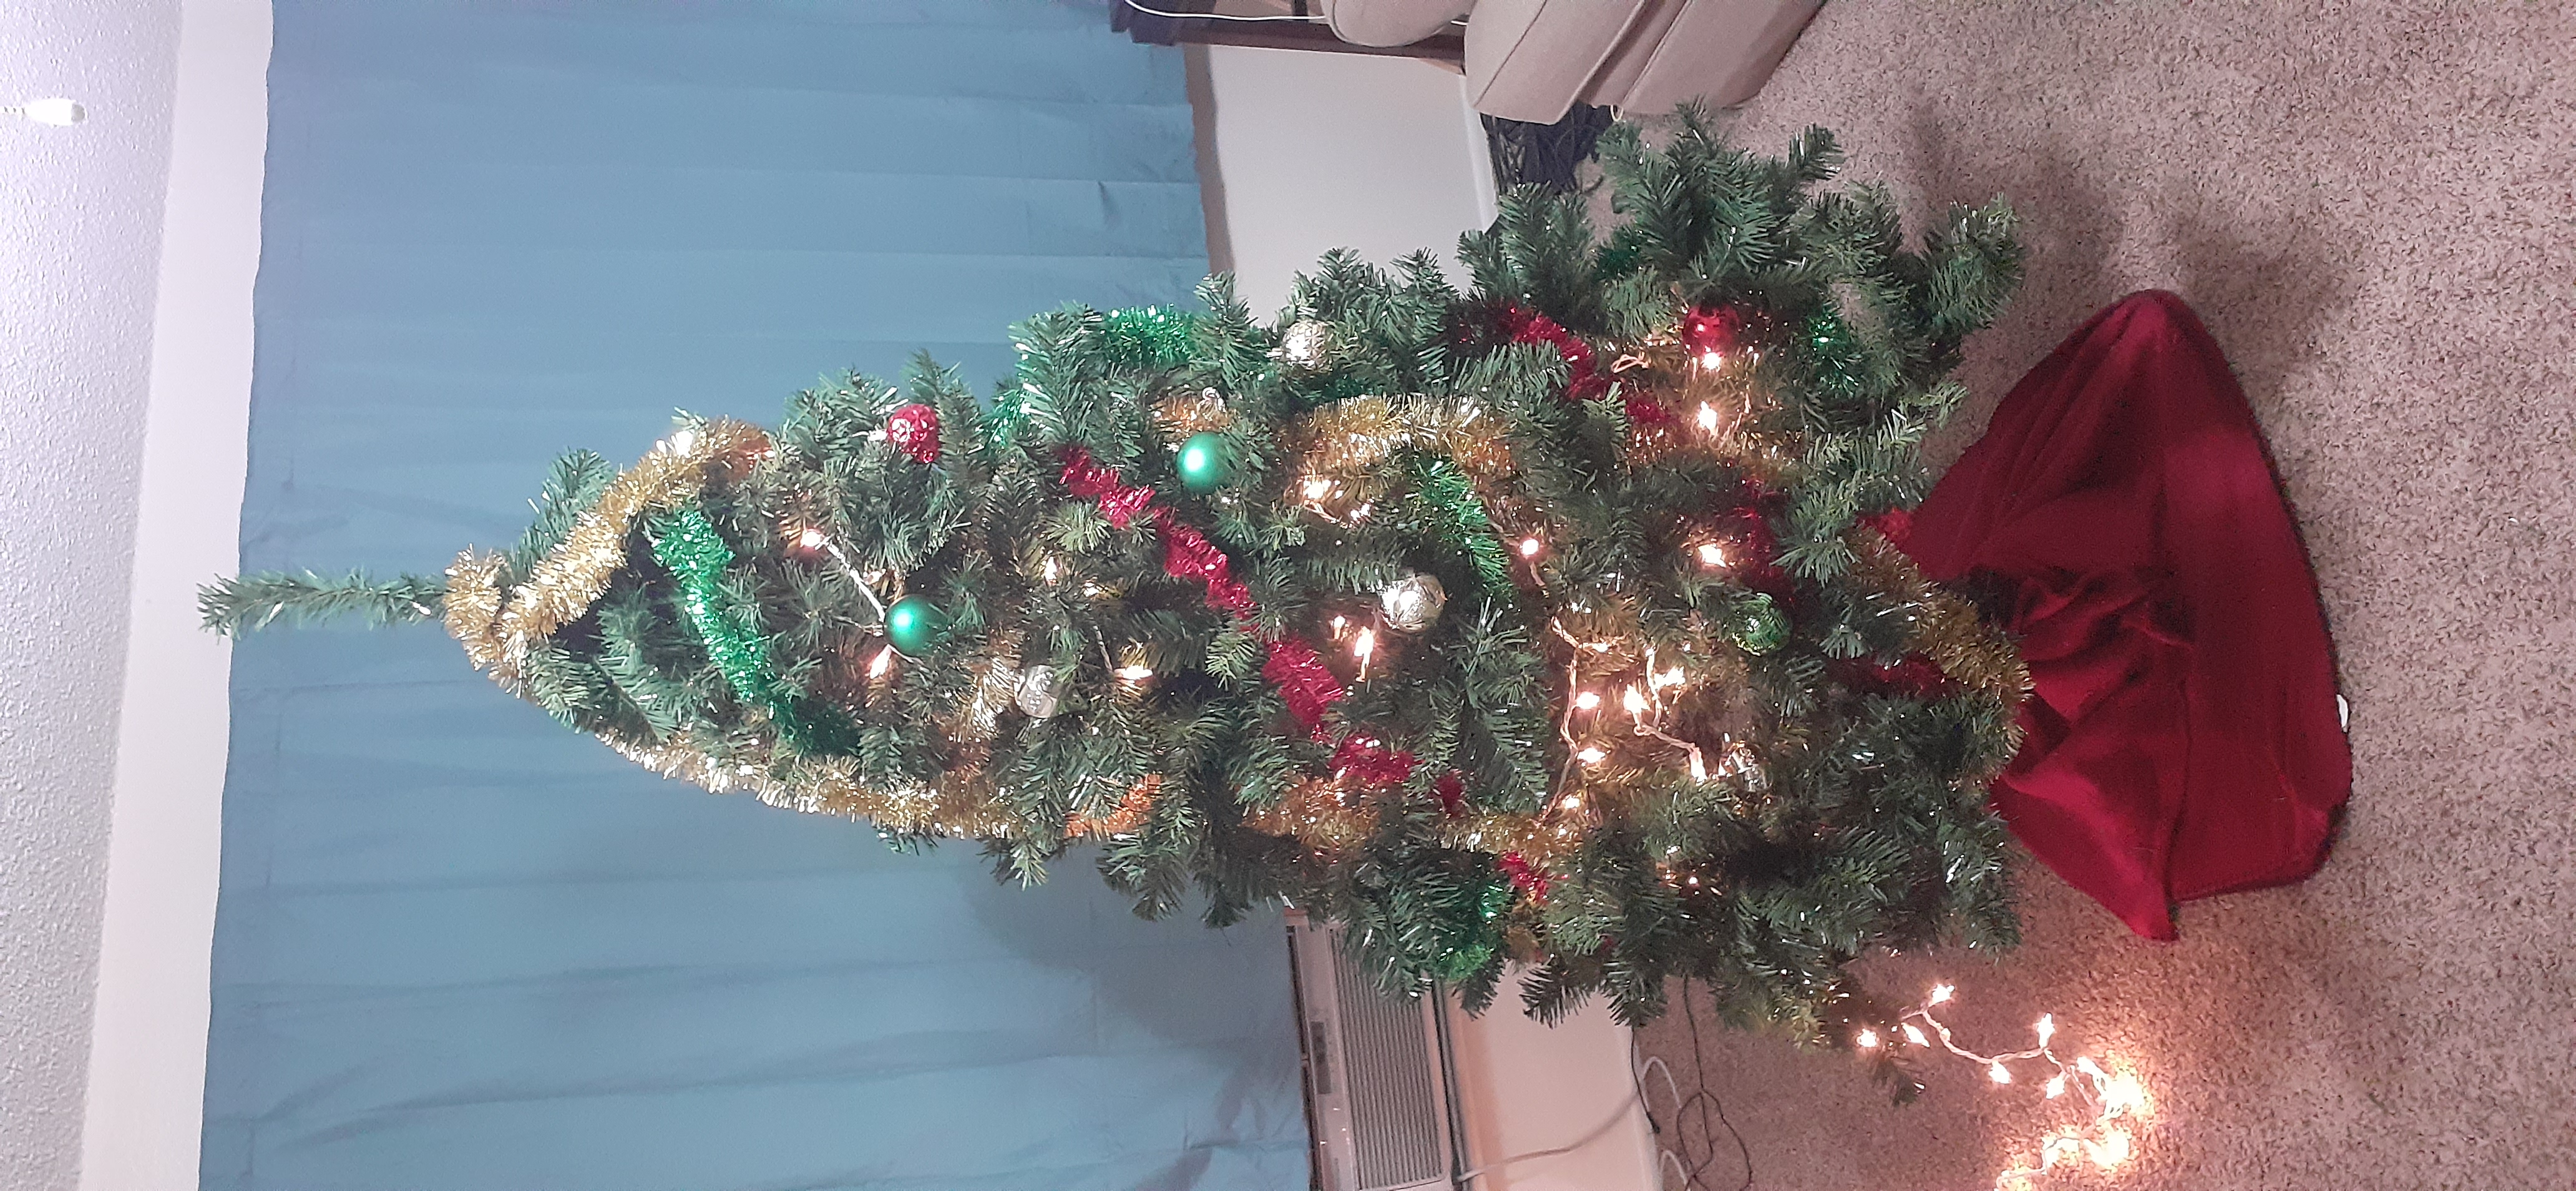
By the end of these instructions, your tree will look like this!
(actual results may vary)
The Steps
Here are the steps it will take to set up your tree:
Before You Start
Many of the following steps will require you to do things that may result in damage to property, and may injure you or others.
Some of these activities include (but are not limited to):
- Lifting objects into the air
- Handling delicate glass ornaments
- Hanging objects on tree branches
- Walking with objects in your hands
- . . . and more.
Each of these activities carries with it inherent risk of injury. (For example, if you do not clear the area around the tree, you may trip and fall as you walk around the tree to place the ornaments.)
By participating in or attempting to carry out any of the steps in this instruction manual, you are signifying that you understand the danger involved and will not hold SpAlGa or any of its affiliates responsible for any injury or damages you incur in the process of following these instructions.
If at any time you feel uncomfortable with any of these steps, or if you feel that you are not in control of what is happening, STOP! Gently place anything you have in your hands onto a safe, stable place, and do not continue until you feel comfortable and can continue the instructions safely.
Step 1: Decide Where to Put the Tree
In the room where you will be setting up the tree, choose a large section of empty floor. This will be where you will be setting up the tree.
As you do this, keep in mind:
- Once you set up the tree, you will not be able to move it.
-
The tree is 4 feet wide. You must leave yourself enough room to comfortably walk all the way around the tree.
A safe area size is 9 feet by 9 feet. This will leave you space for a walkway around the entire tree that is 2.5 feet wide.
-
The tree is 7 feet tall. Make sure that the ceiling above where you plan to put the tree is tall enough to put up the tree AND whatever topper you place on top.
A safe height for the tree area would be about 8 feet. This will leave you space for a topper that is up to 1 foot tall.
- The tree needs to be close enough to a power outlet to be able to plug in the lights.


Trip Hazard: Make sure that where you place the tree doesn't force you to lay electrical cords across high-traffic areas (such as doorways or hallways).
Caution: You may need to move furniture and other objects out of the tree area you choose. Use care as you do so. Ask others for help moving heavy items.
Once you have chosen an area for your tree, proceed to step 2.
Step 2: Assemble the Tree
Now to business! Before you begin assembling the tree, make sure that you have each of these items:
- Plastic Tree Feet (x4)
- Tree Skirt
- Bottom Tree Section
- Middle Tree Section
- Top Tree Section
Once you have all of the above items ready to use, proceed with these steps:
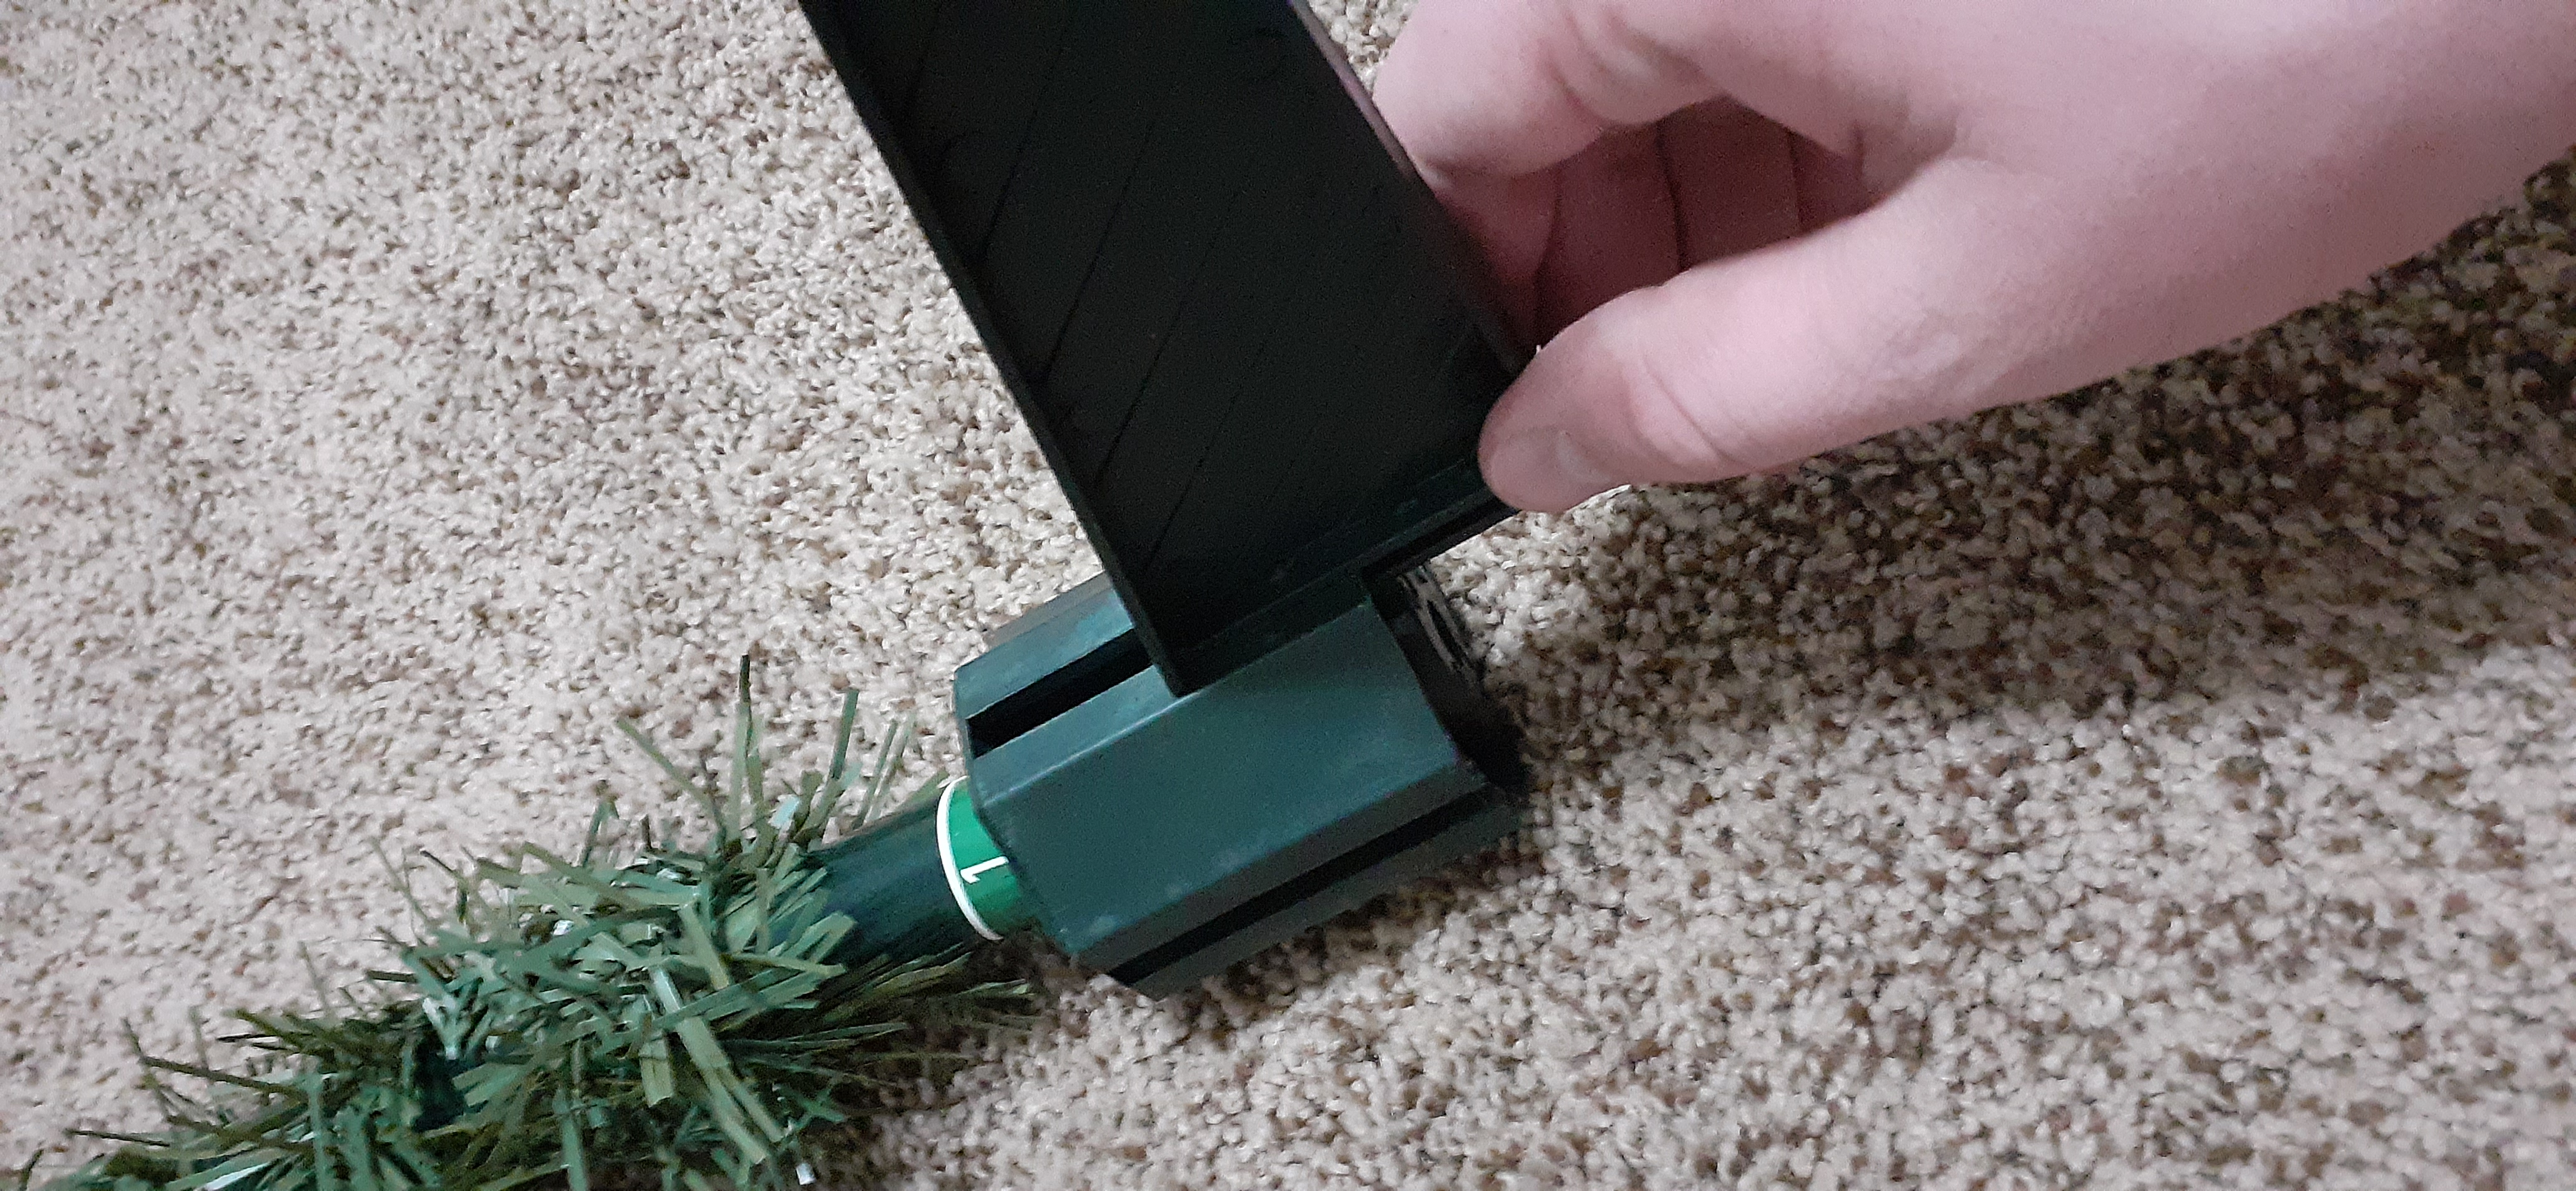
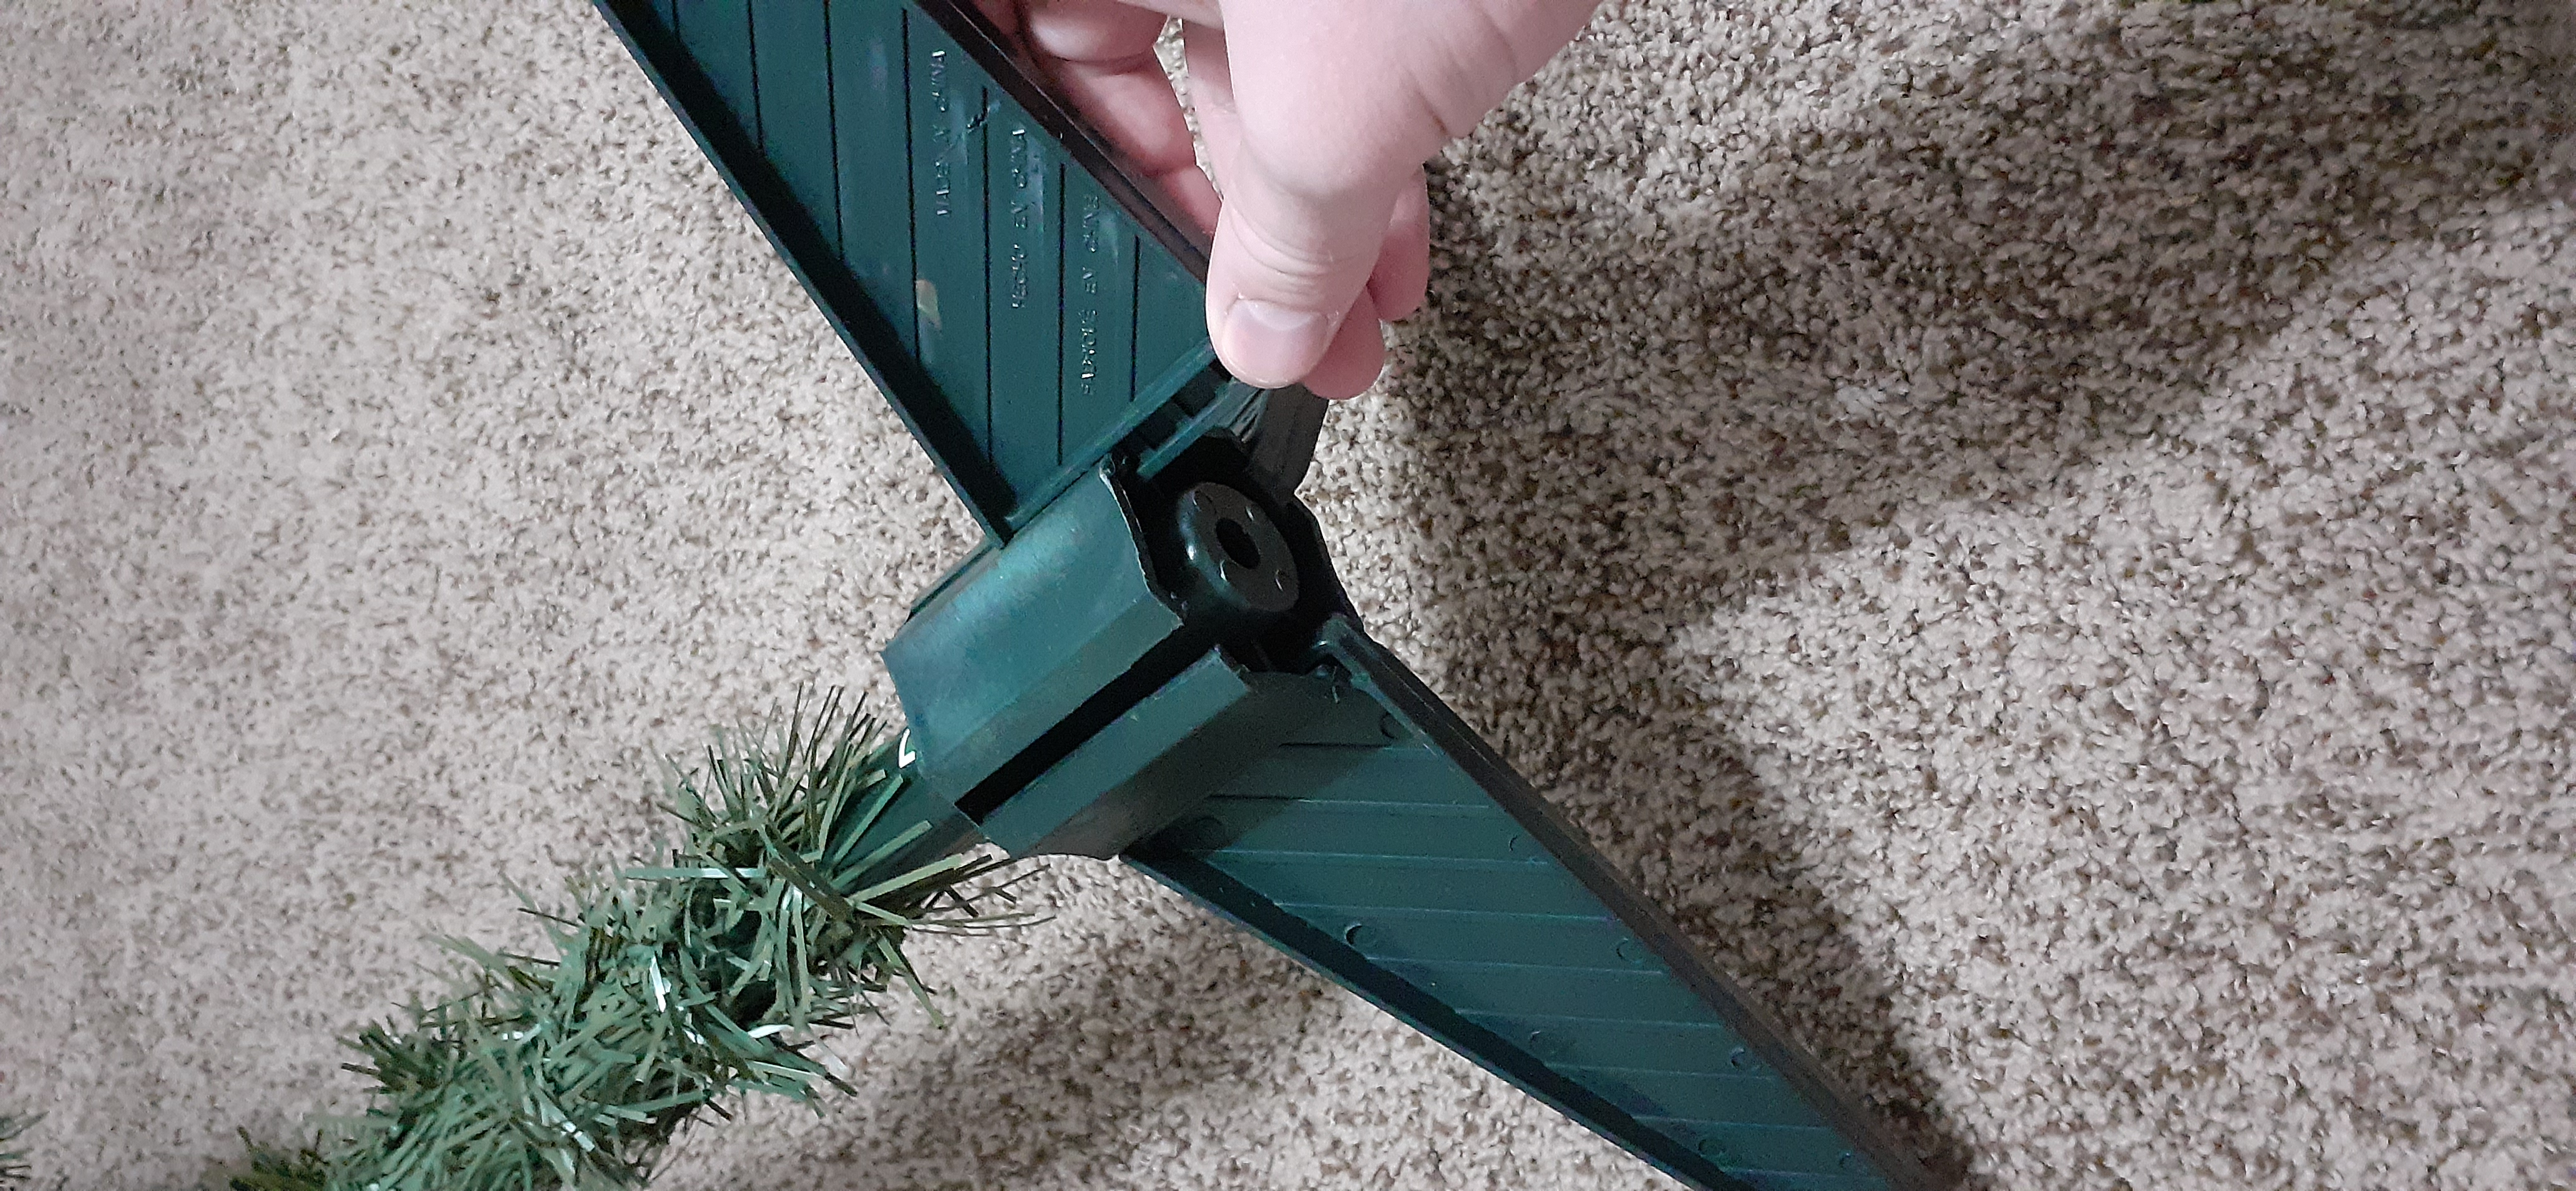
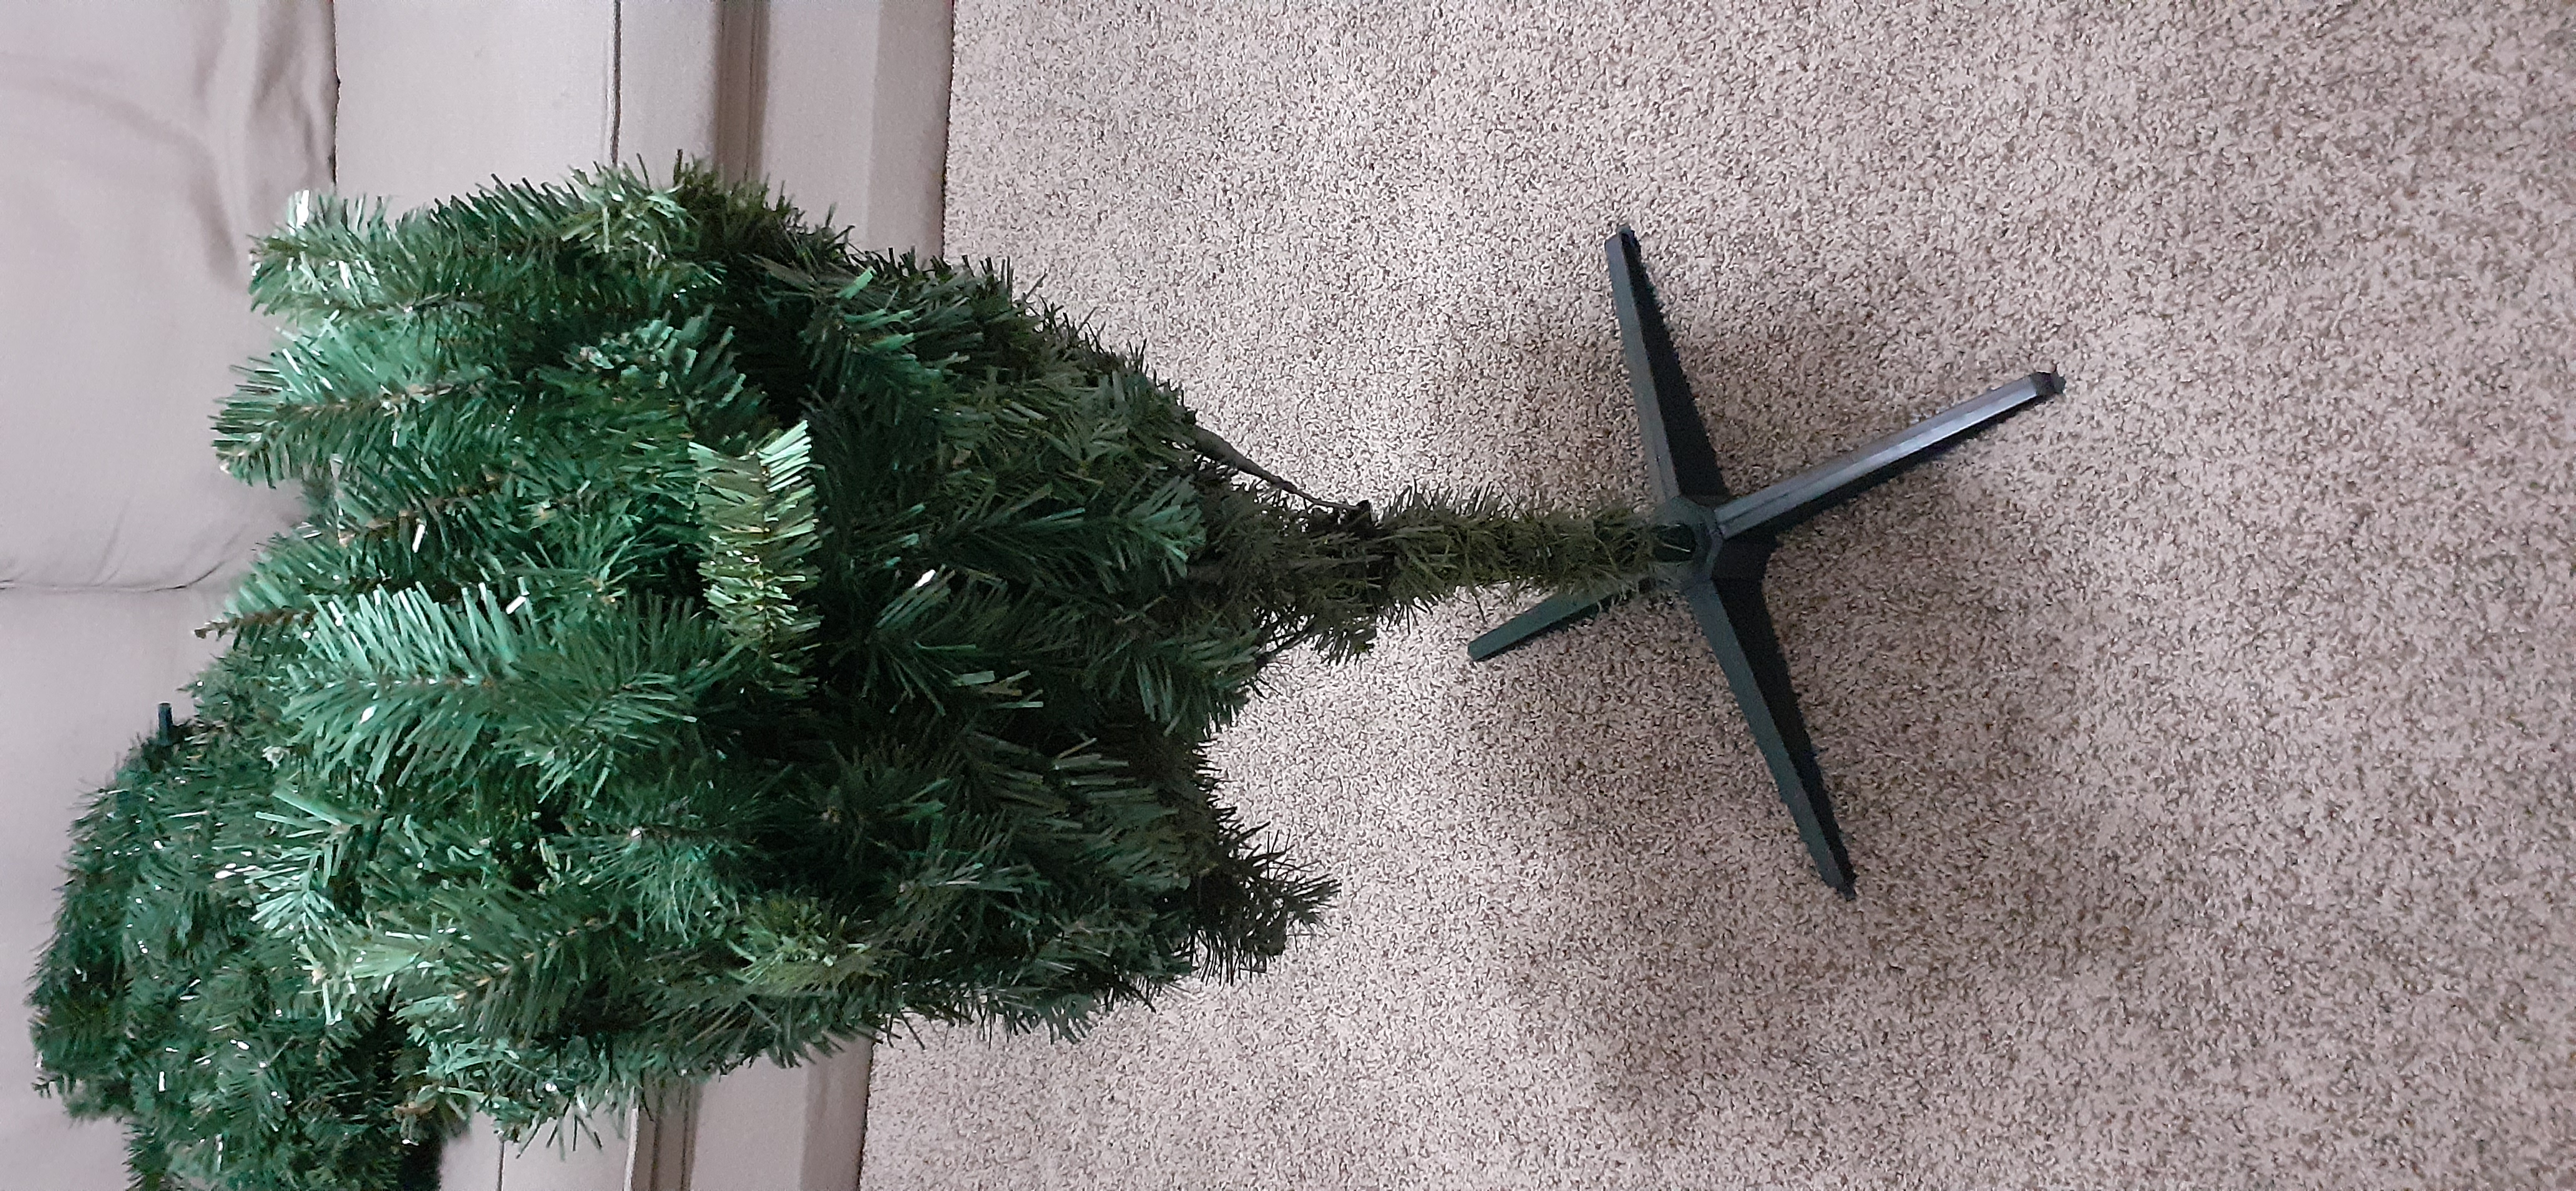
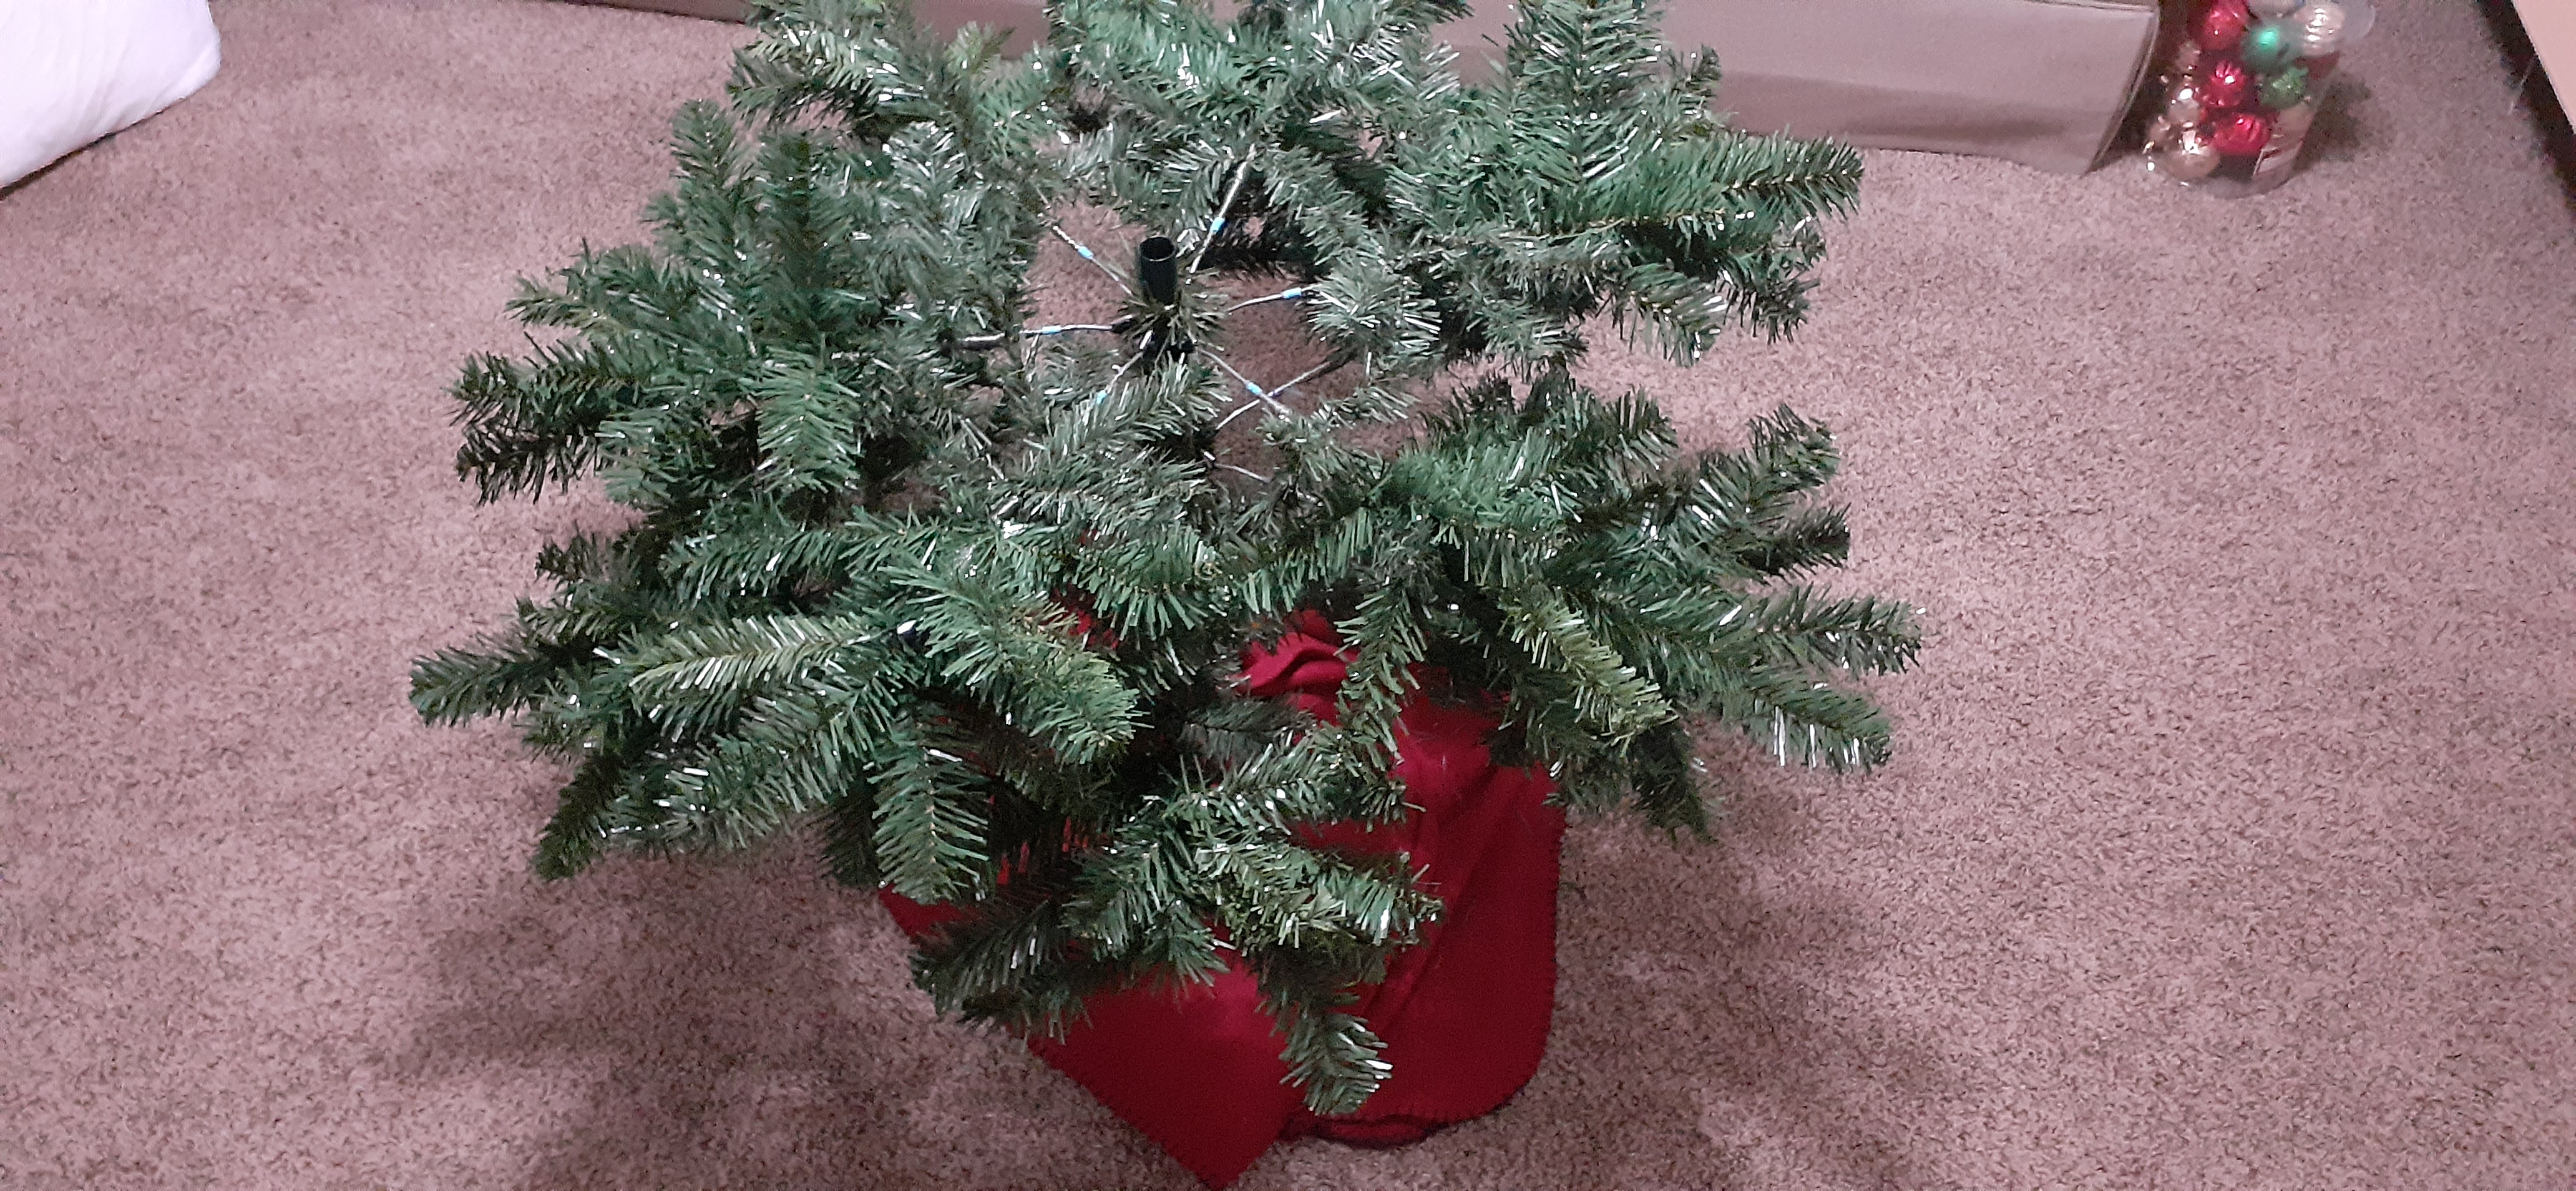
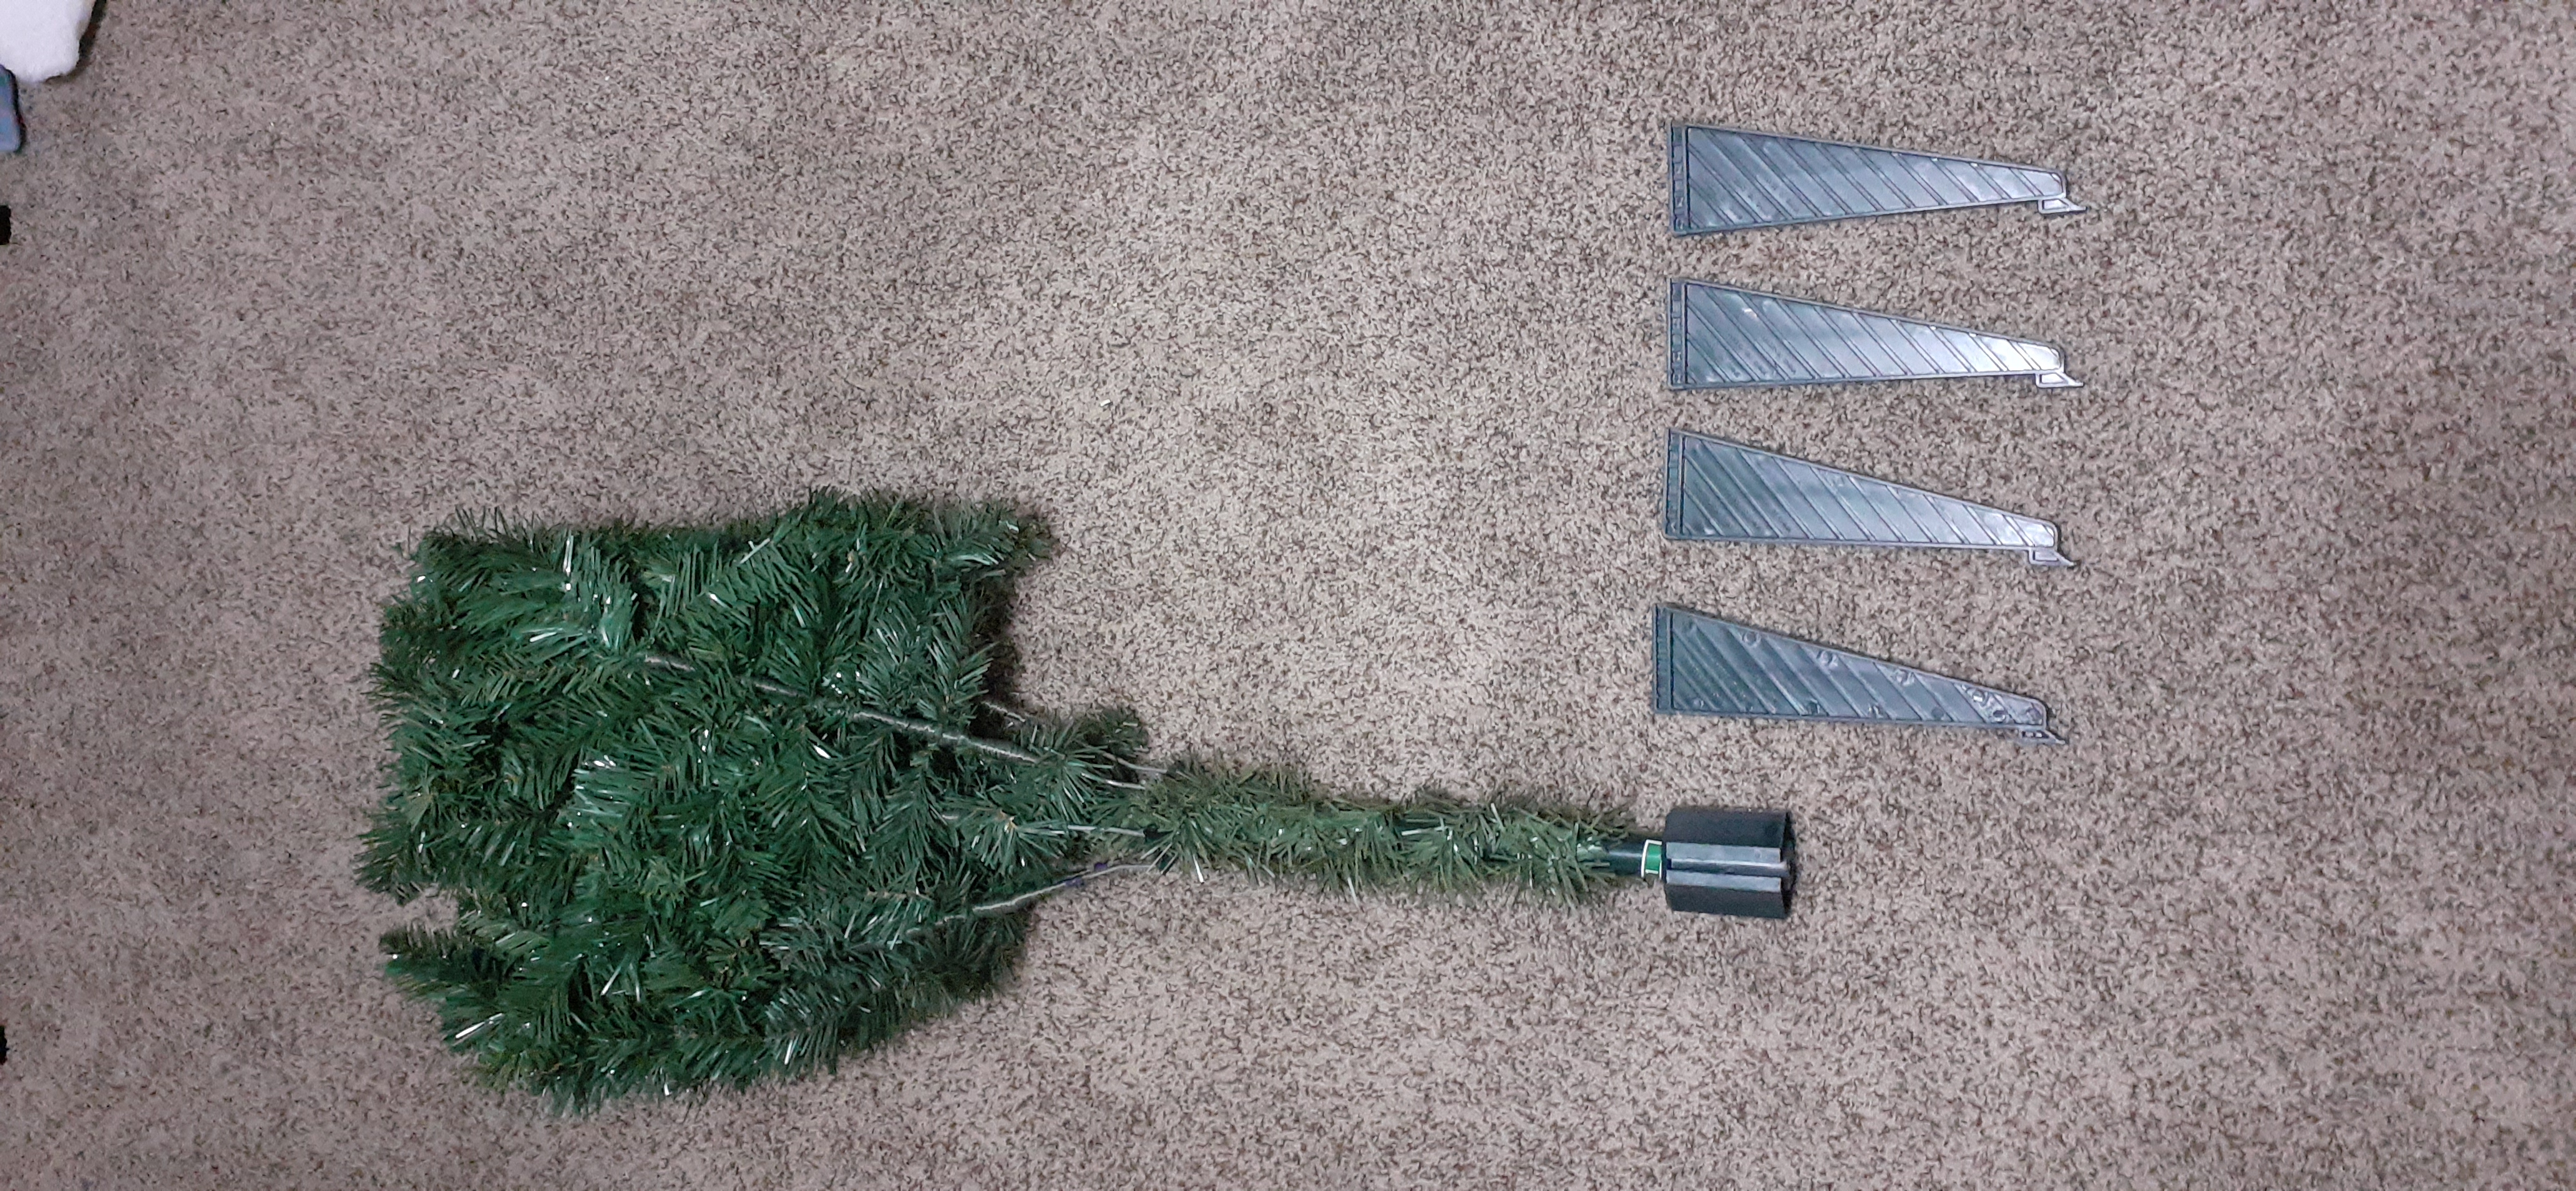
- Lay the bottom tree section (labeled with the number 1) in the center of the area you identified in Step 1.
- Slide each plastic foot into the base of the bottom tree section until it clicks. If you've done this correctly, the tree should look like this:

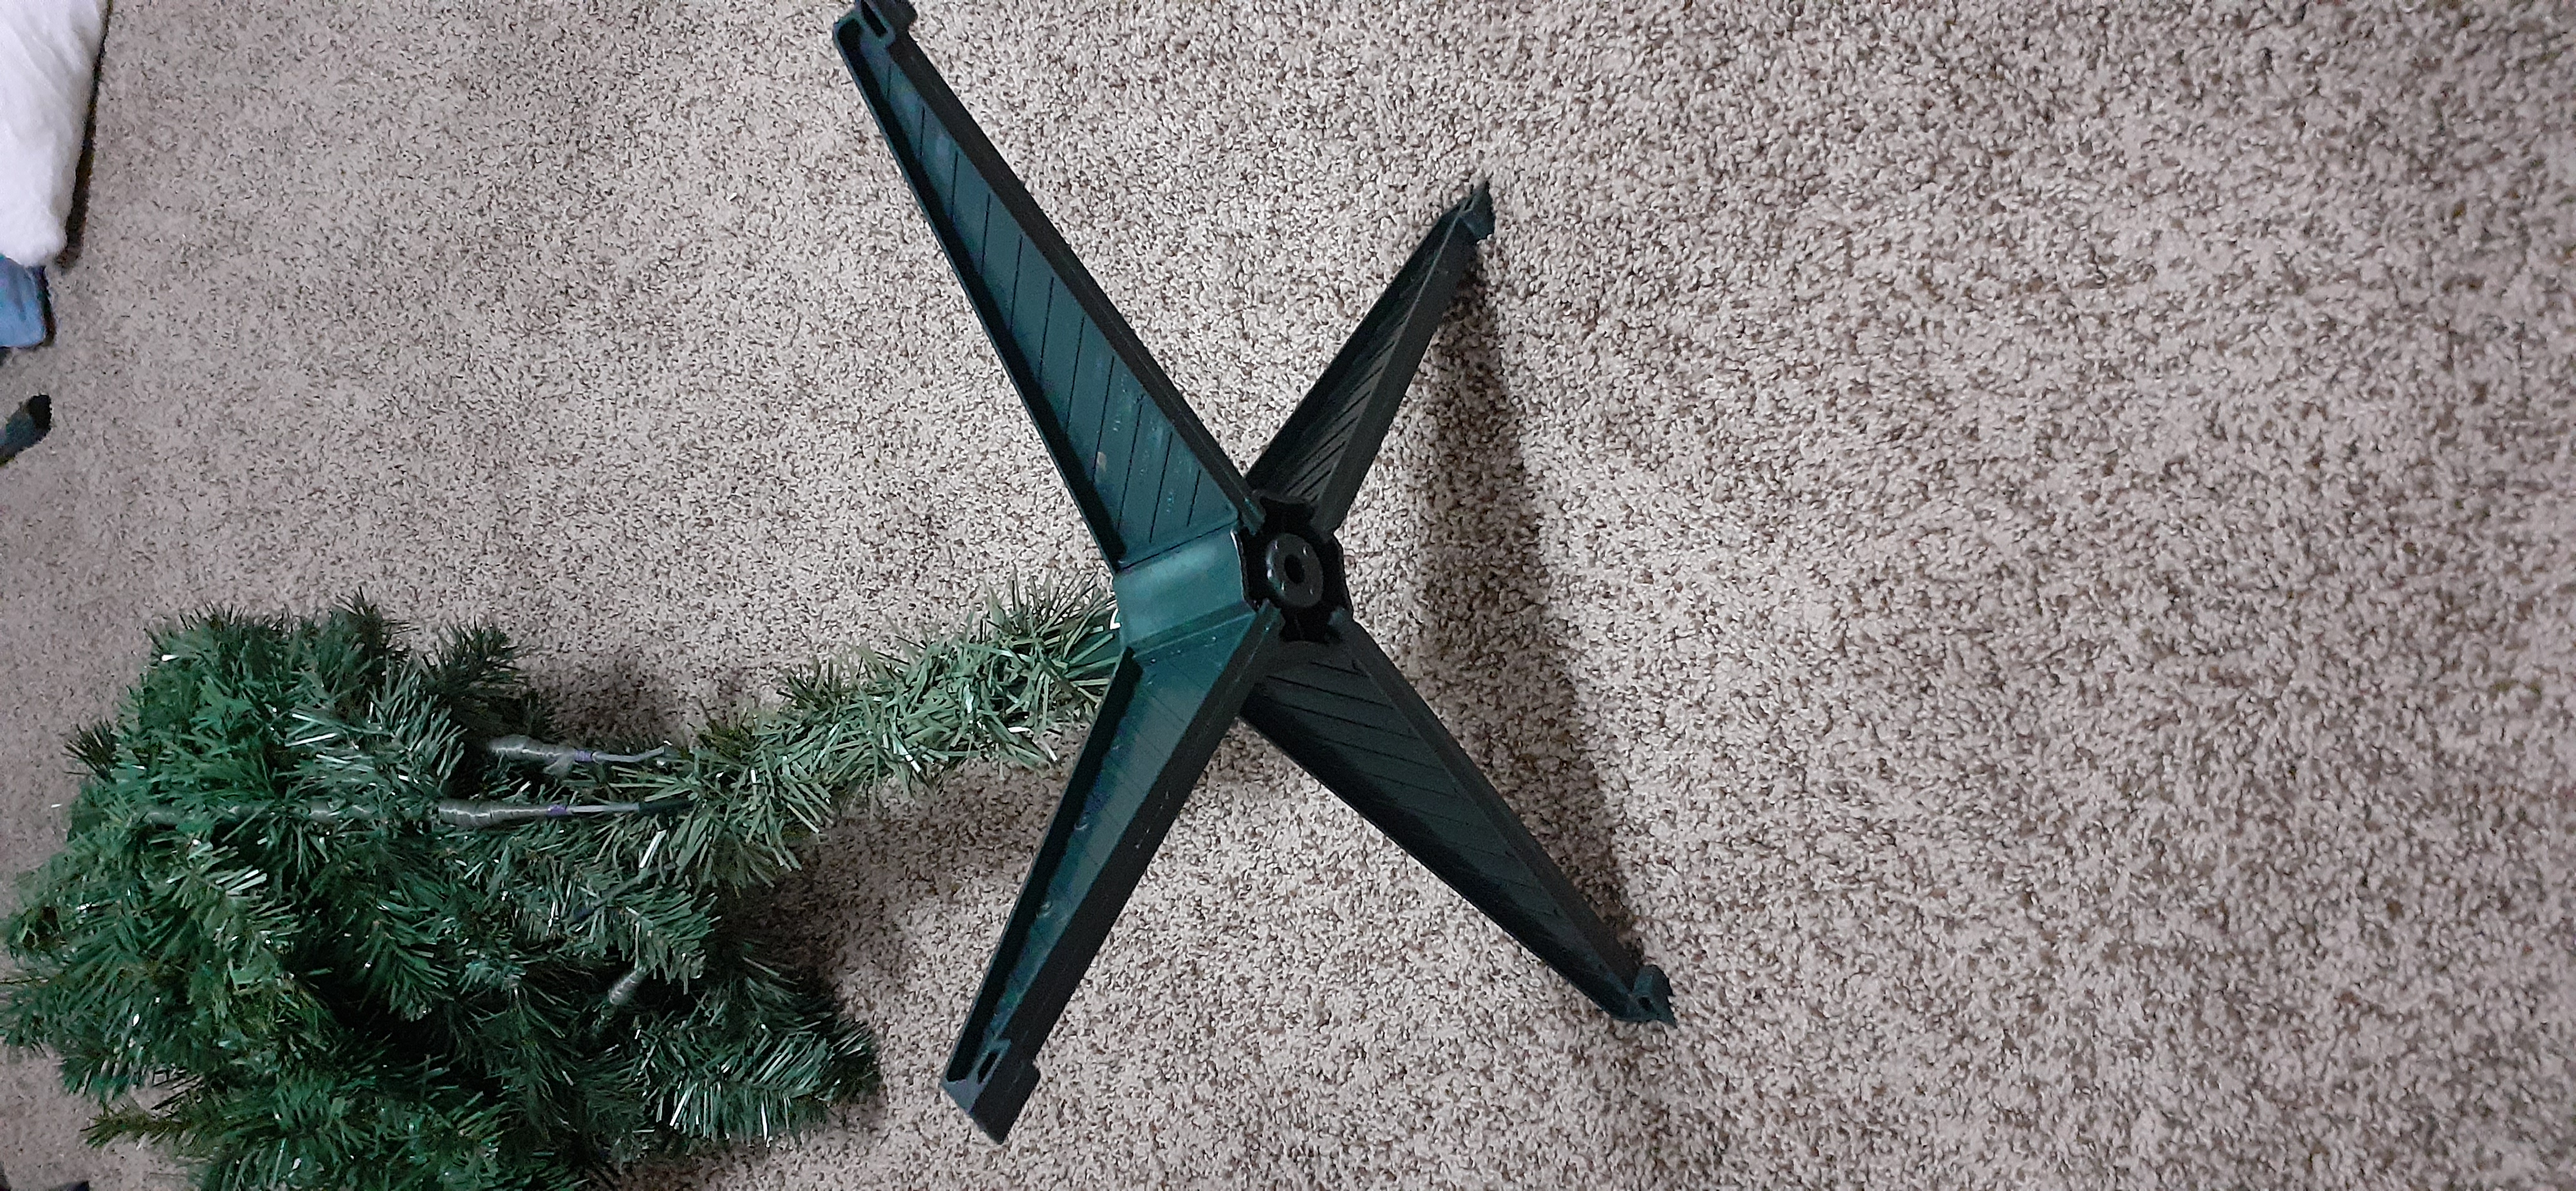
- Carefully stand the tree up, making sure that it is stable before releasing it.
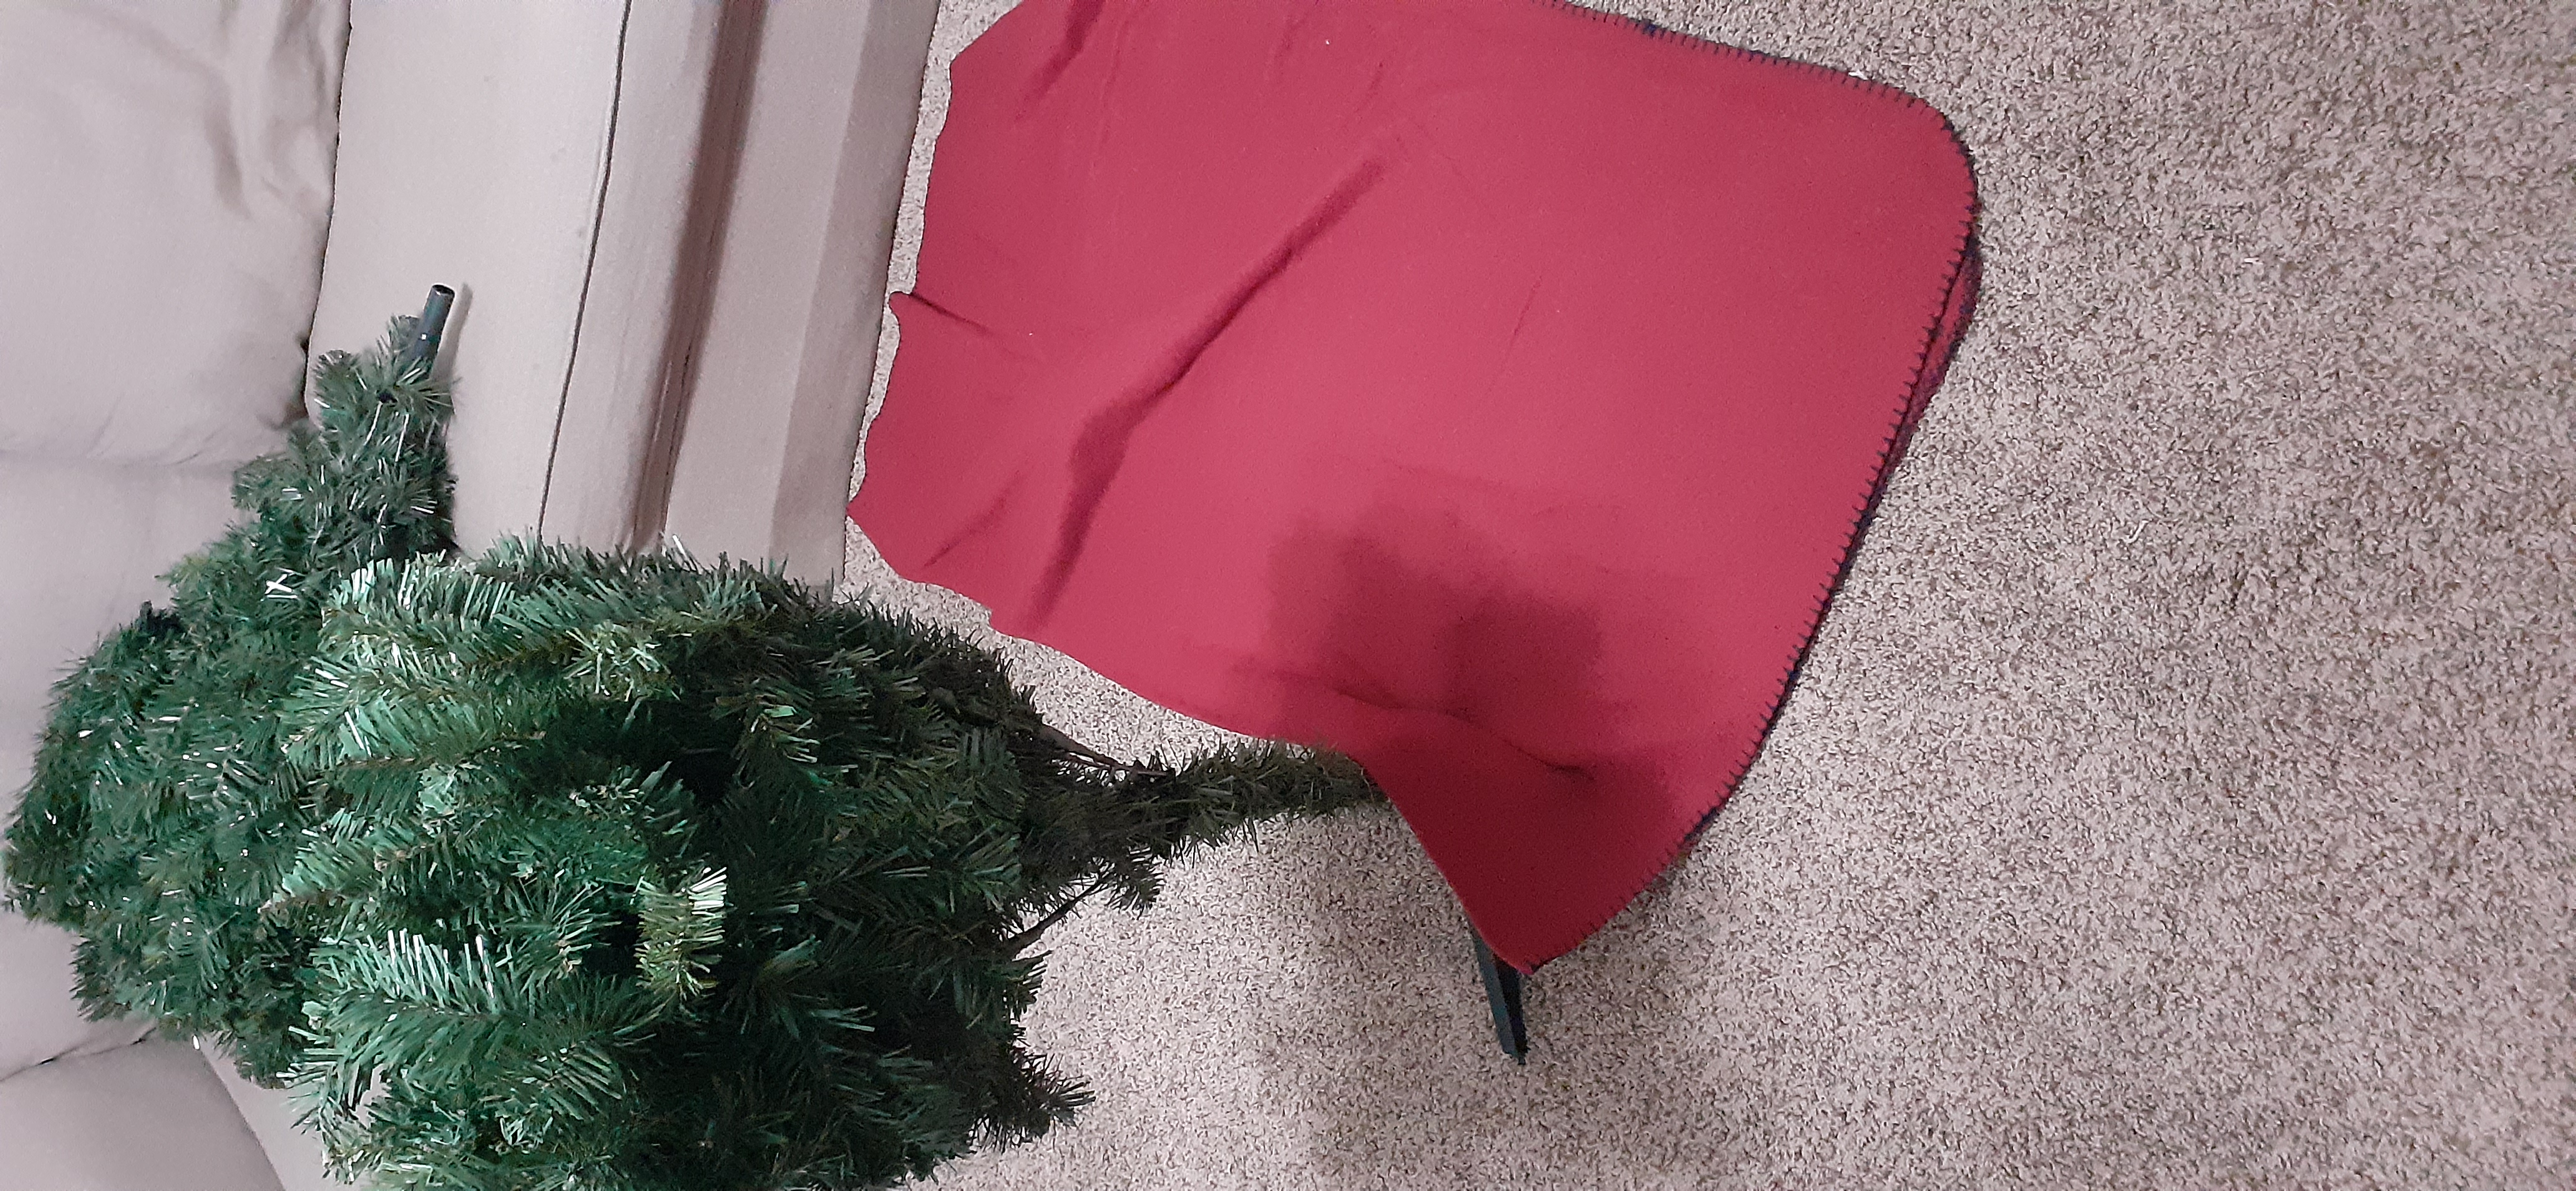
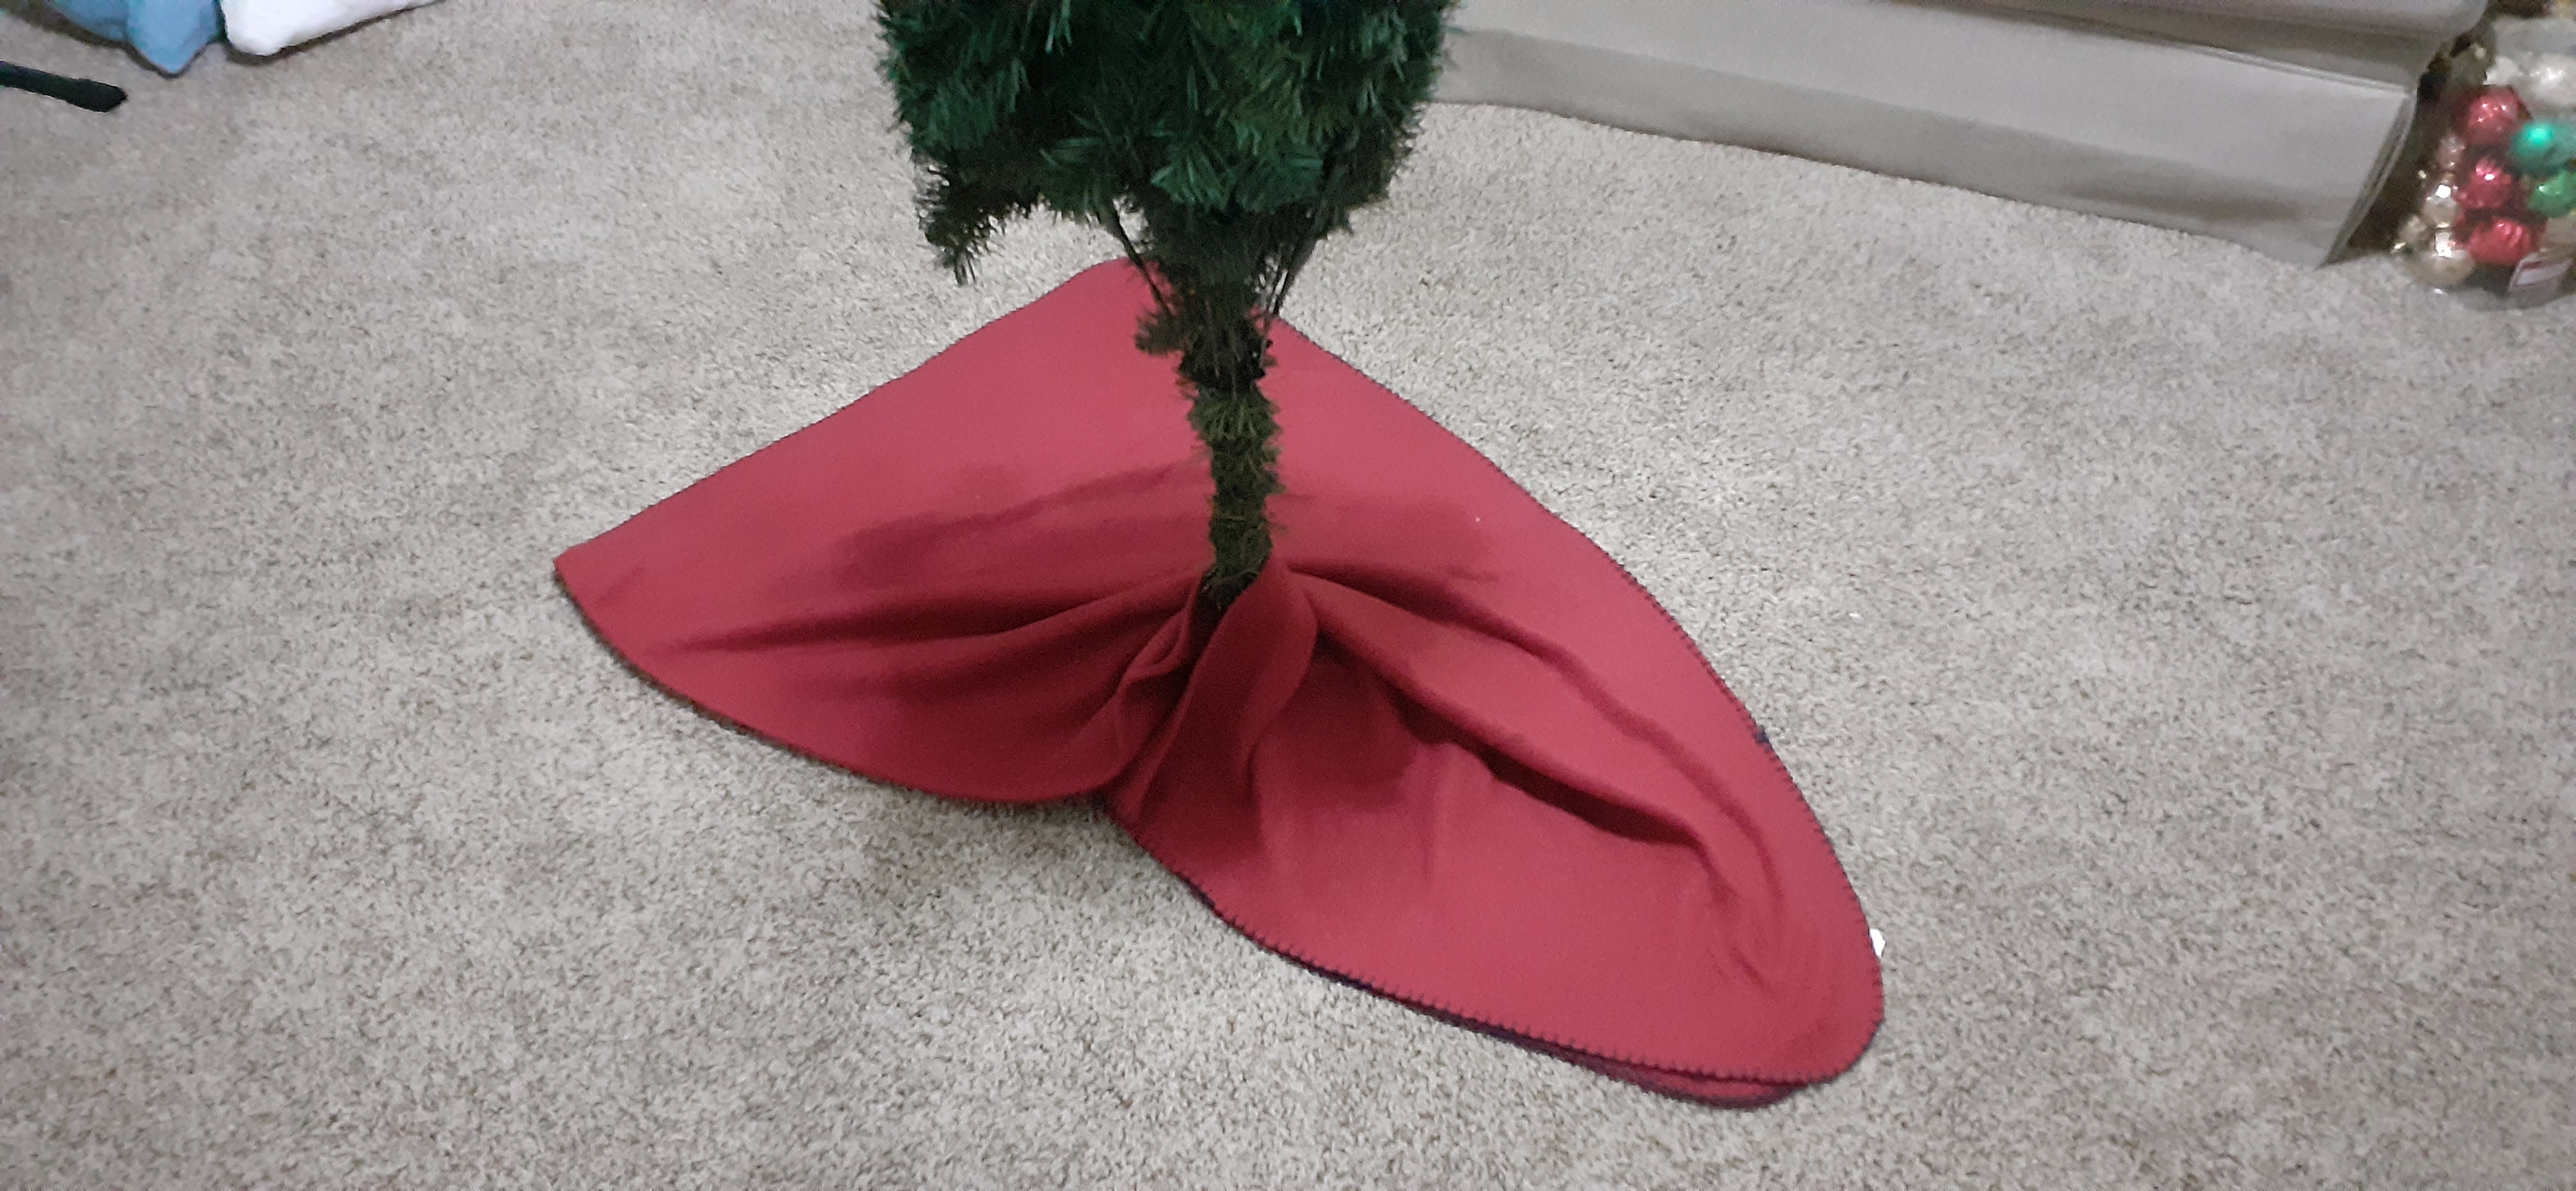
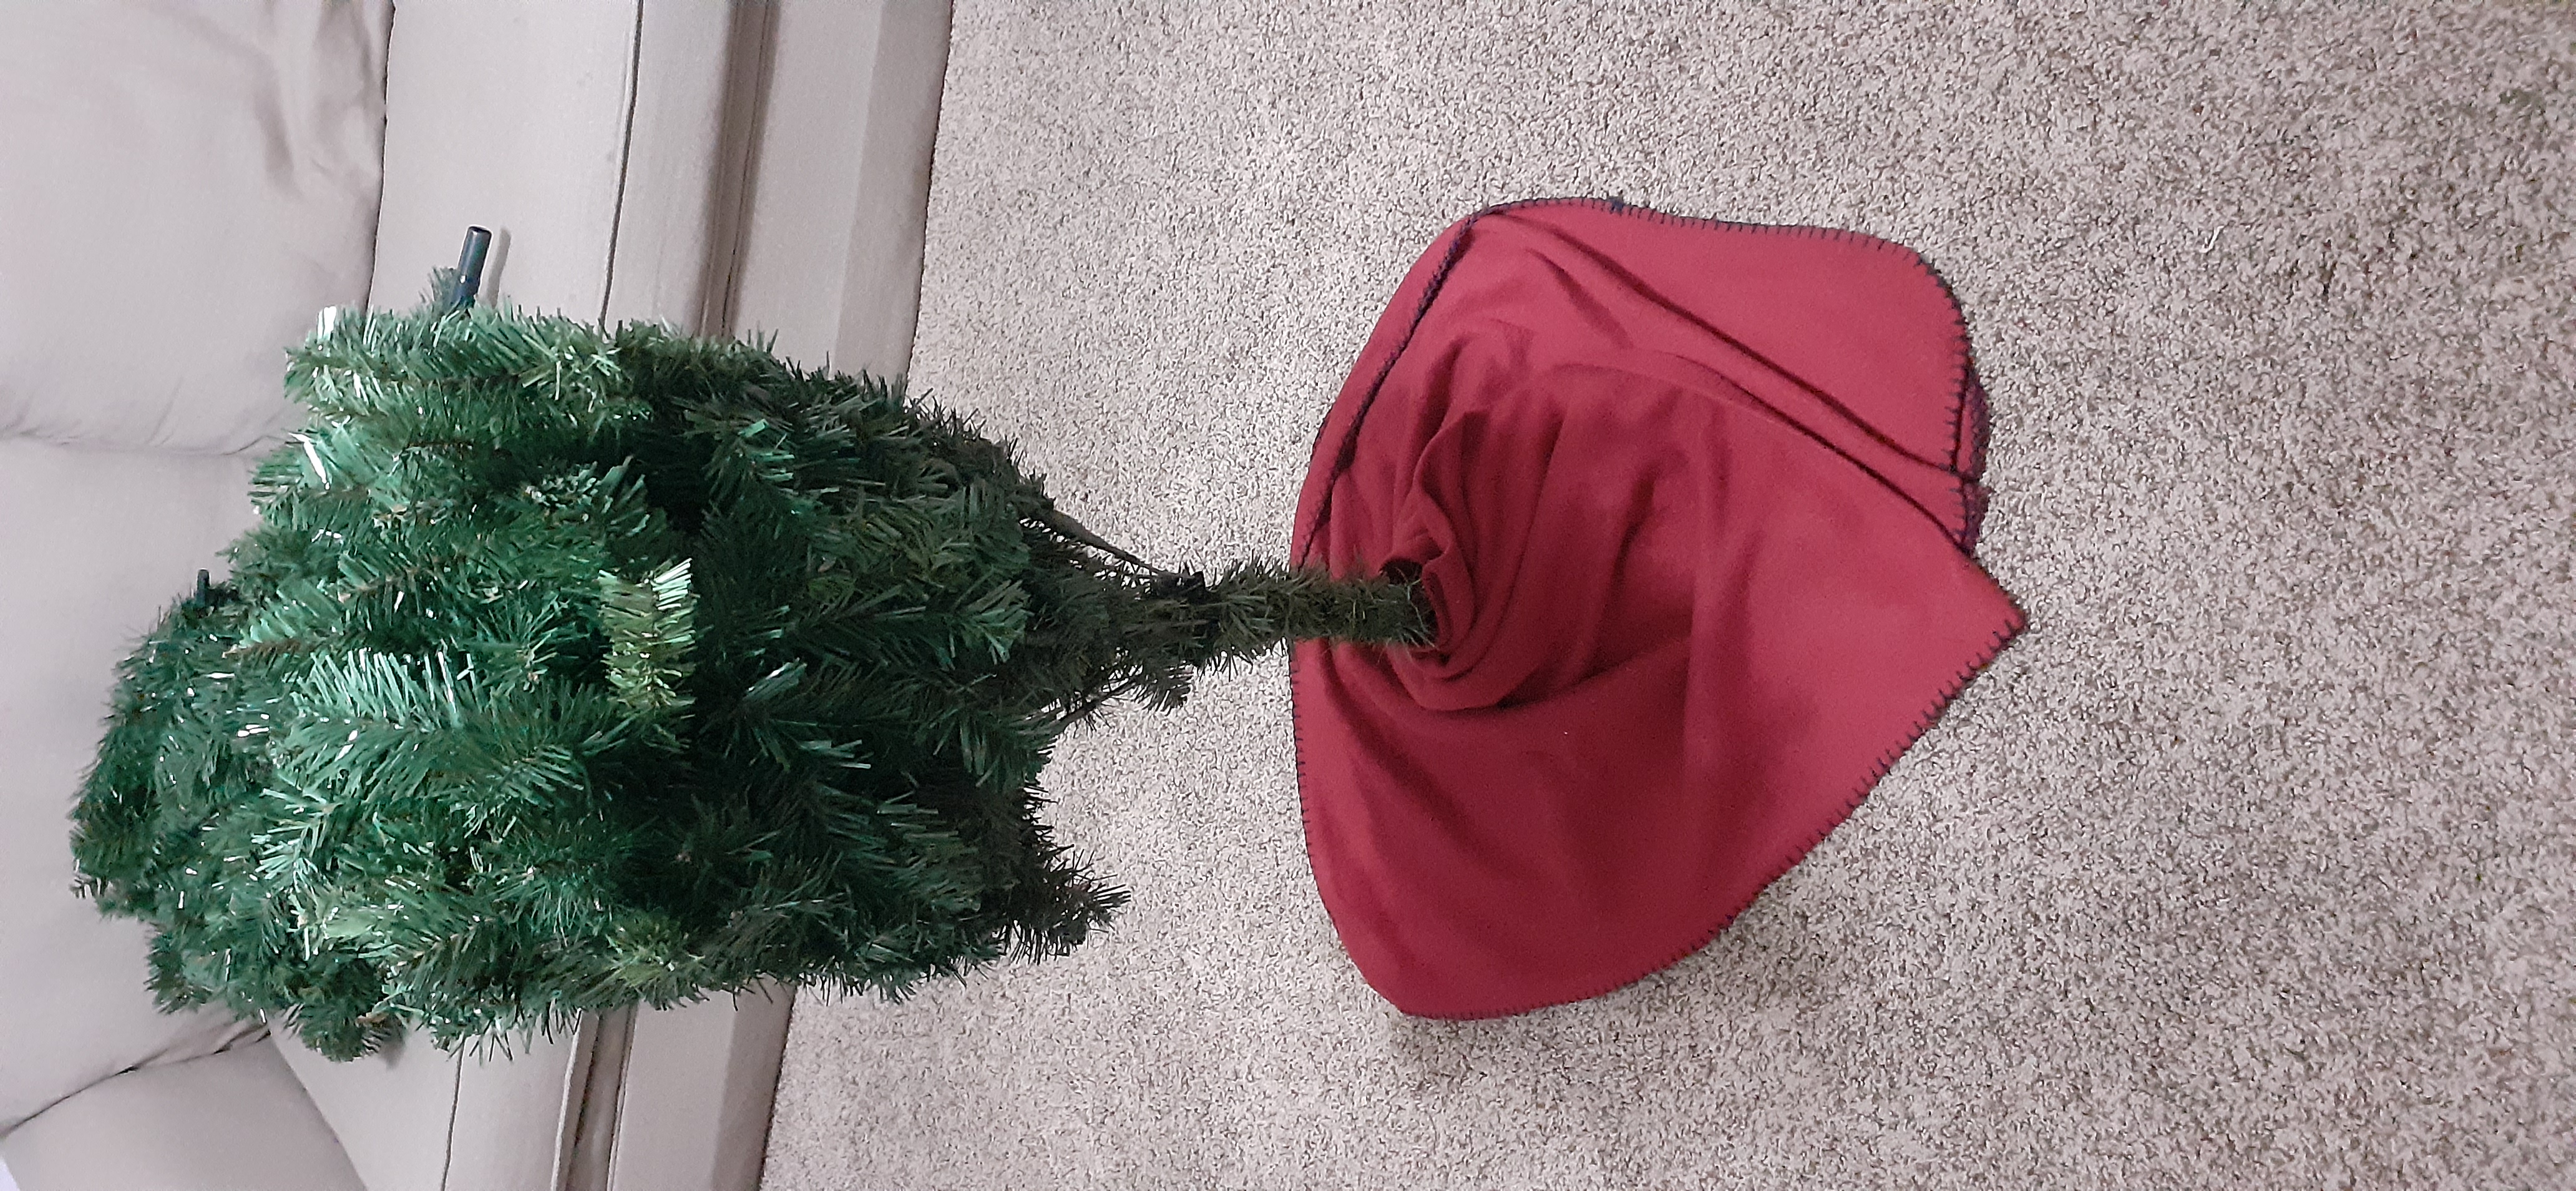
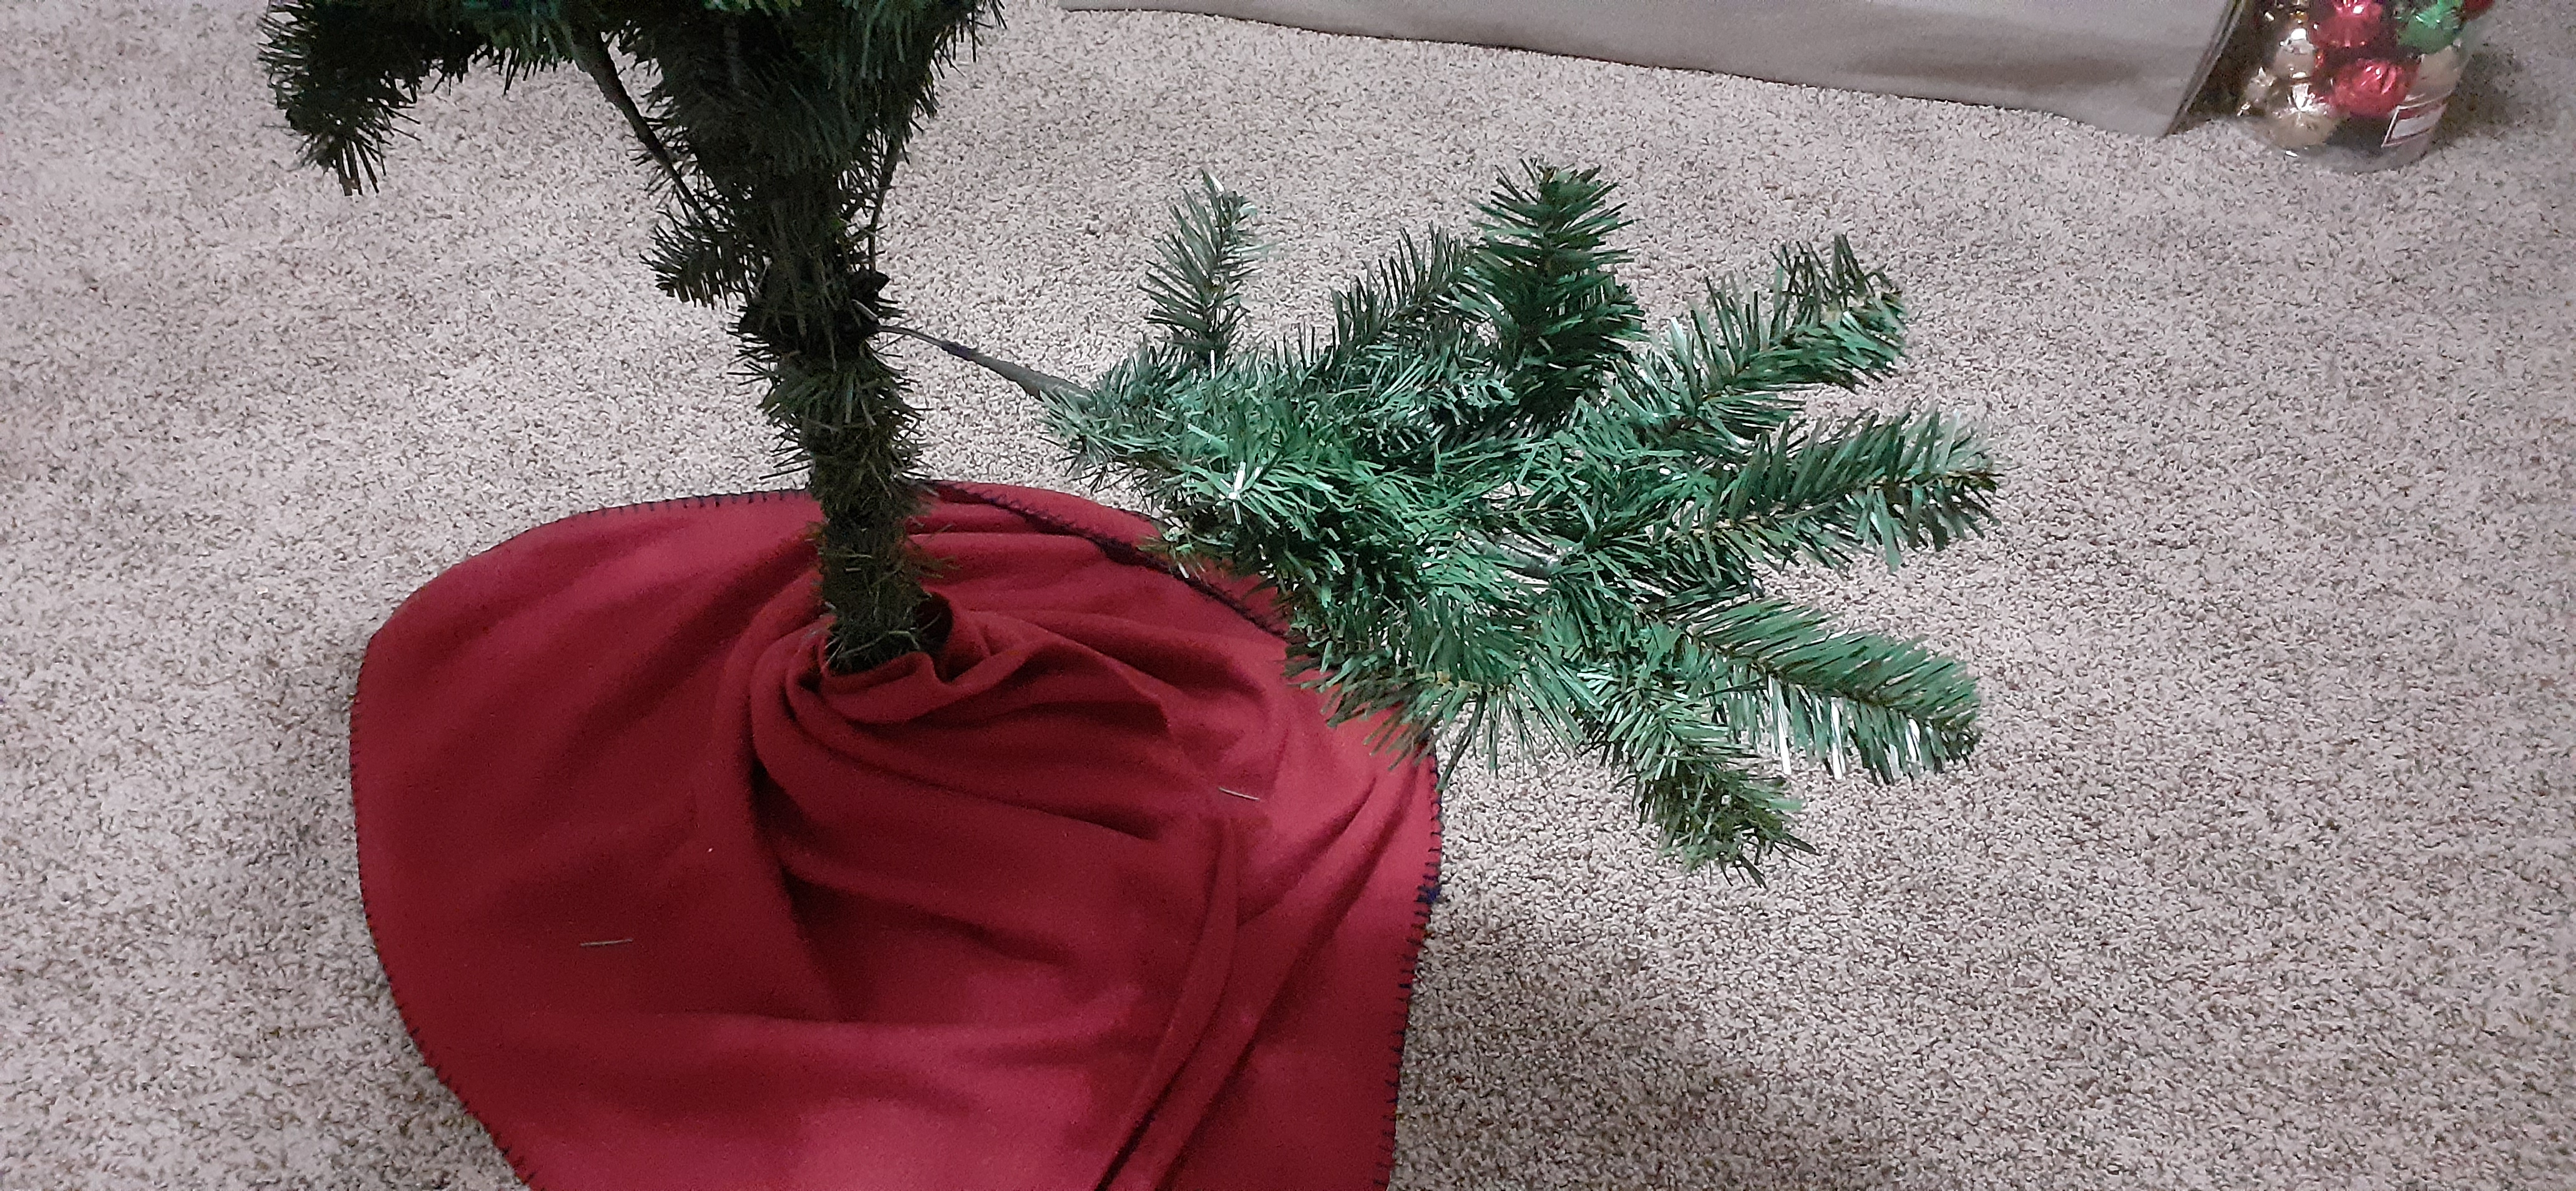
- Next, lay the tree skirt over the base. This will make the finished product look better, and it will also make cleanup easier by catching any fake pine needles that fall.
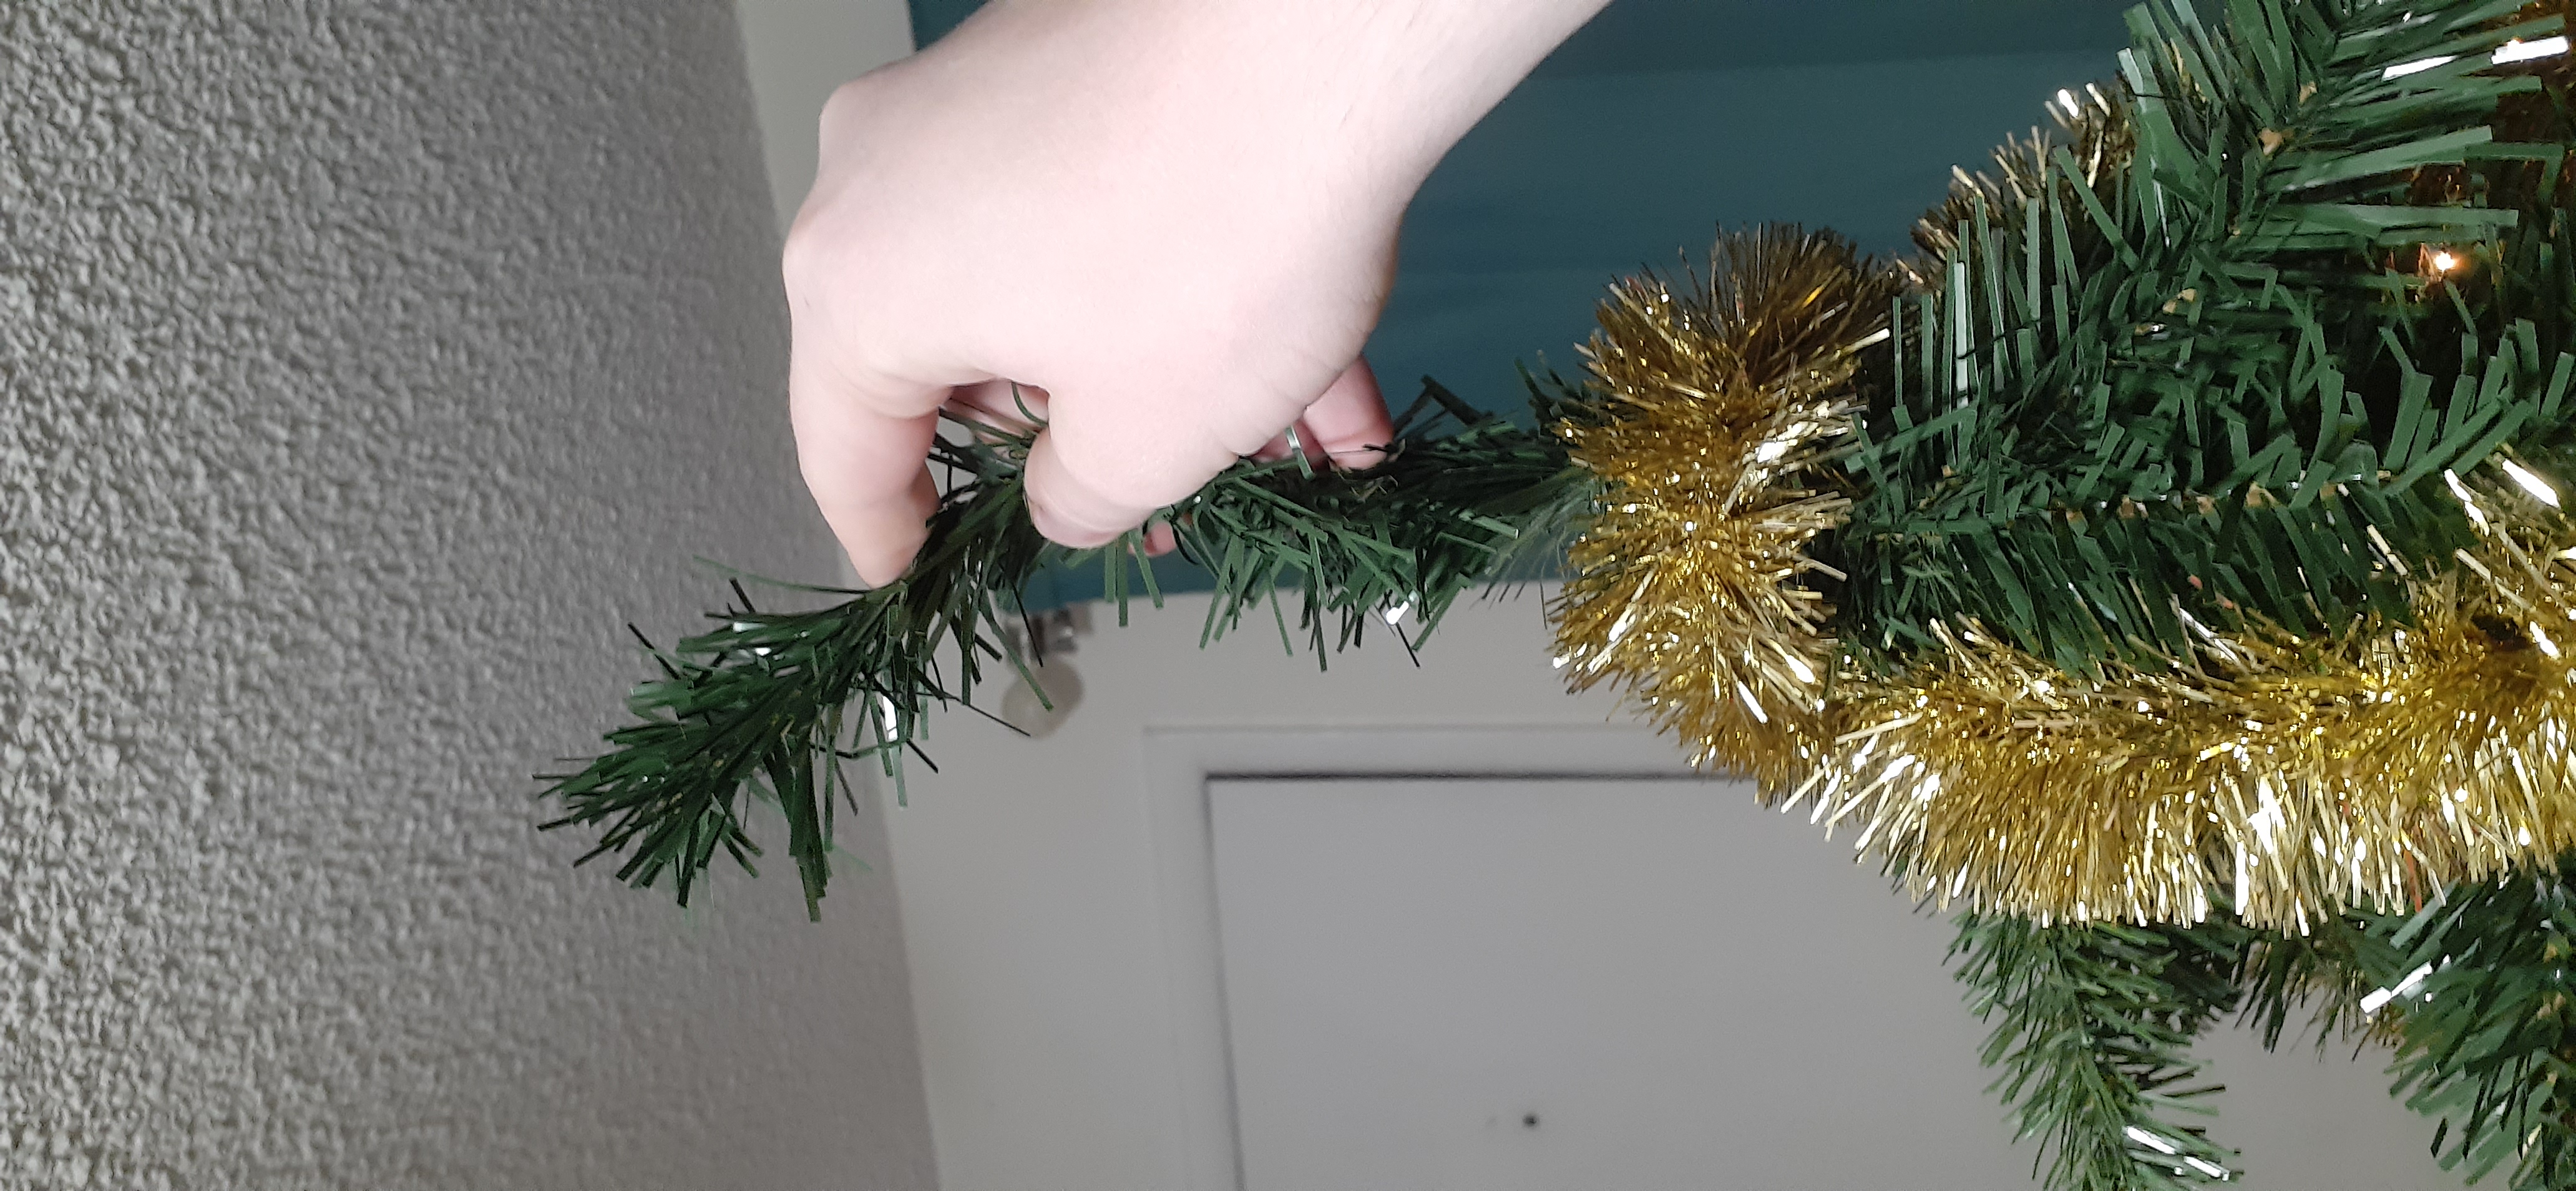
-
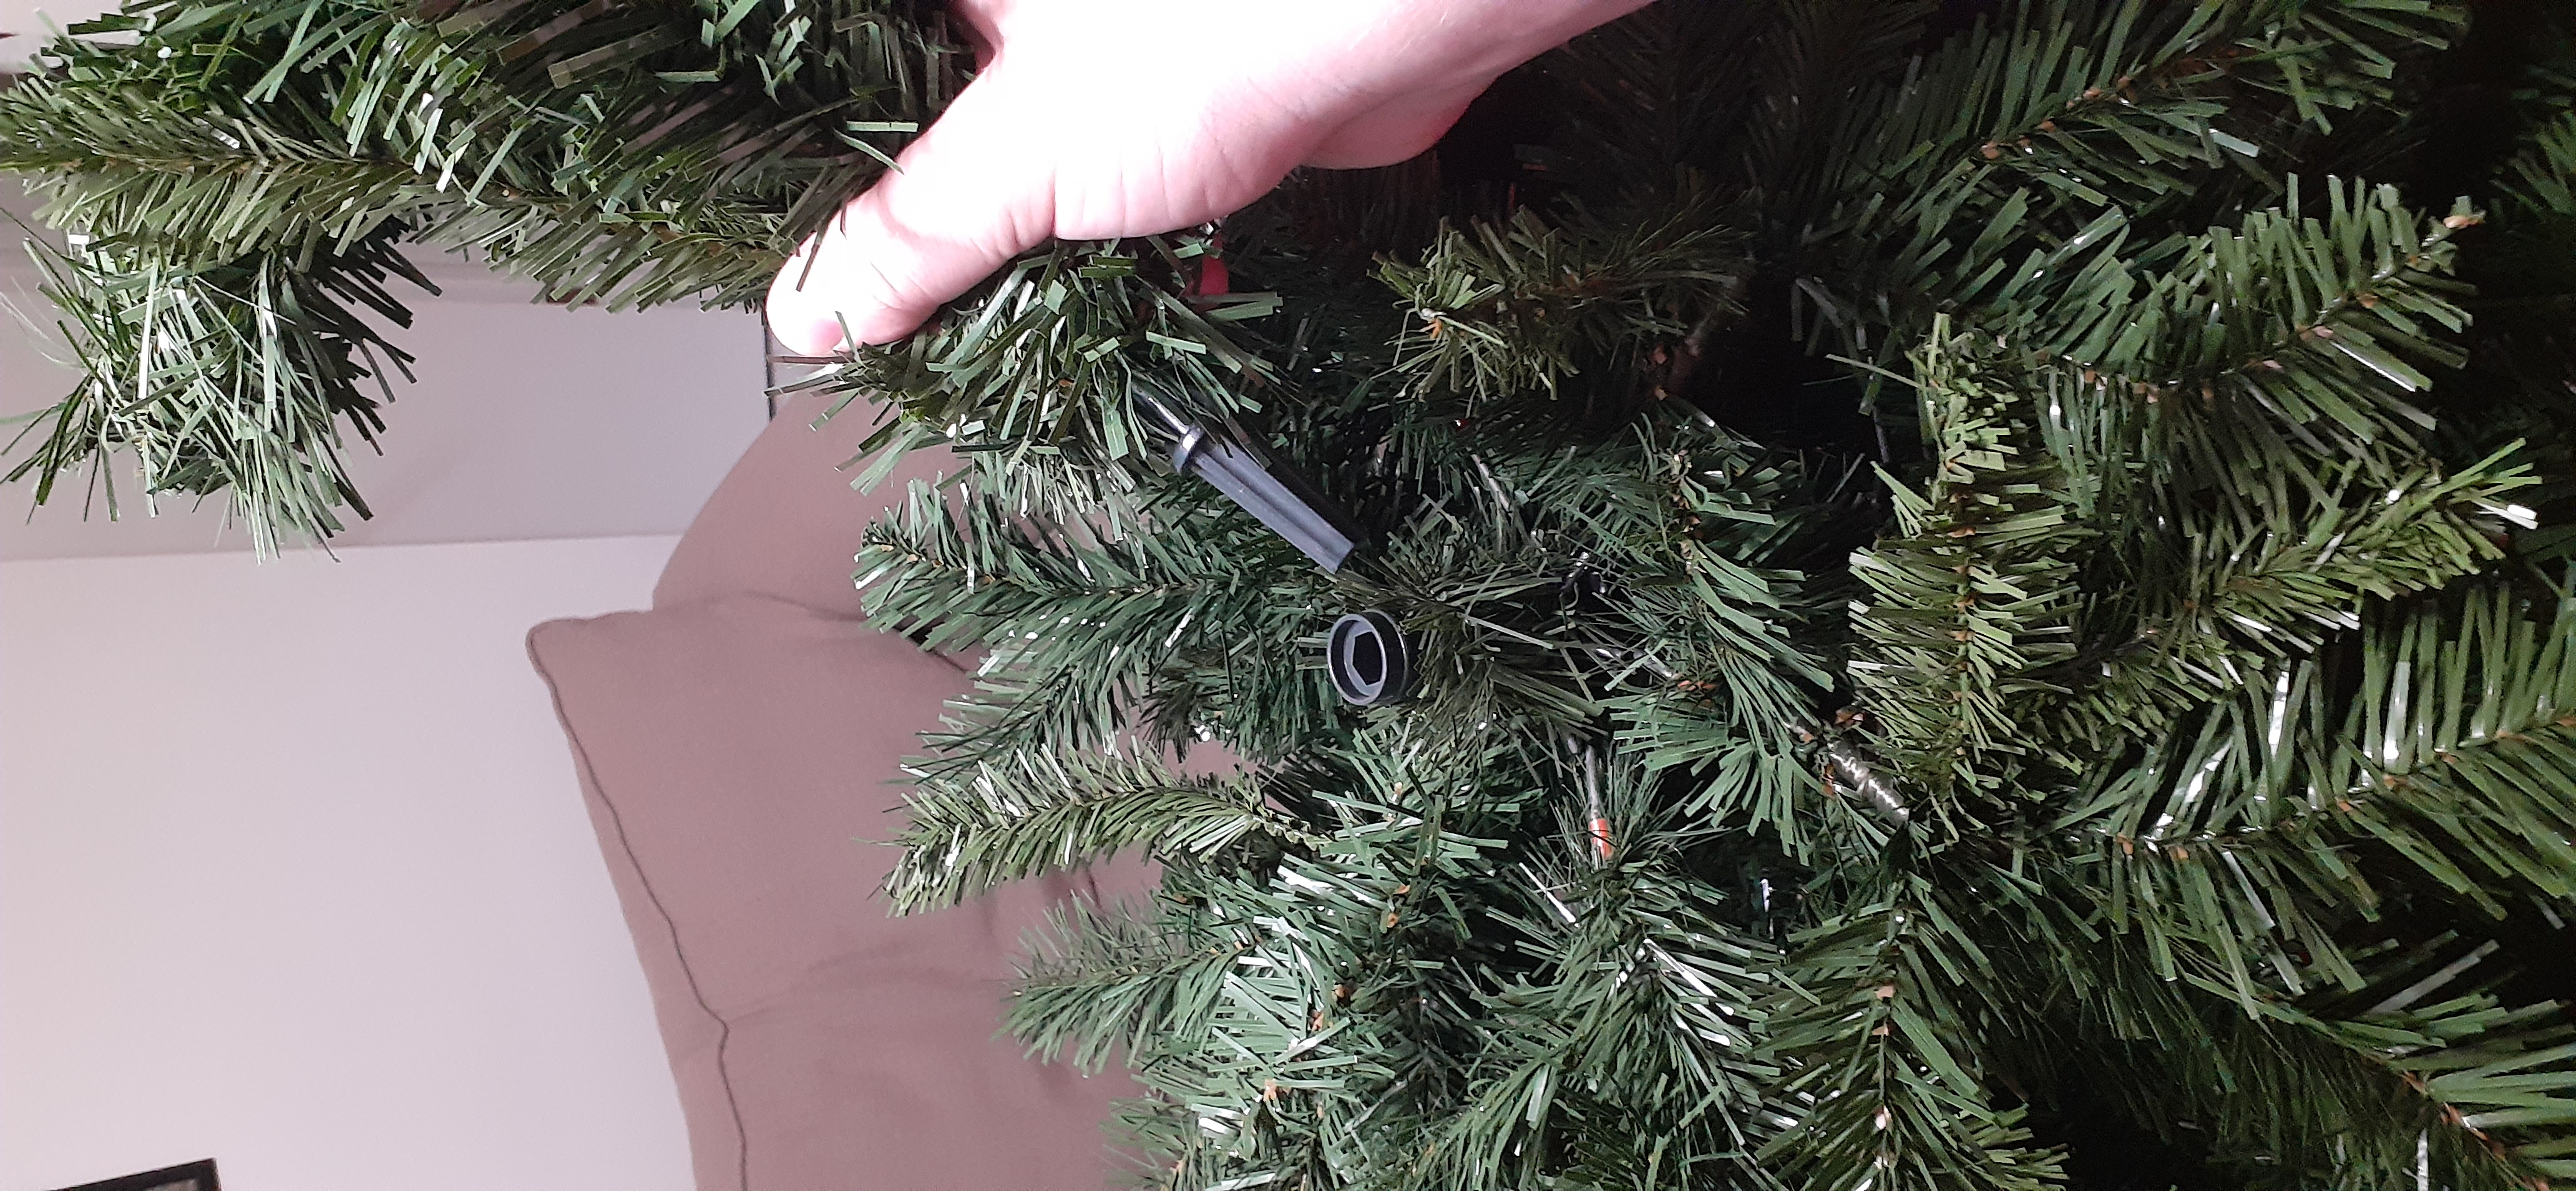
Before stacking the middle and top tree section on top, pull down the bottom level of artificial branches, one by one.
As you pull each branch down, be gentle, and avoid bending the main metal support of the branch.

-
Now, fluff the smaller leaves of each branch, to give the tree more volume.
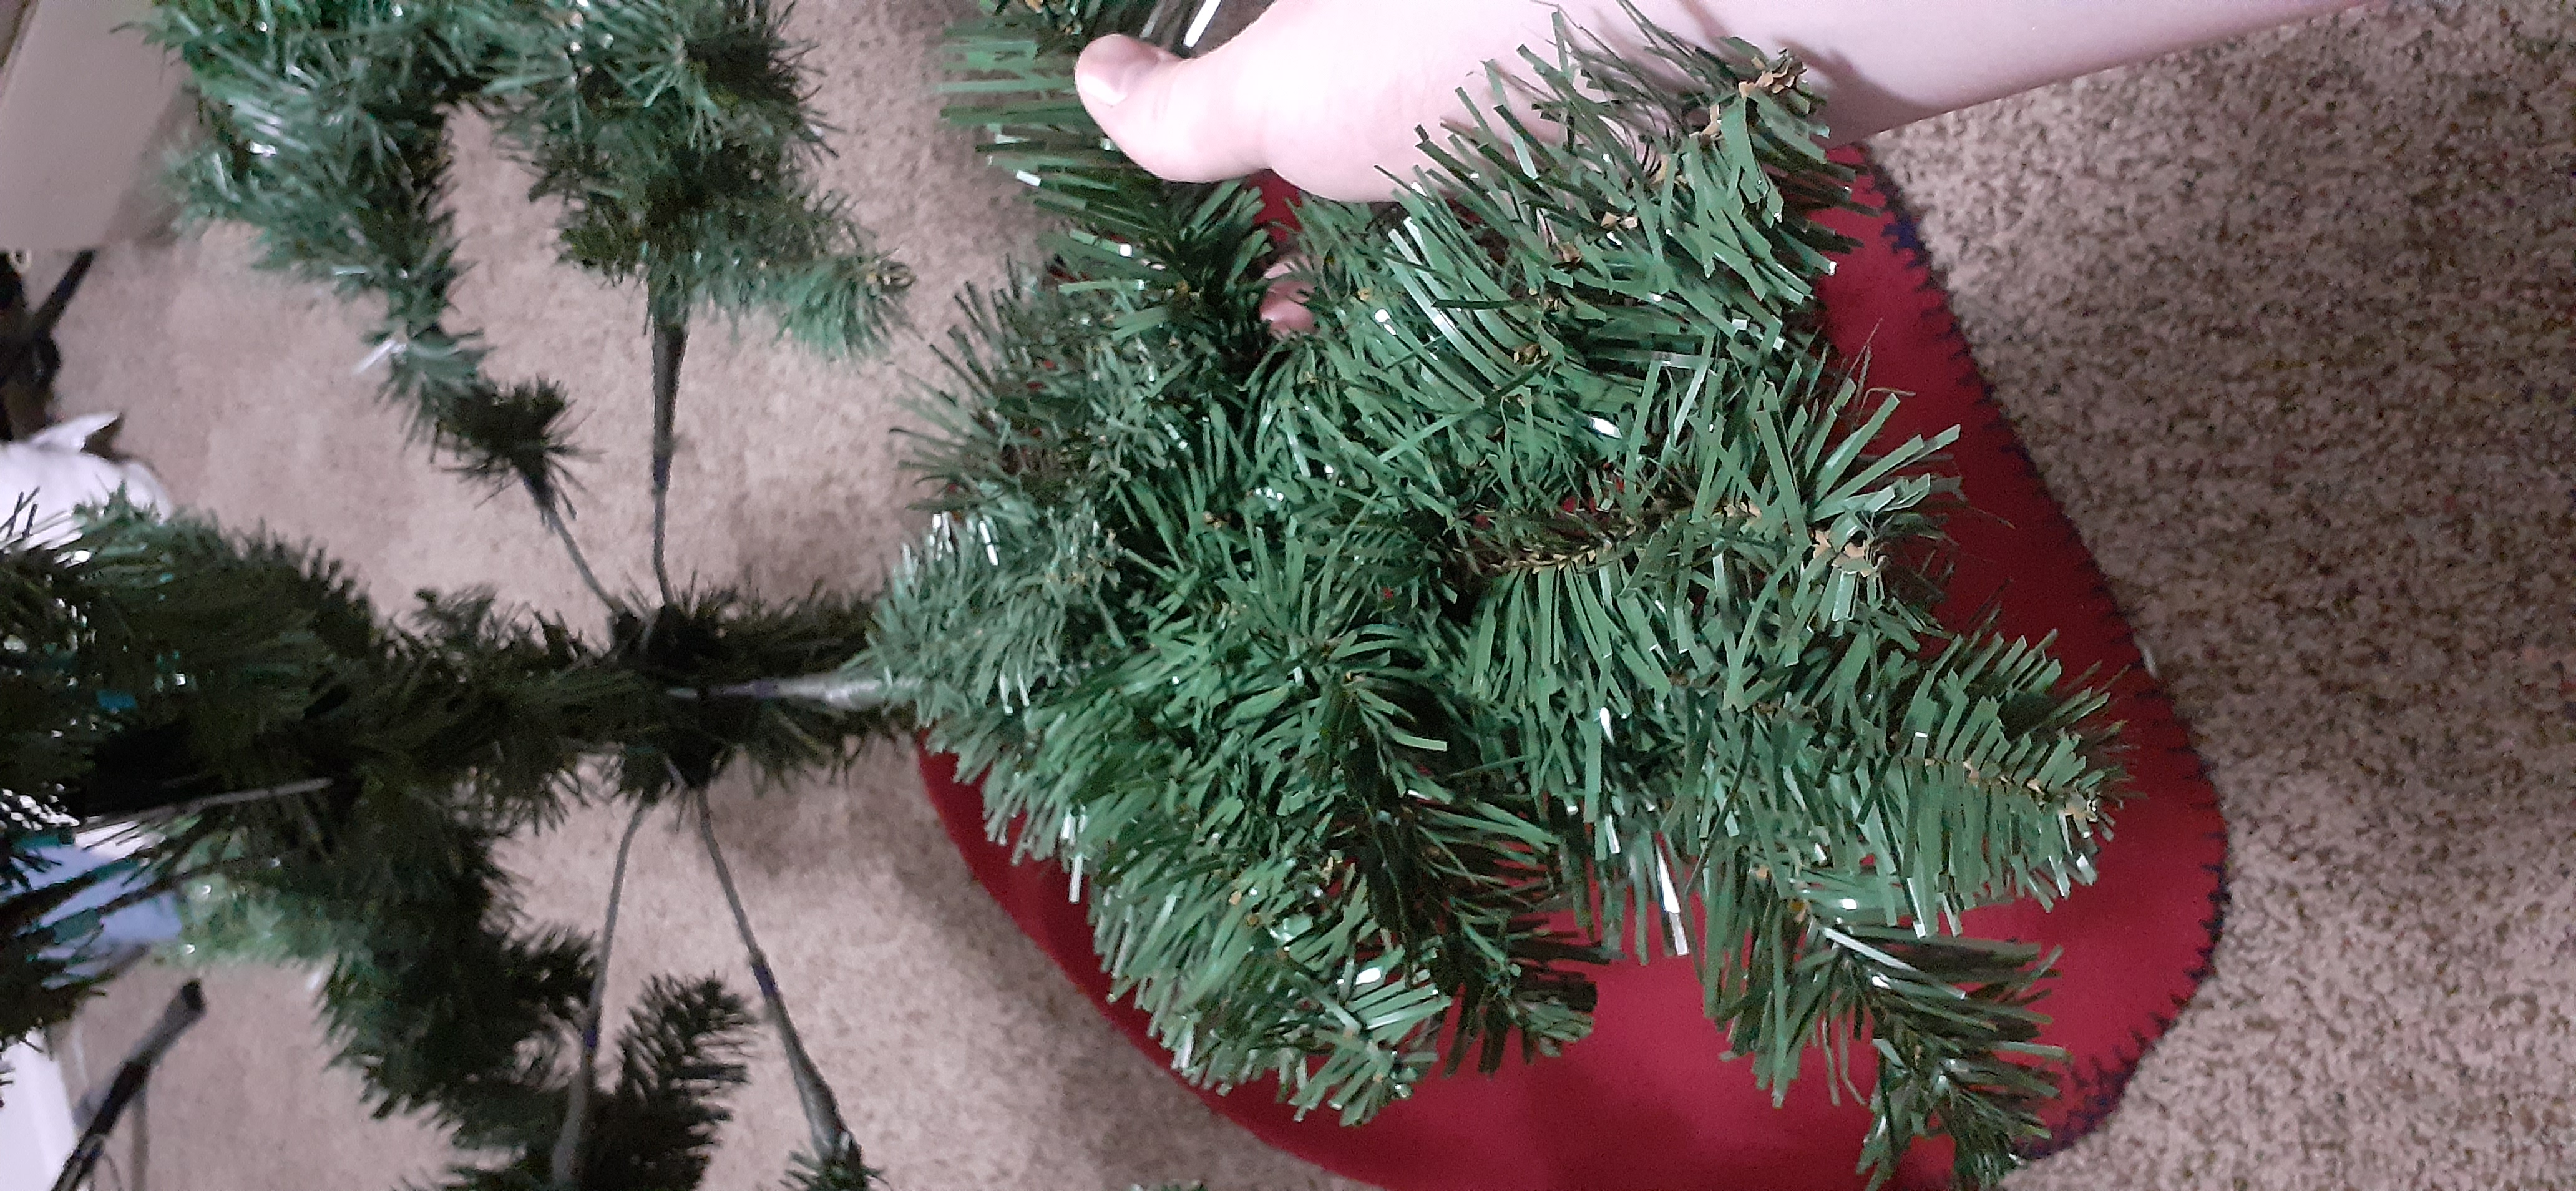
Tip: To fluff, make sure that the leaves of each branch are pointing outward in all directions from the large branch you pulled down.
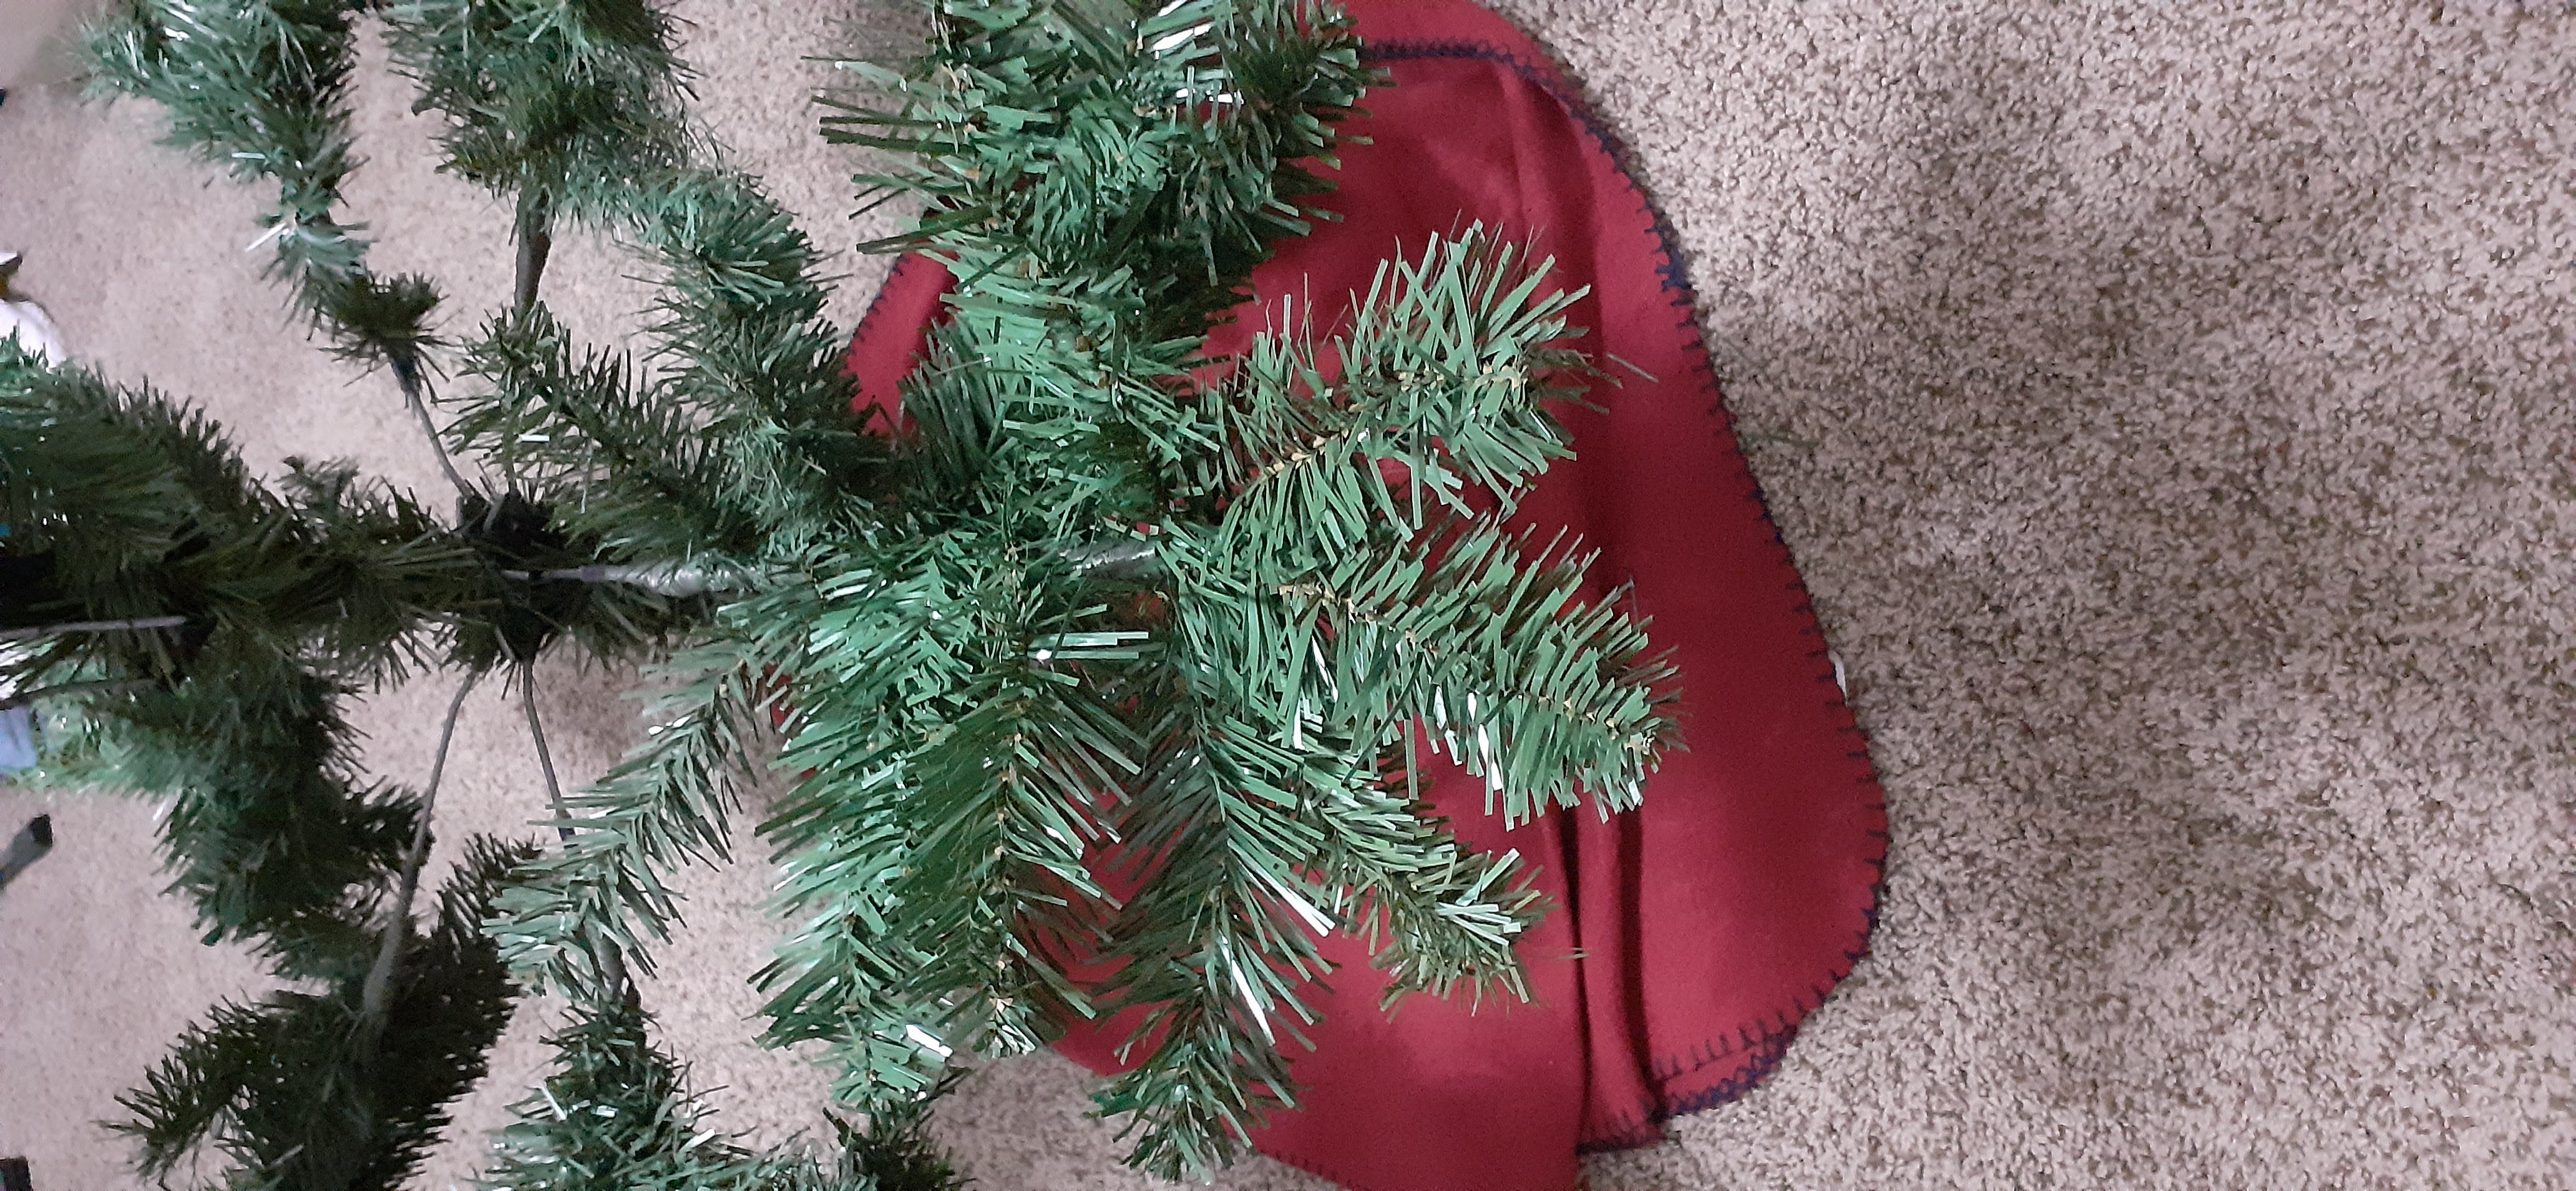
-
When you are happy with your fluffing work, move up to the next row of branches, and repeat steps e and f on that row.
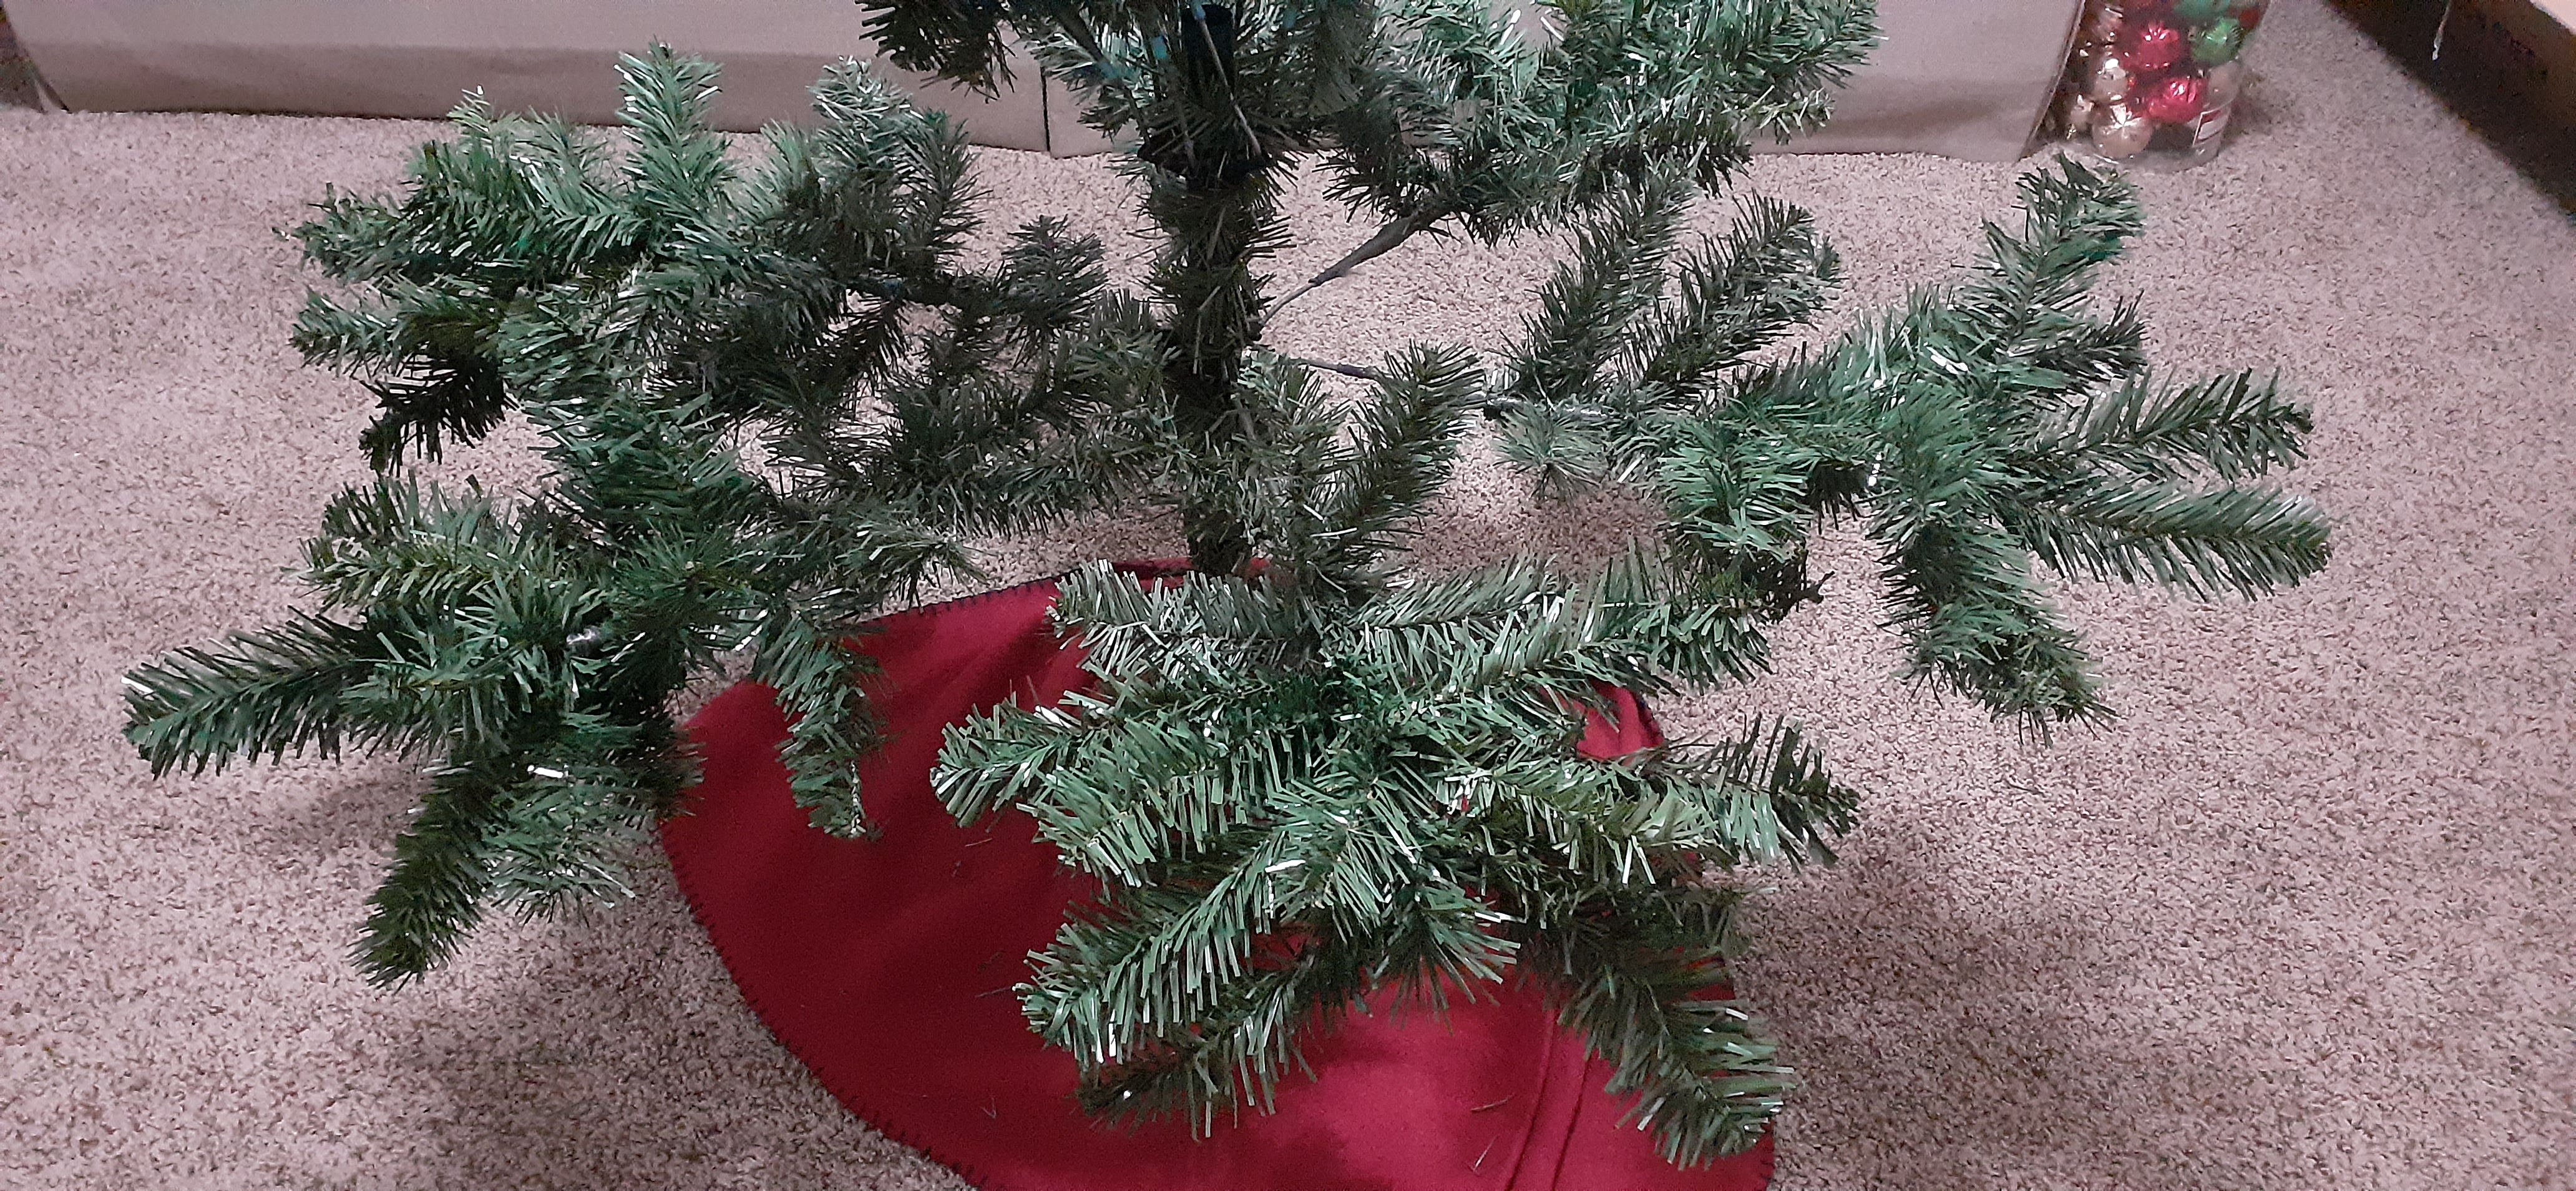
-
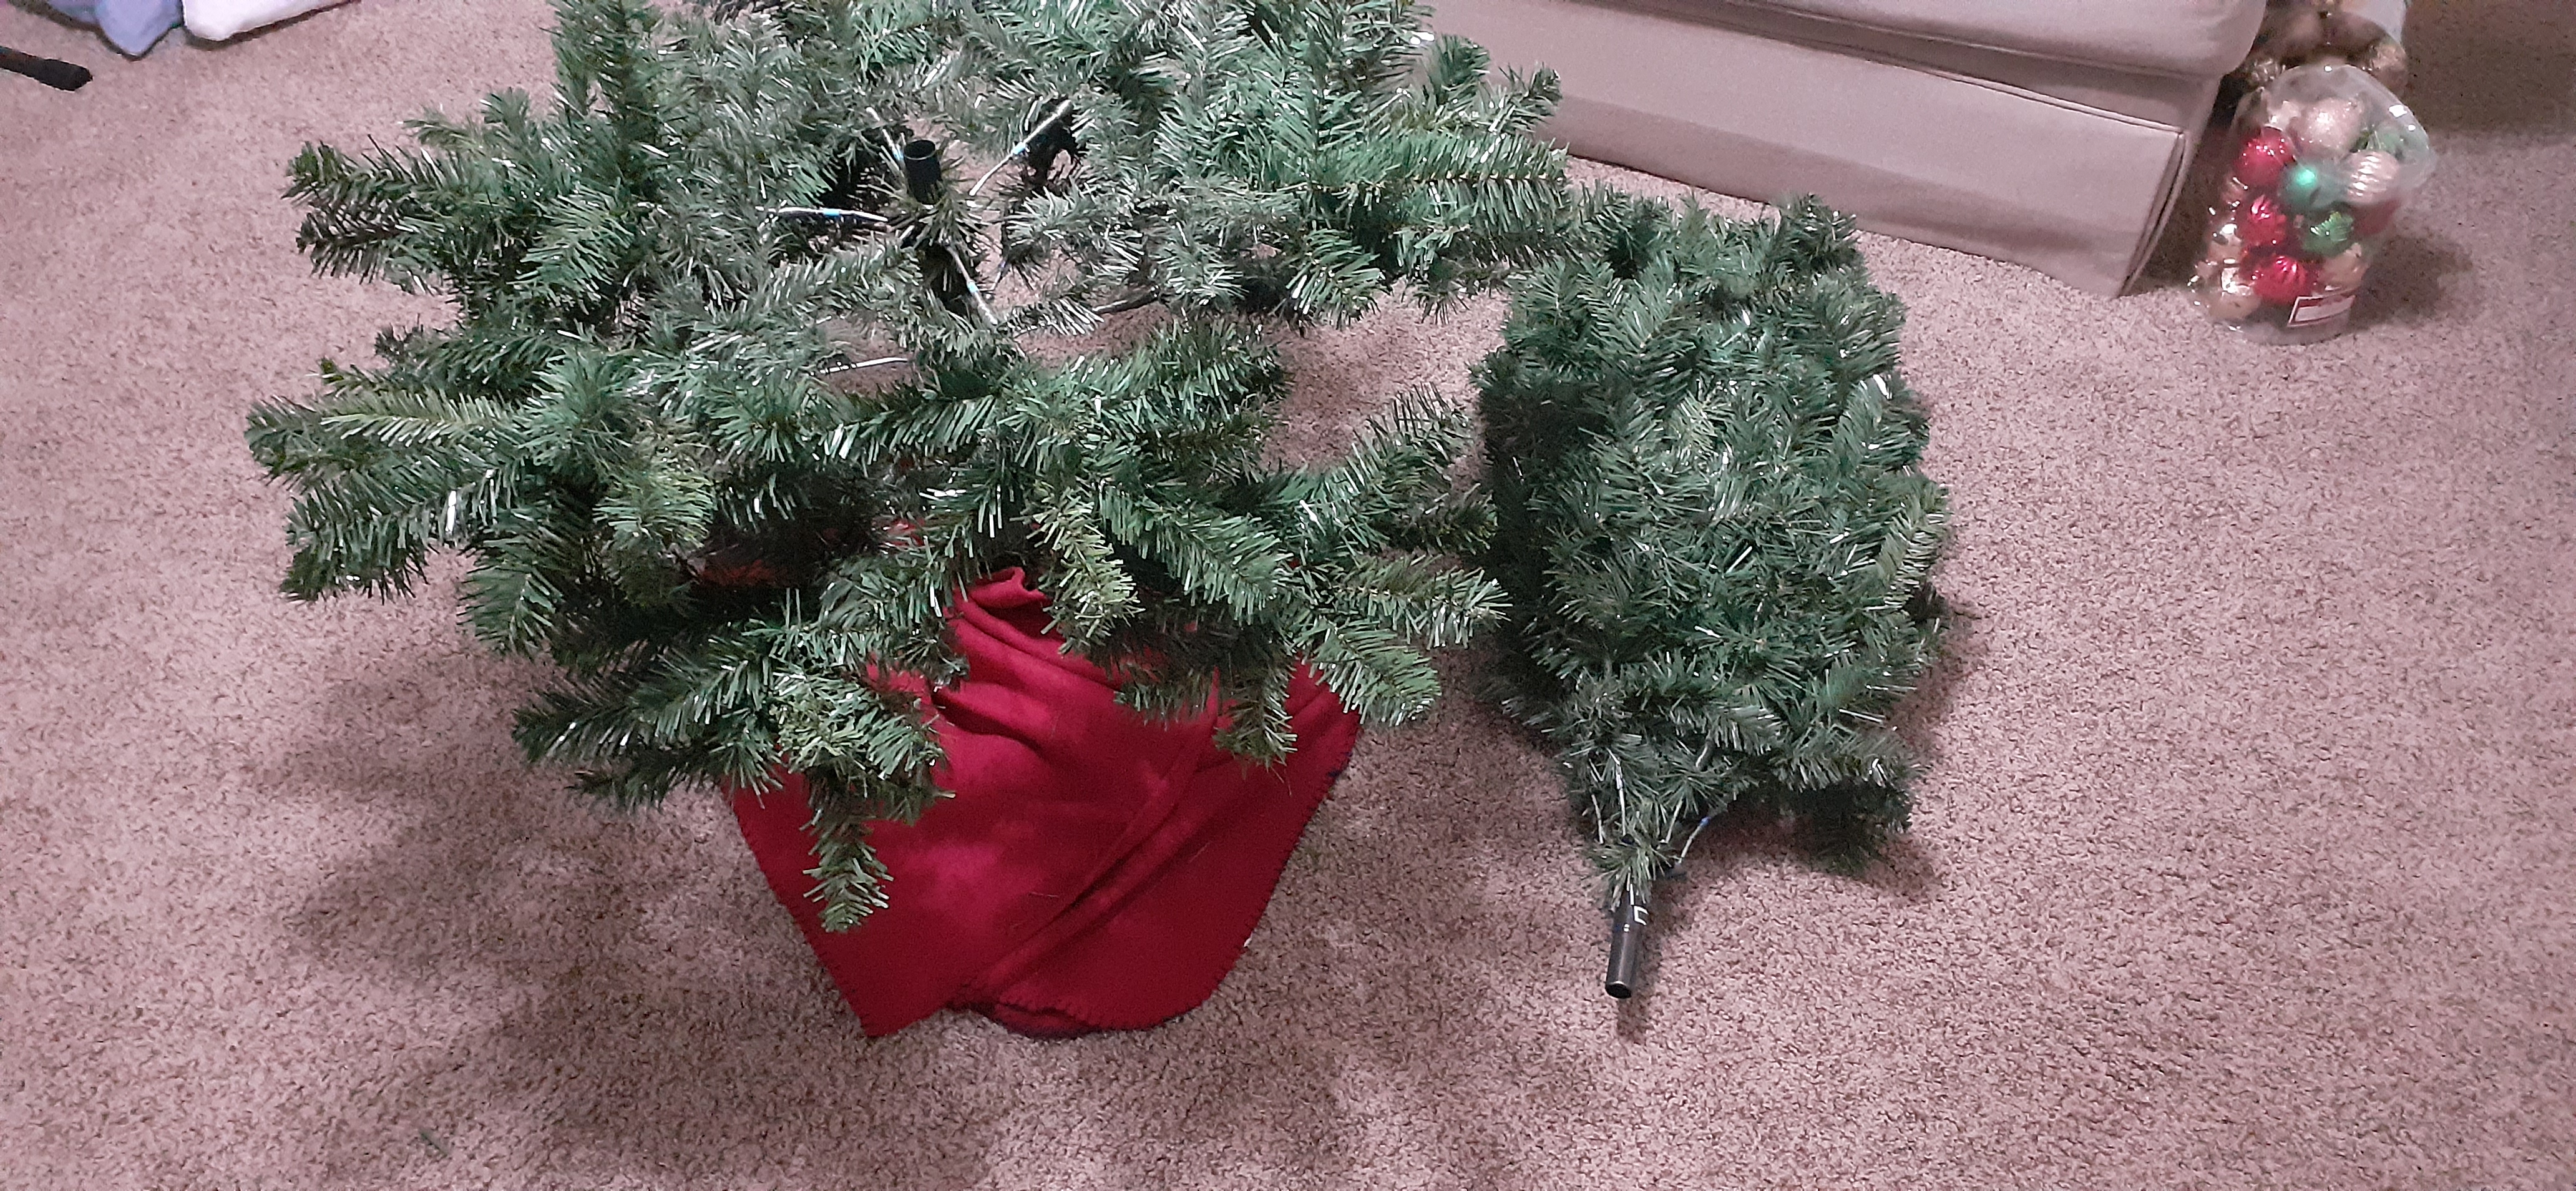
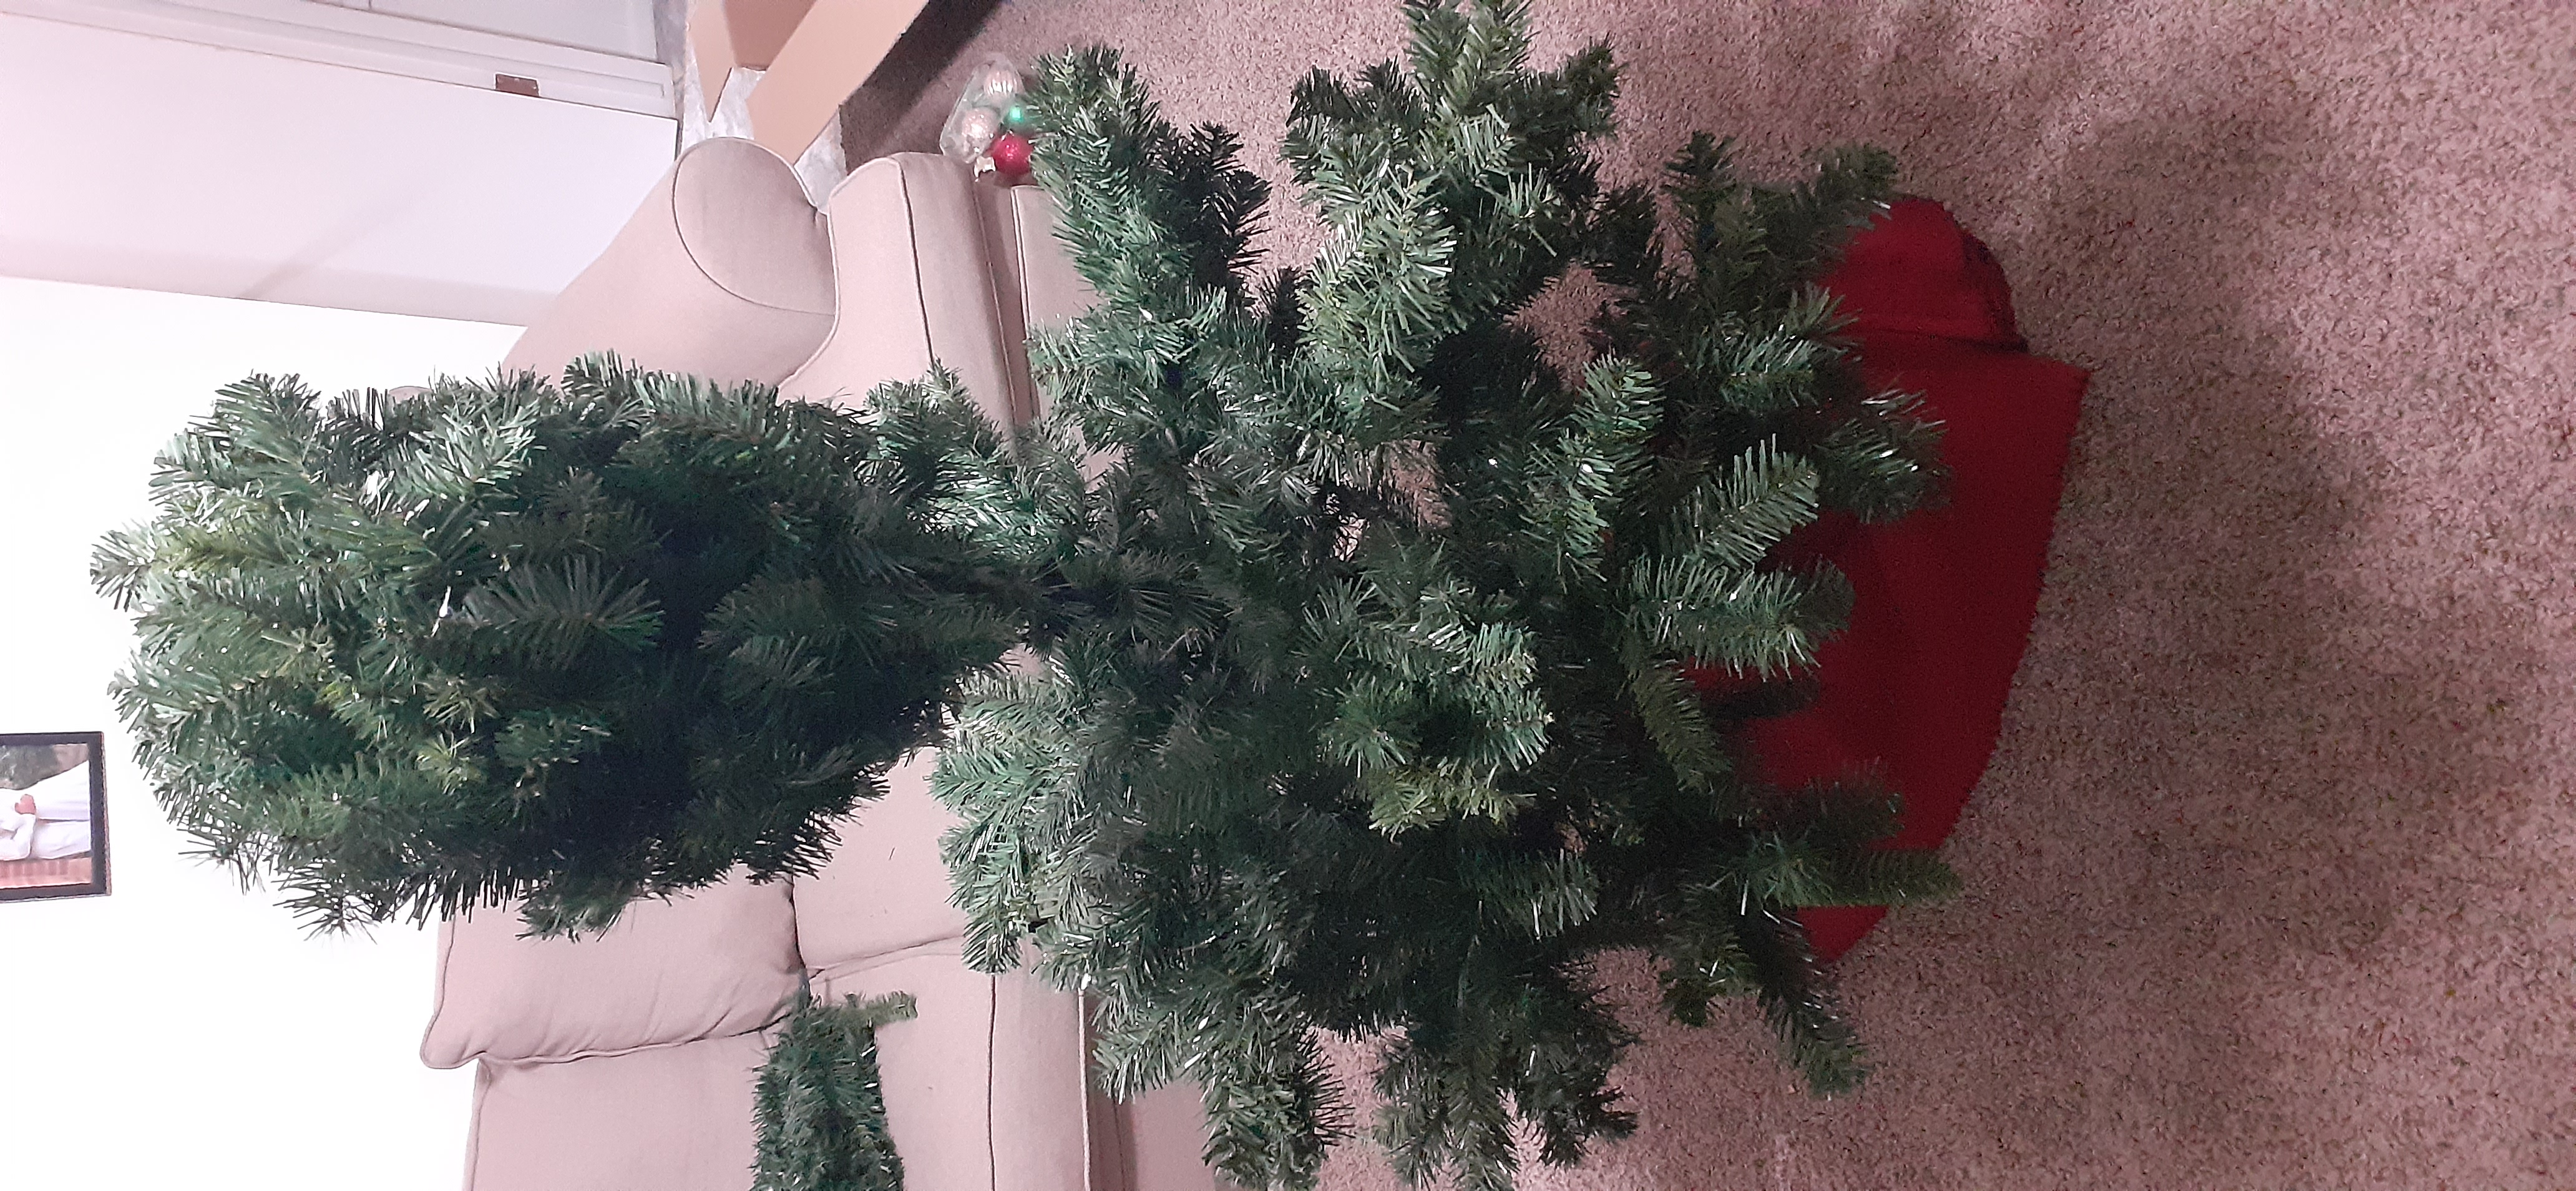
Once you are satisfied with the volume and positioning of the branches on the largest section of the tree, find the next largest tree segment and insert it into the top of the bottom section.
Make sure that the second section (labeled with the number 2) of the tree is properly installed, and will not fall, before walking away from the tree.
-
Repeat steps e, f, and g to pull down and fluff out the branches of the second segment.
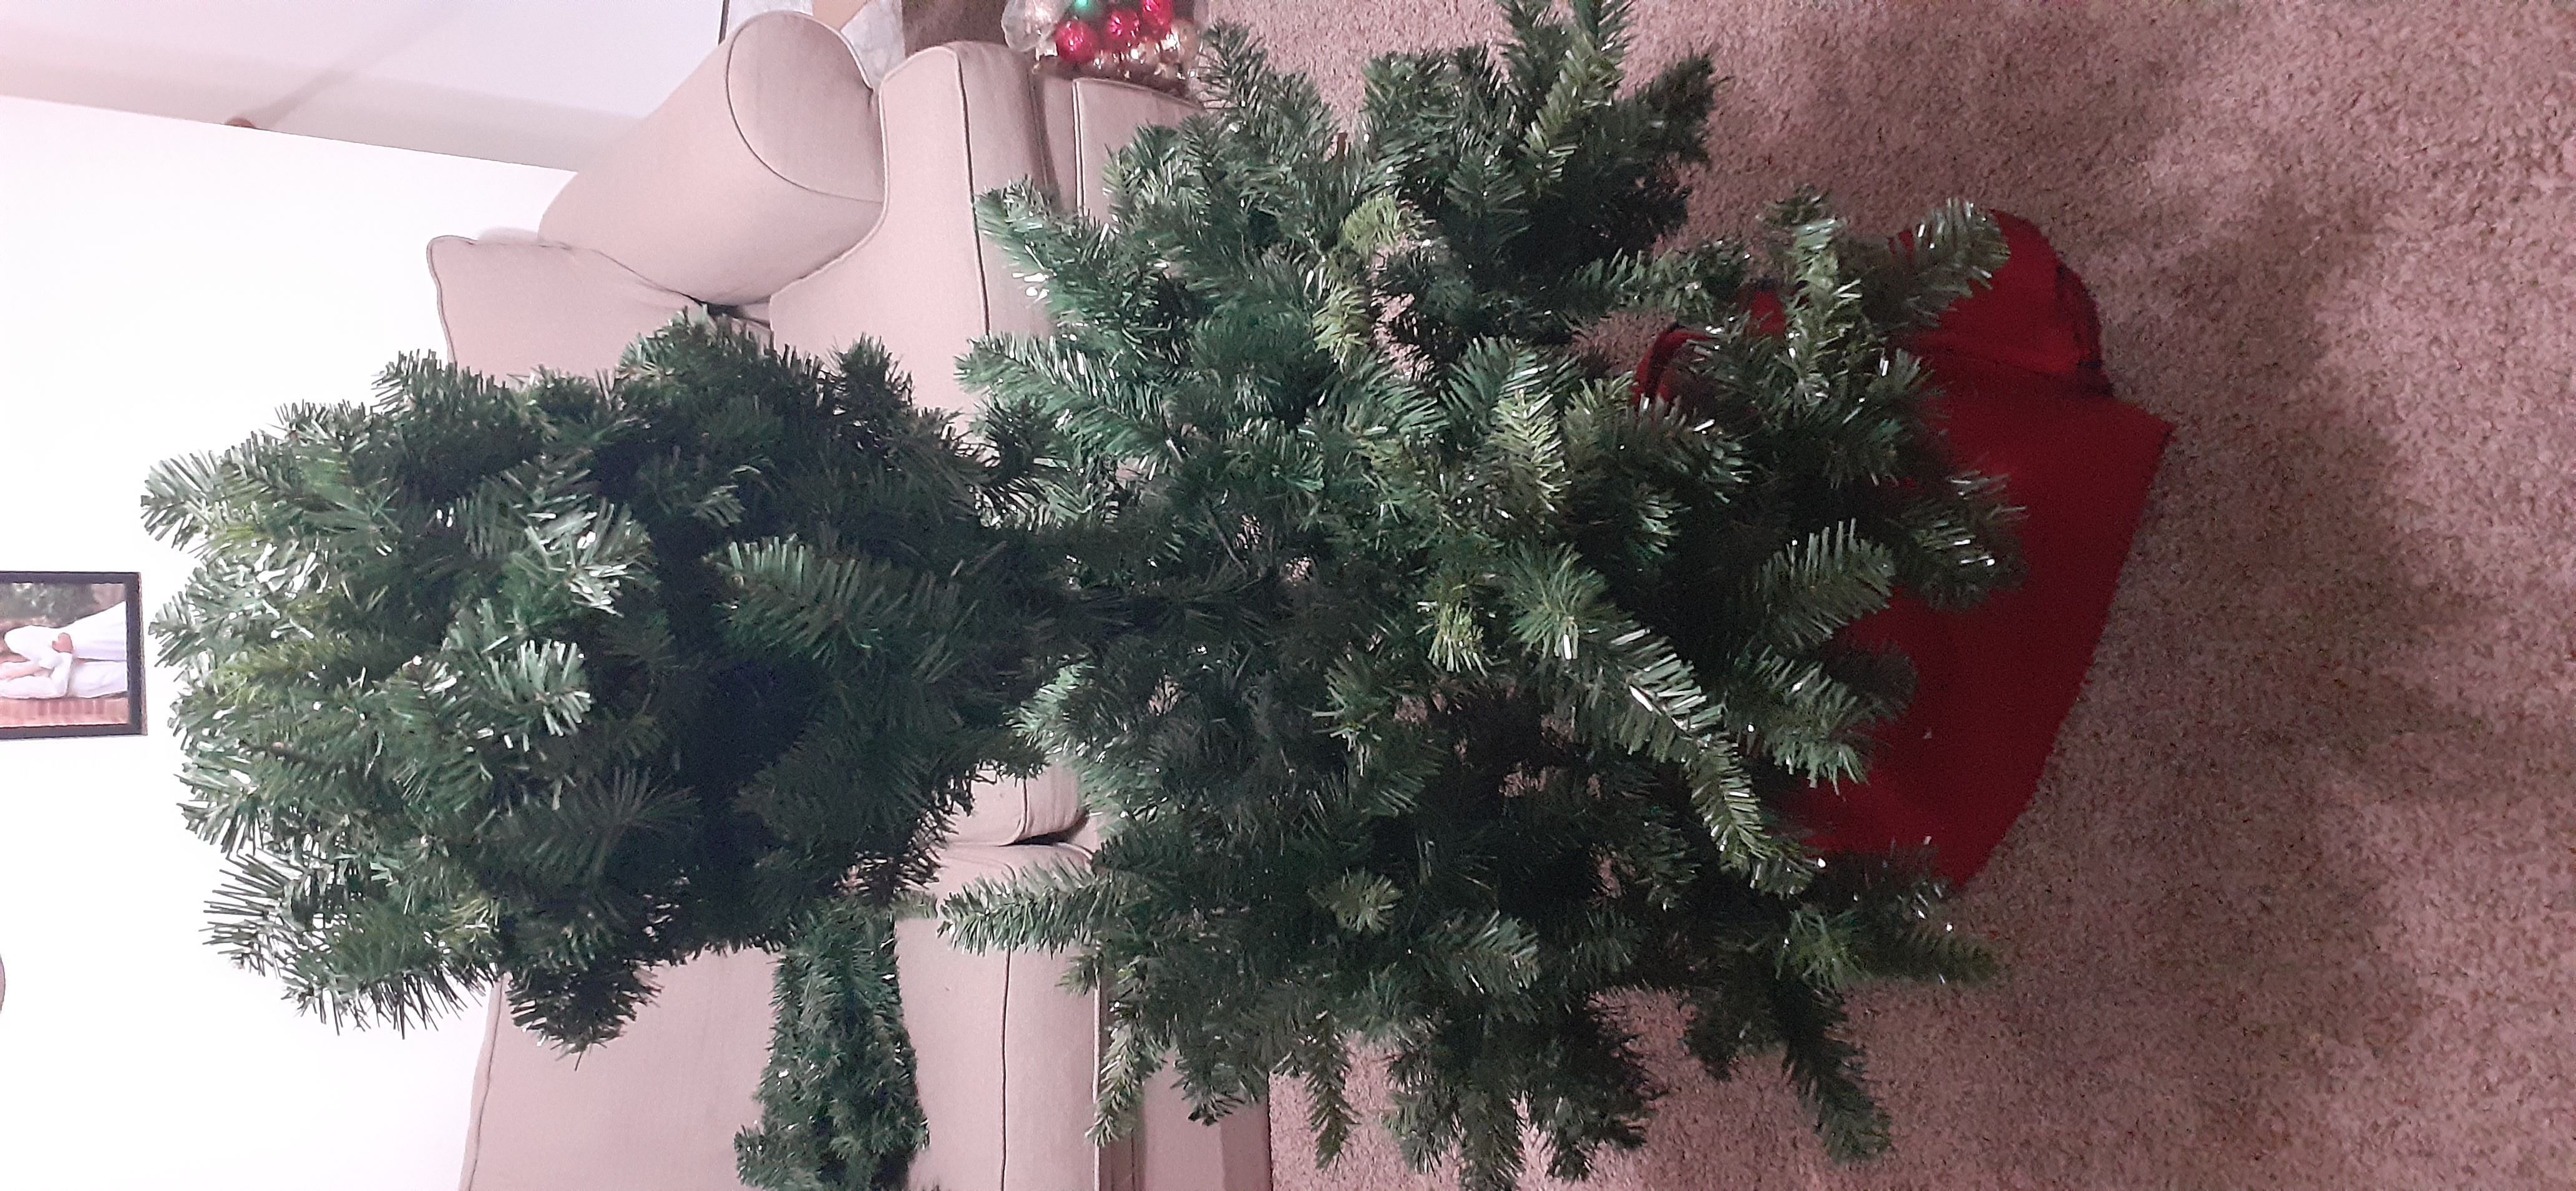
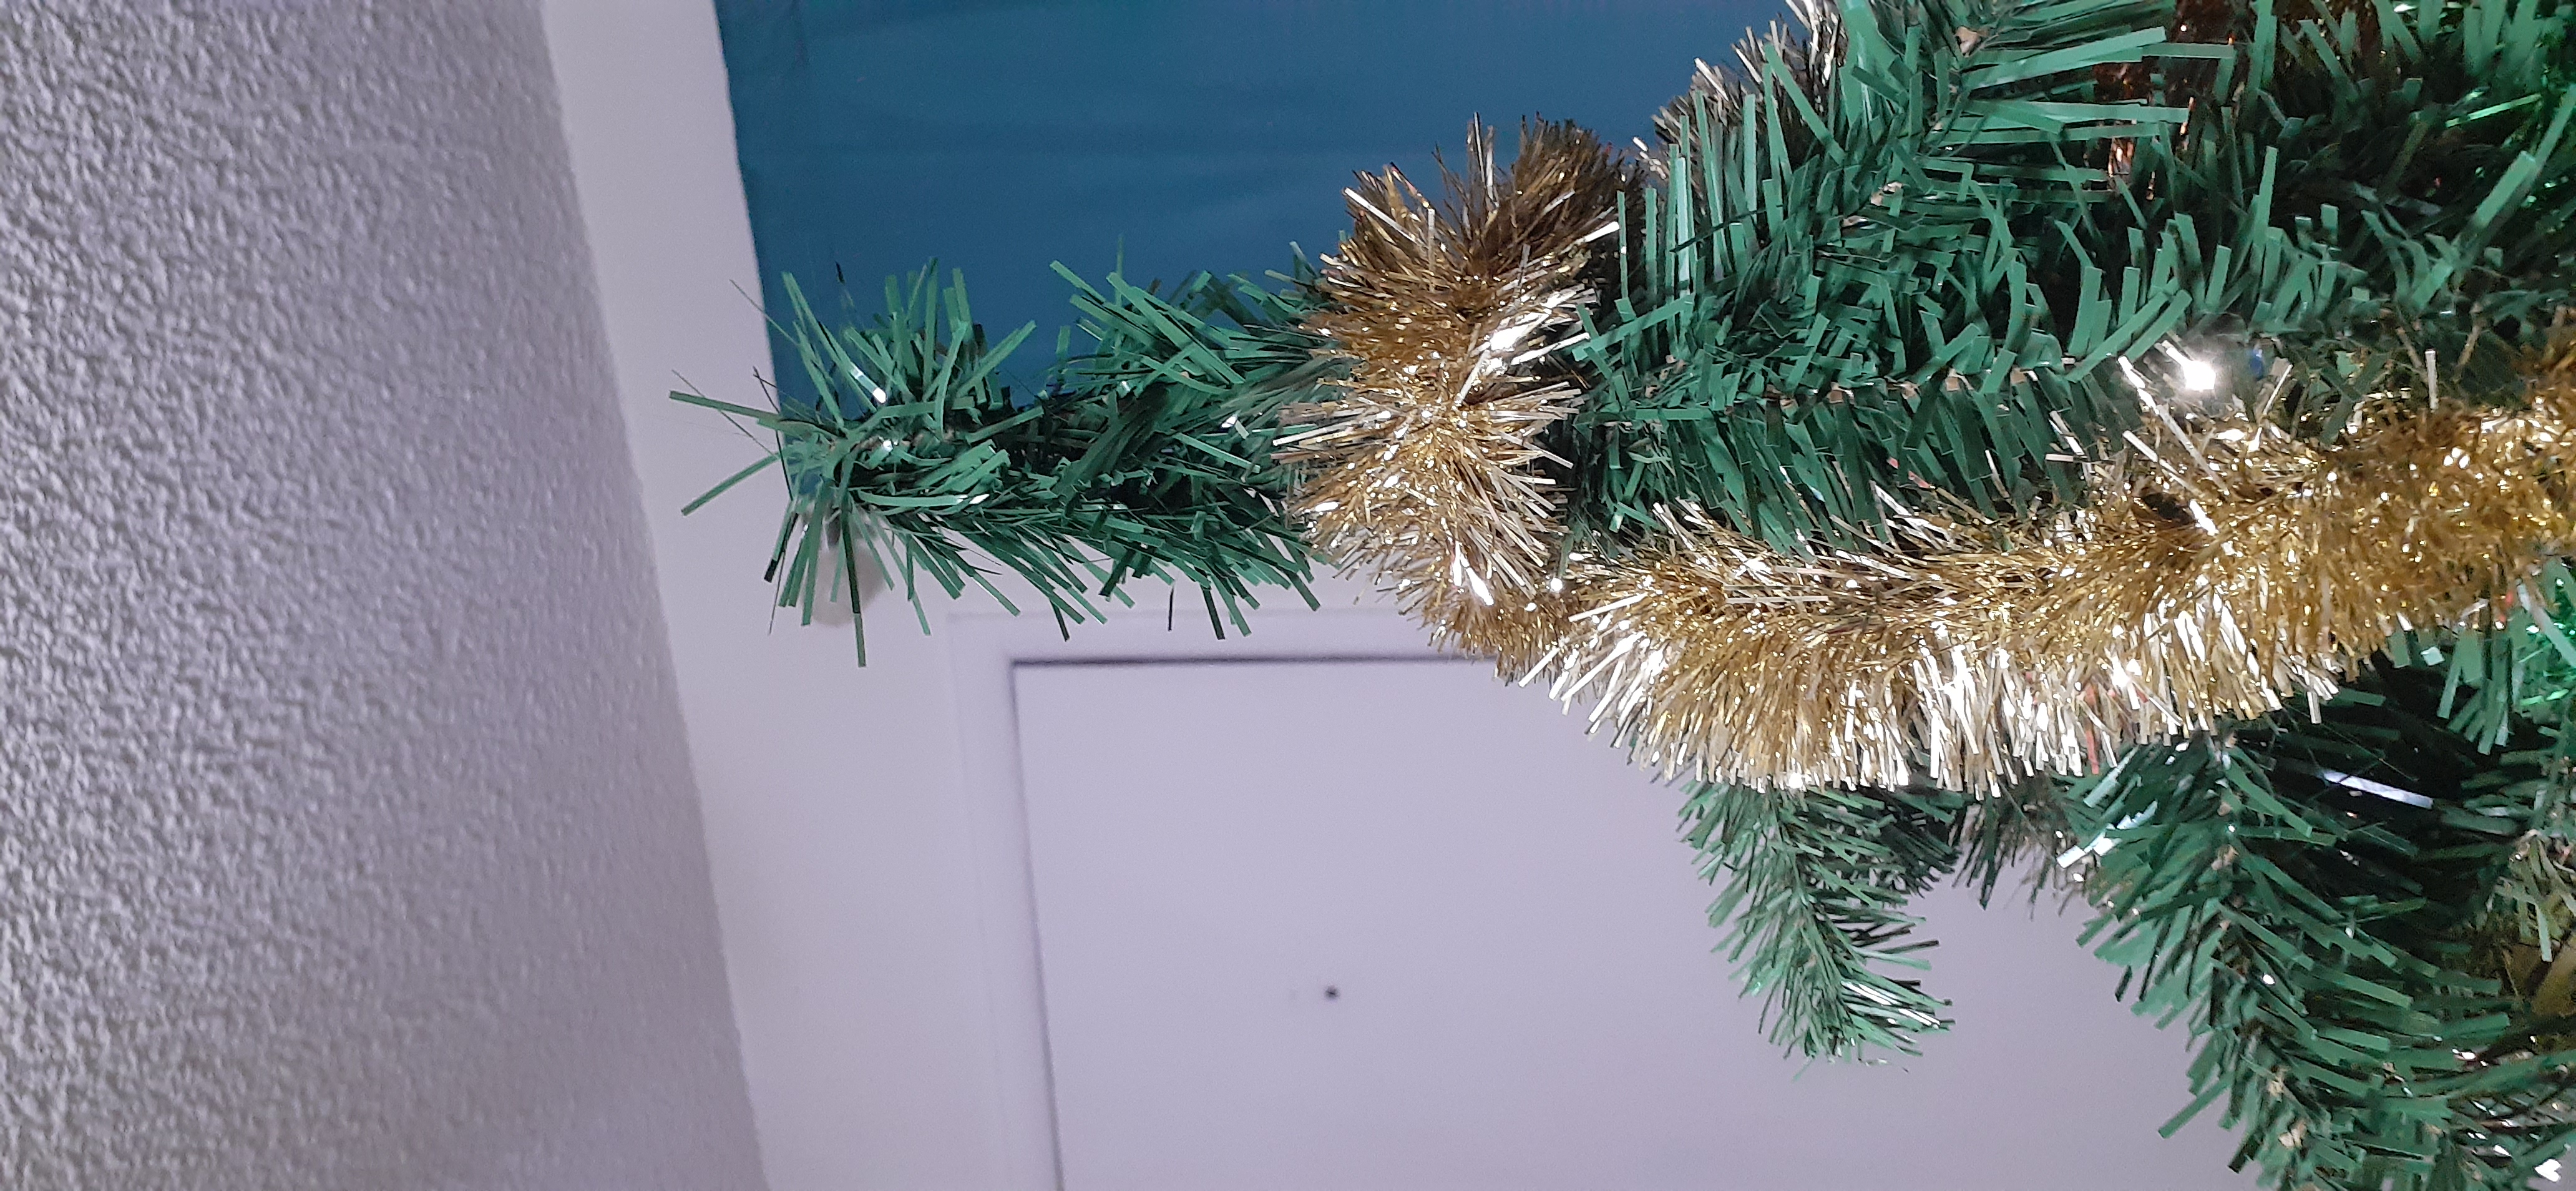
-
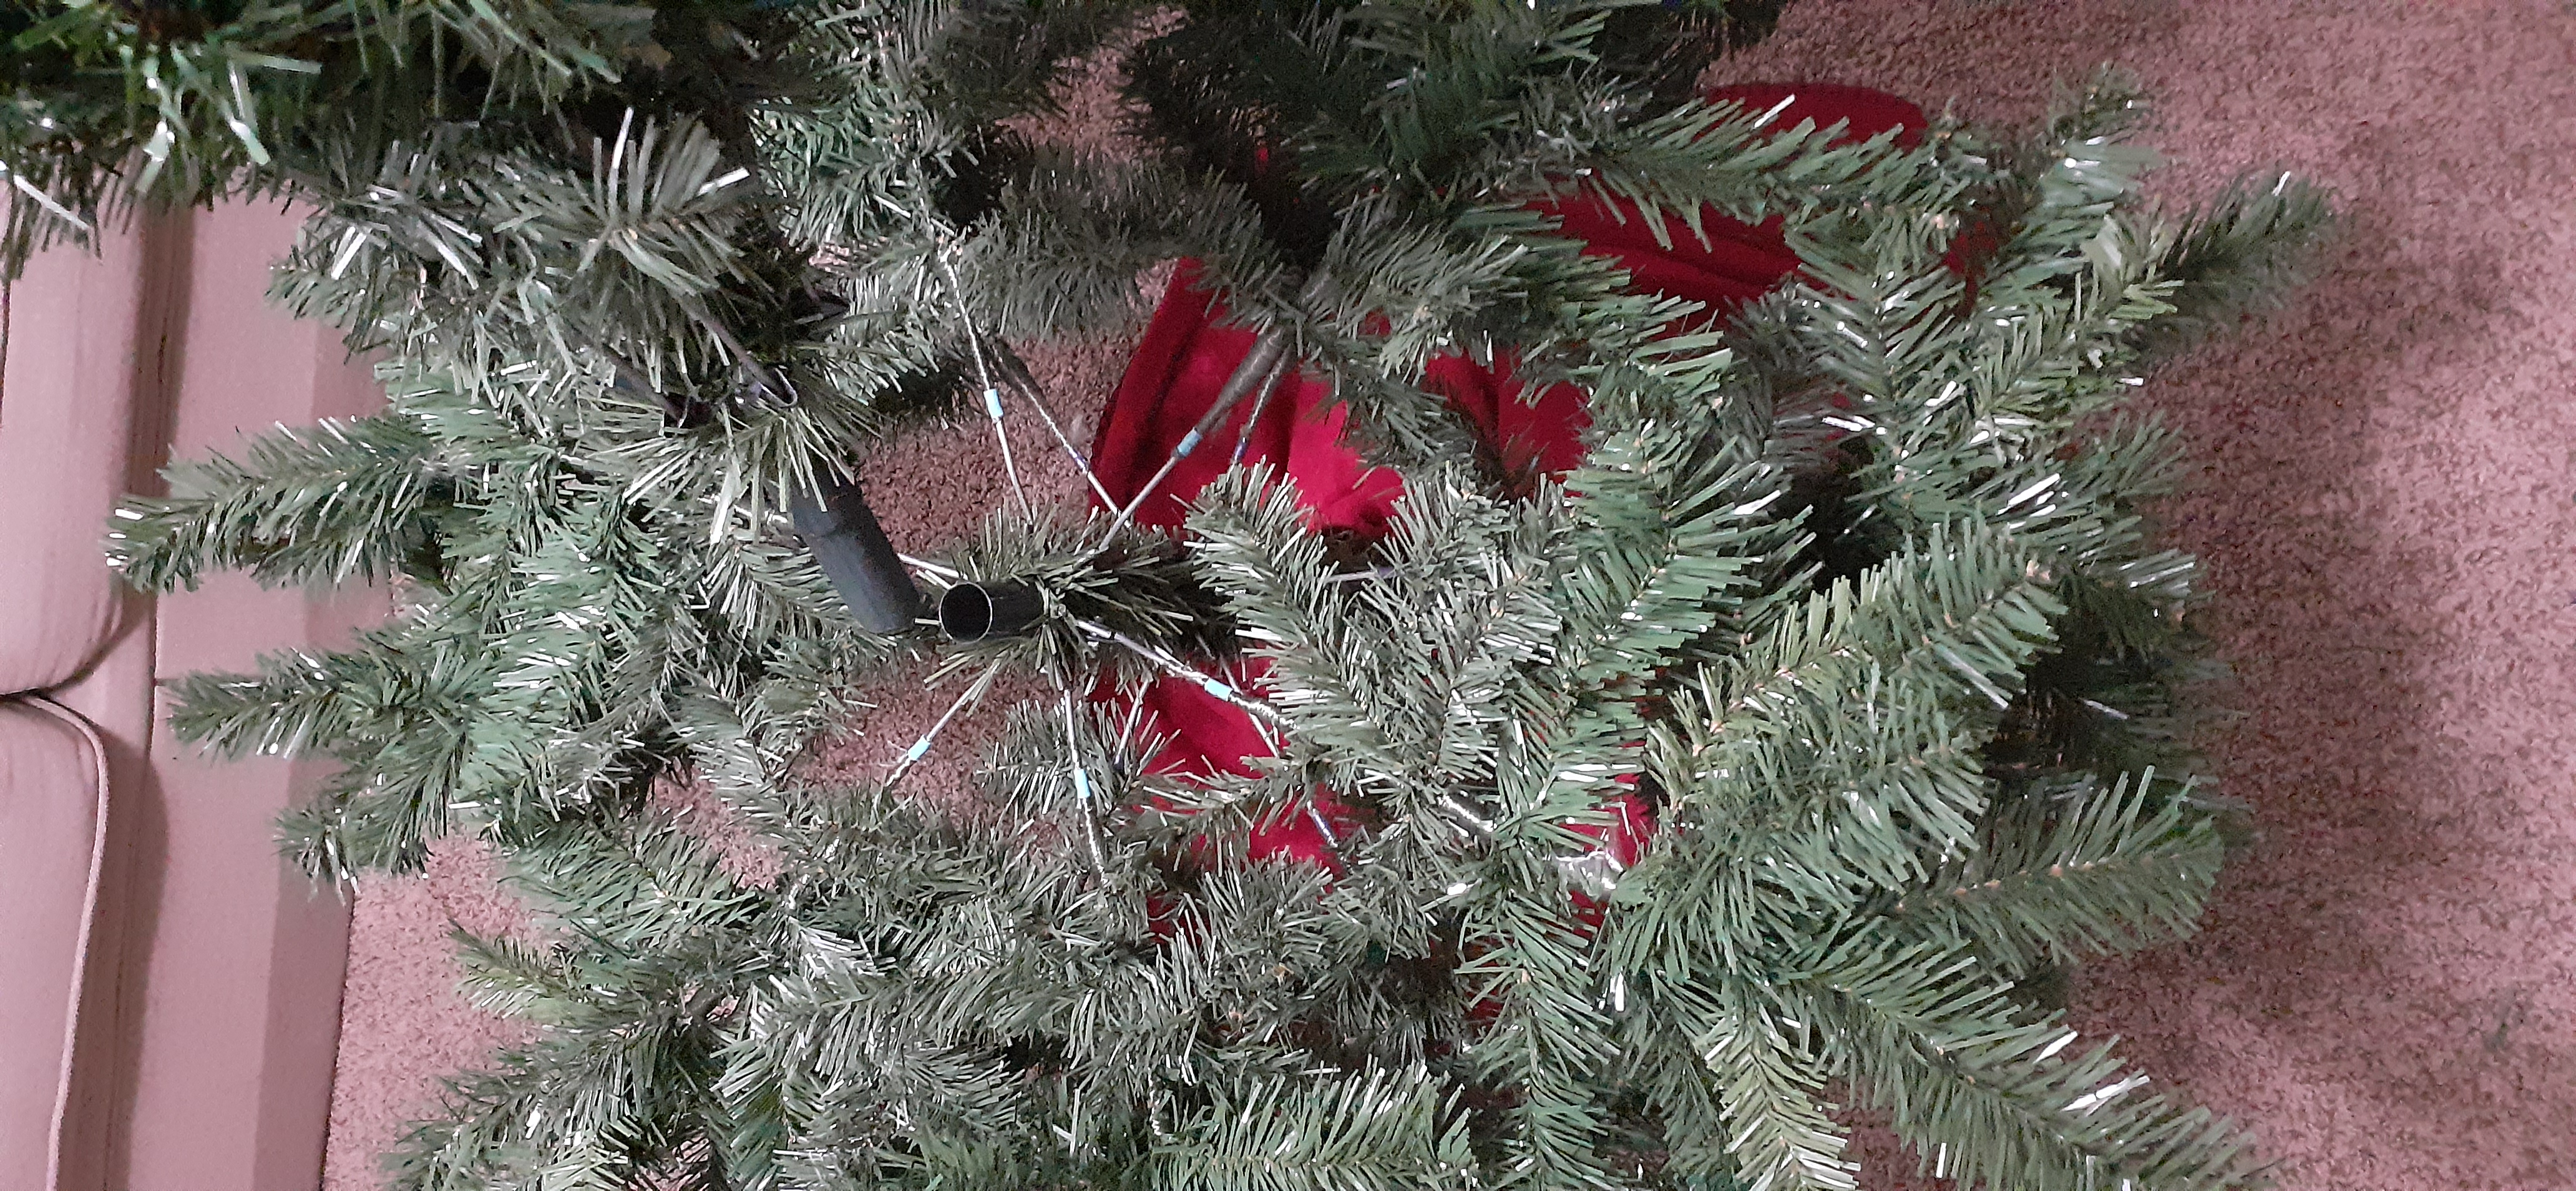
Insert the final section (labeled with the number 3) of the tree into the top of the middle segment, as shown:
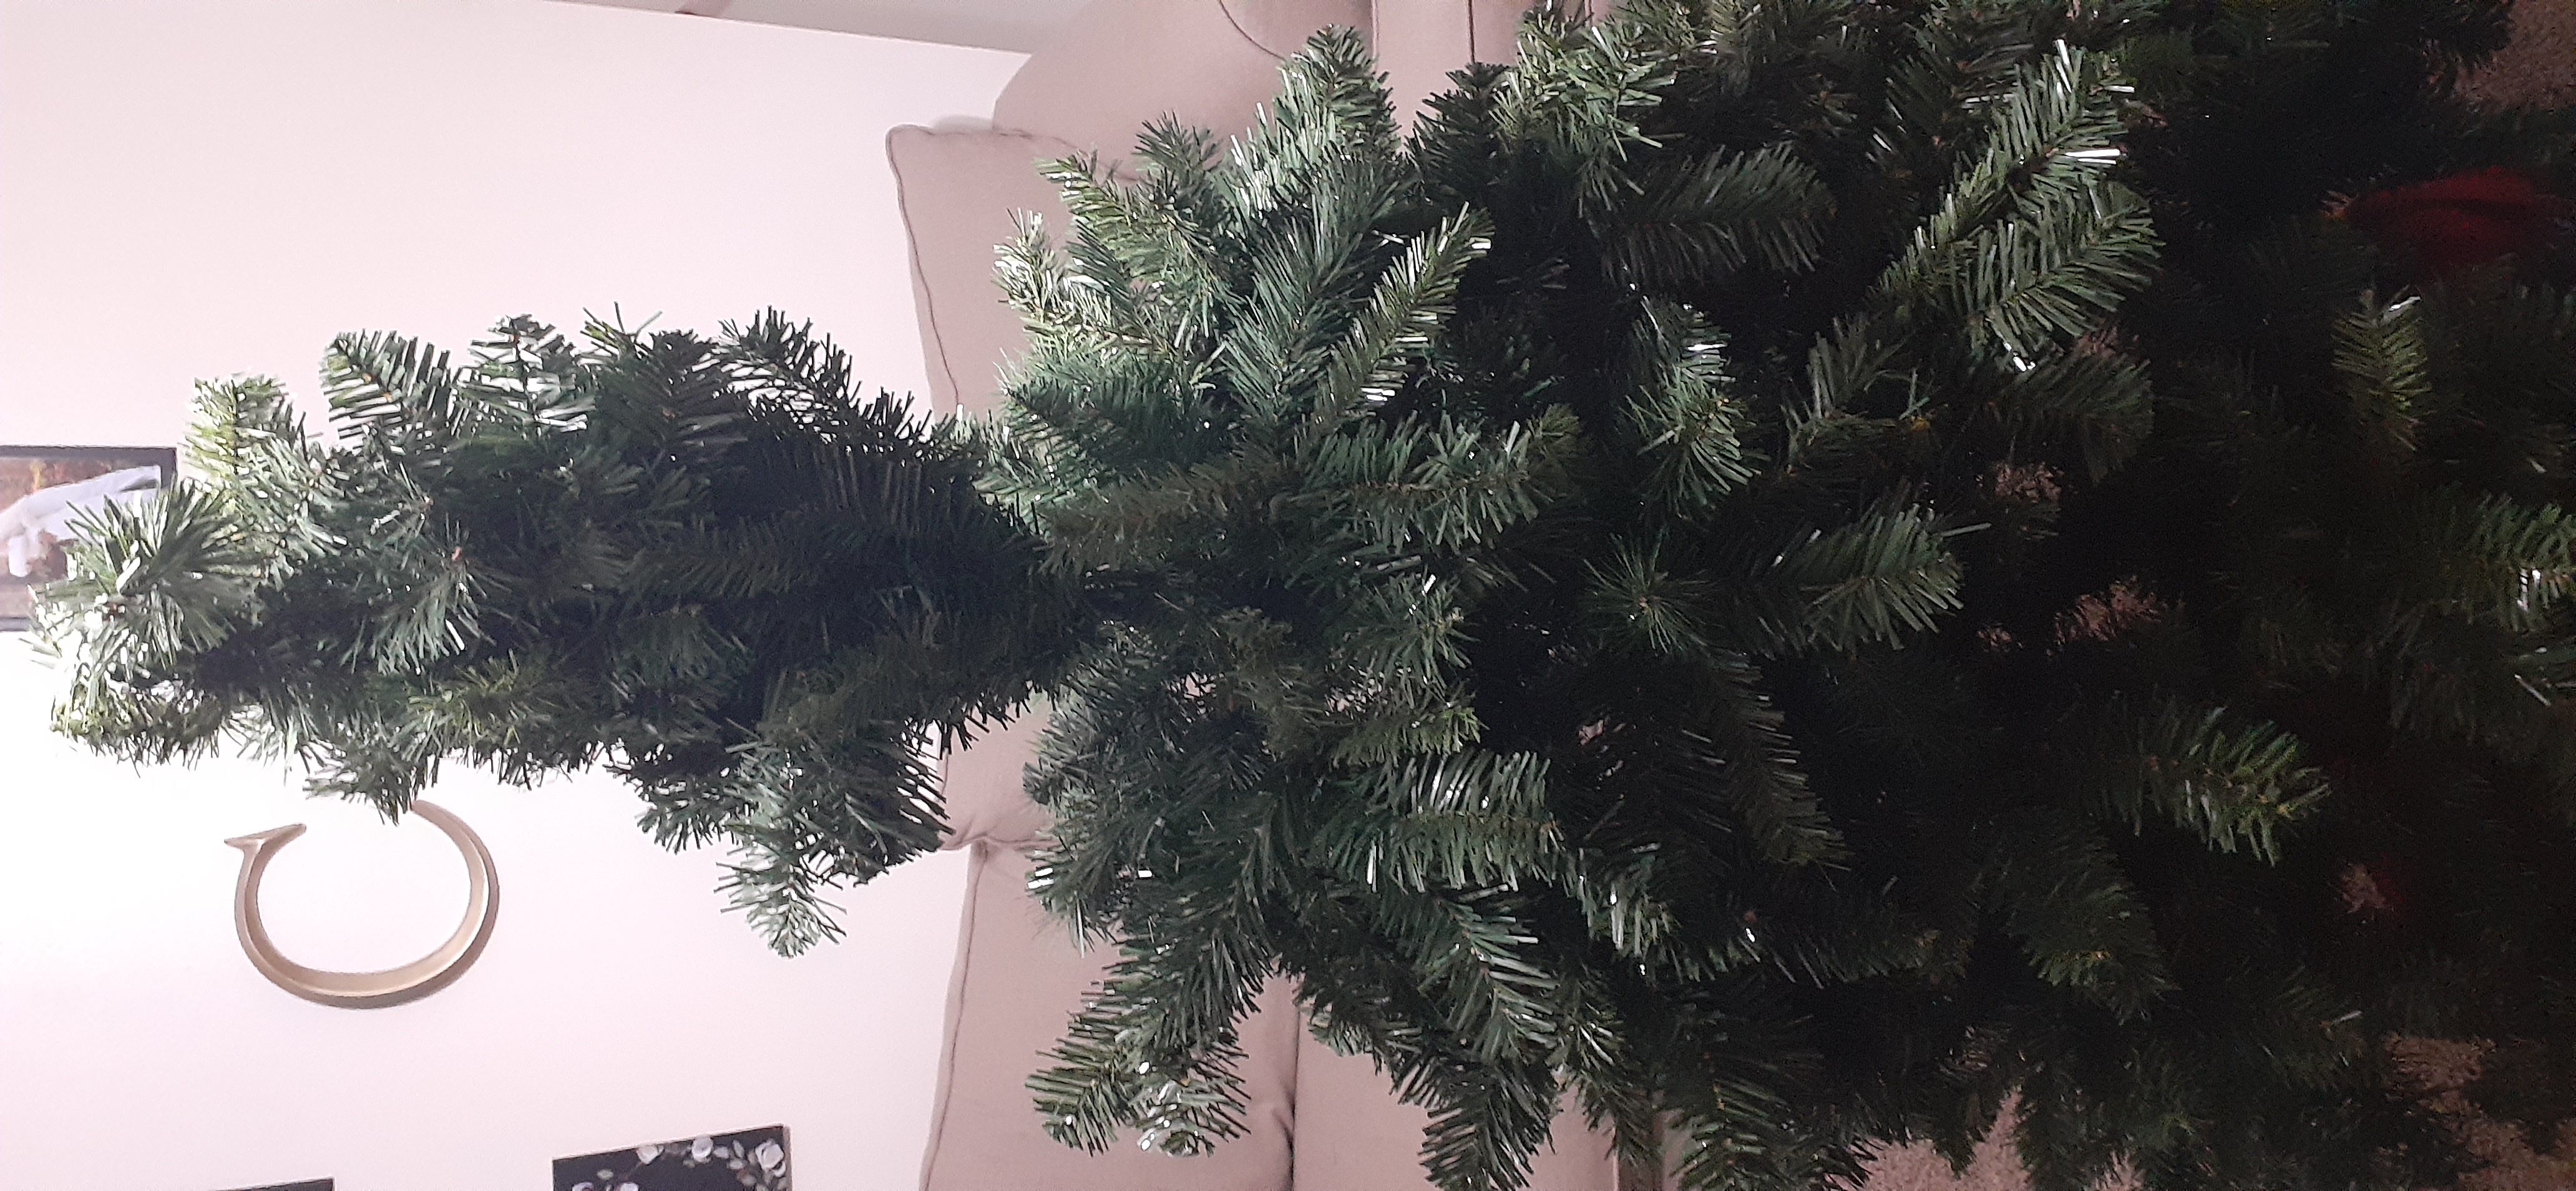
-
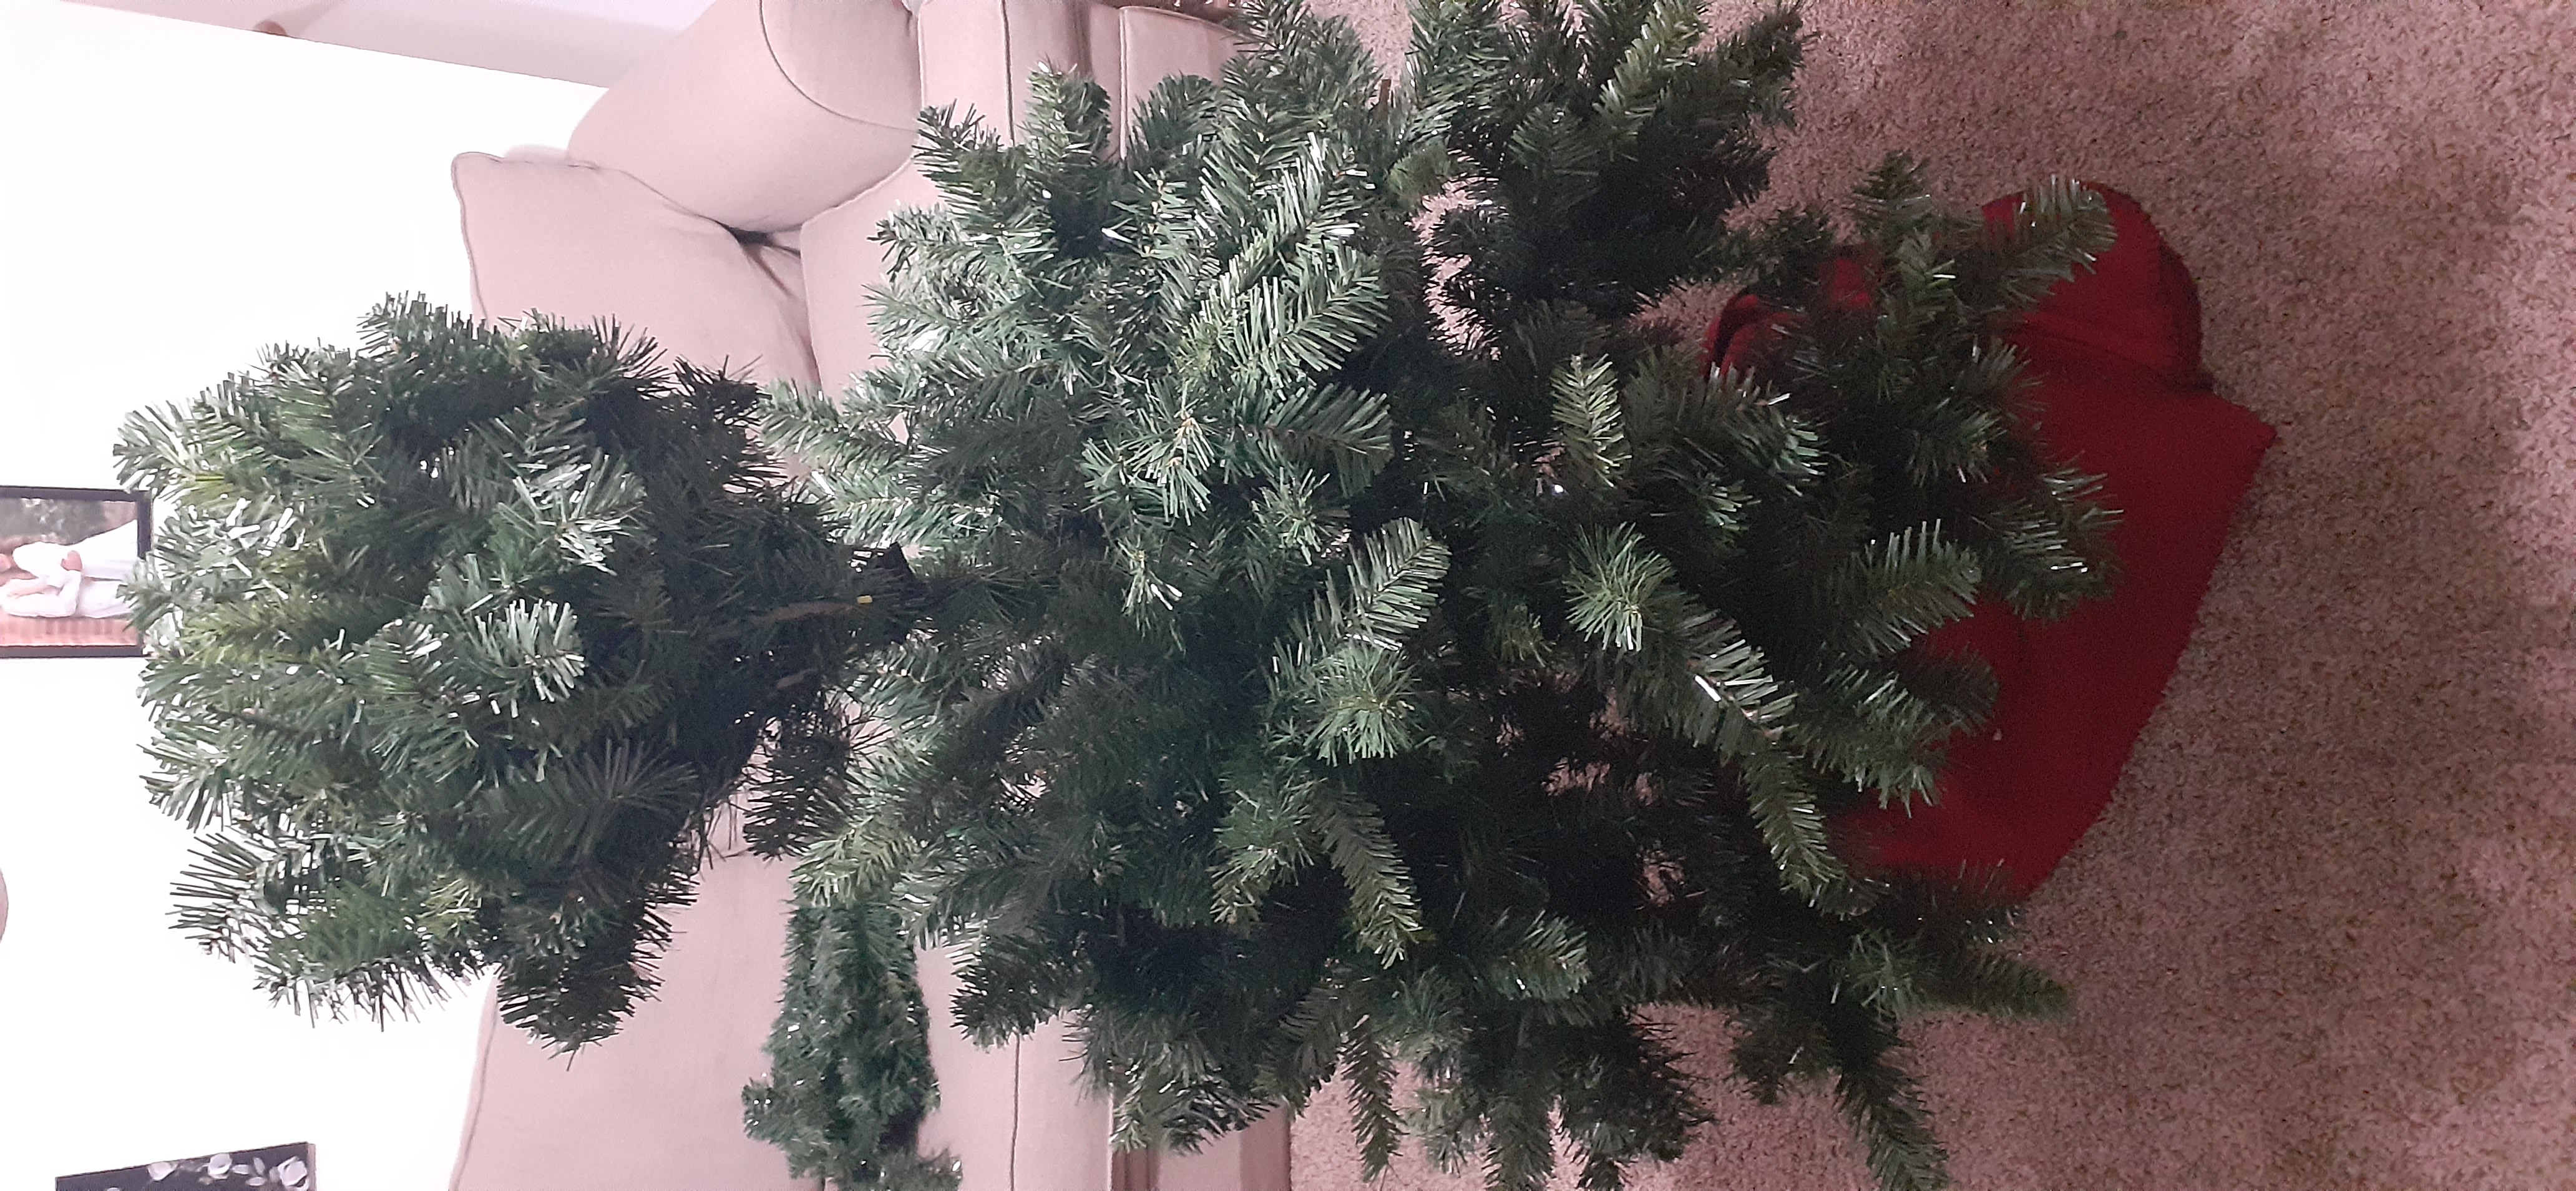
Finally, repeat steps e, f, and g to pull down and fluff out the branches of the final segment.
Look over the tree from different sides and angles to be sure that there are no gaping holes between the branches. Reposition and fluff branches as needed to achieve your desired results.
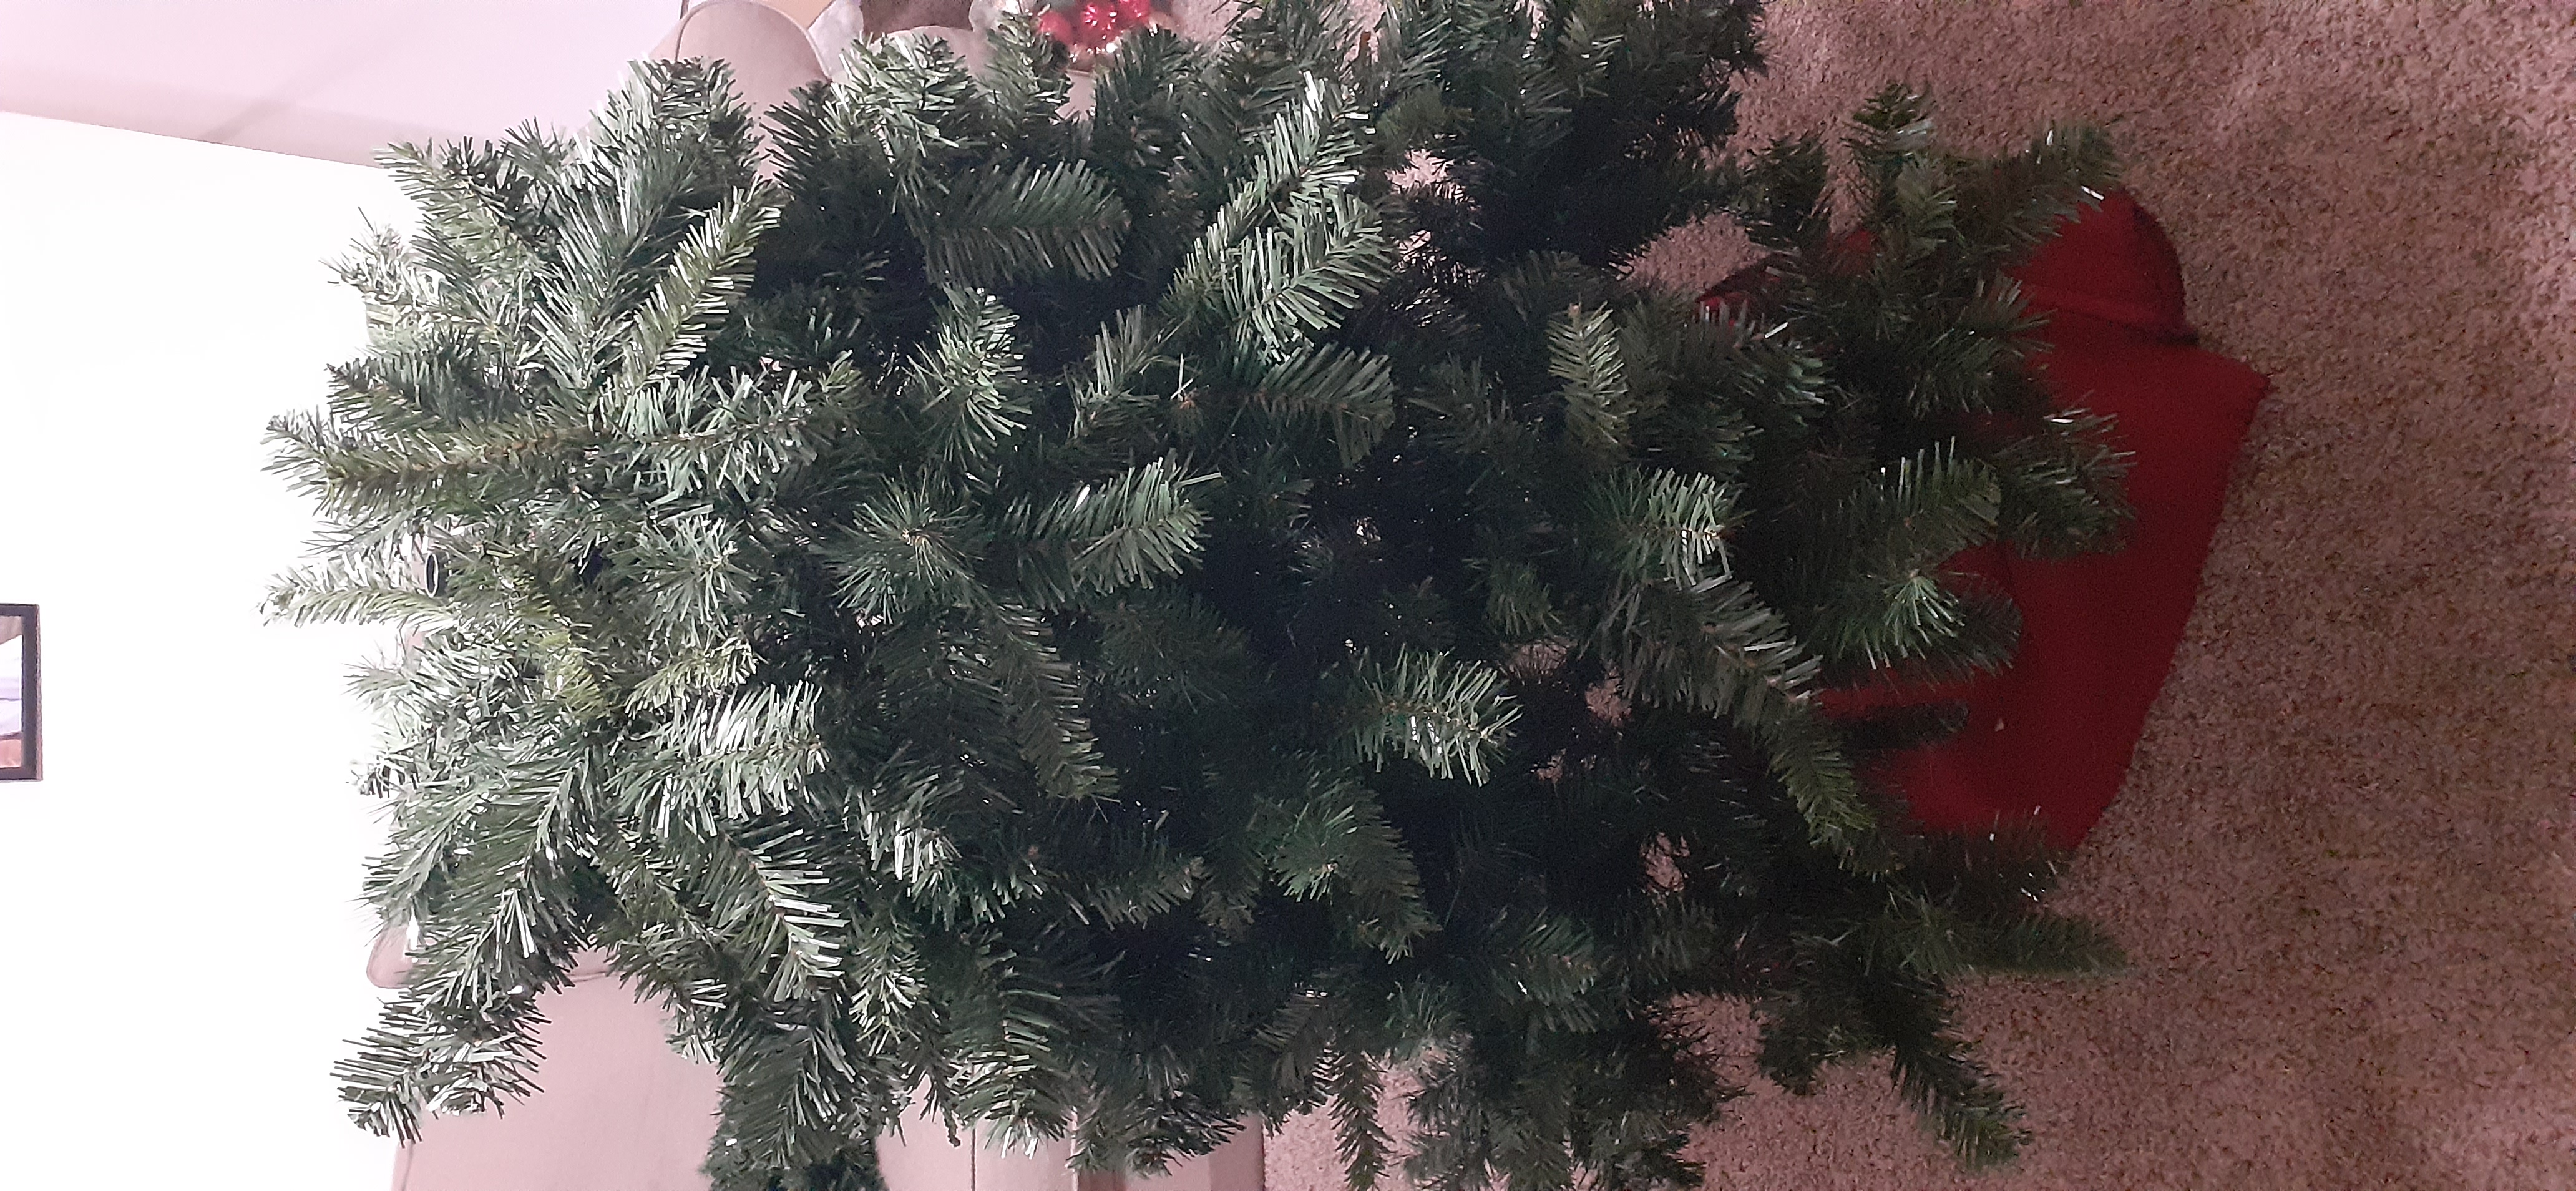
Then, stand back and admire your work!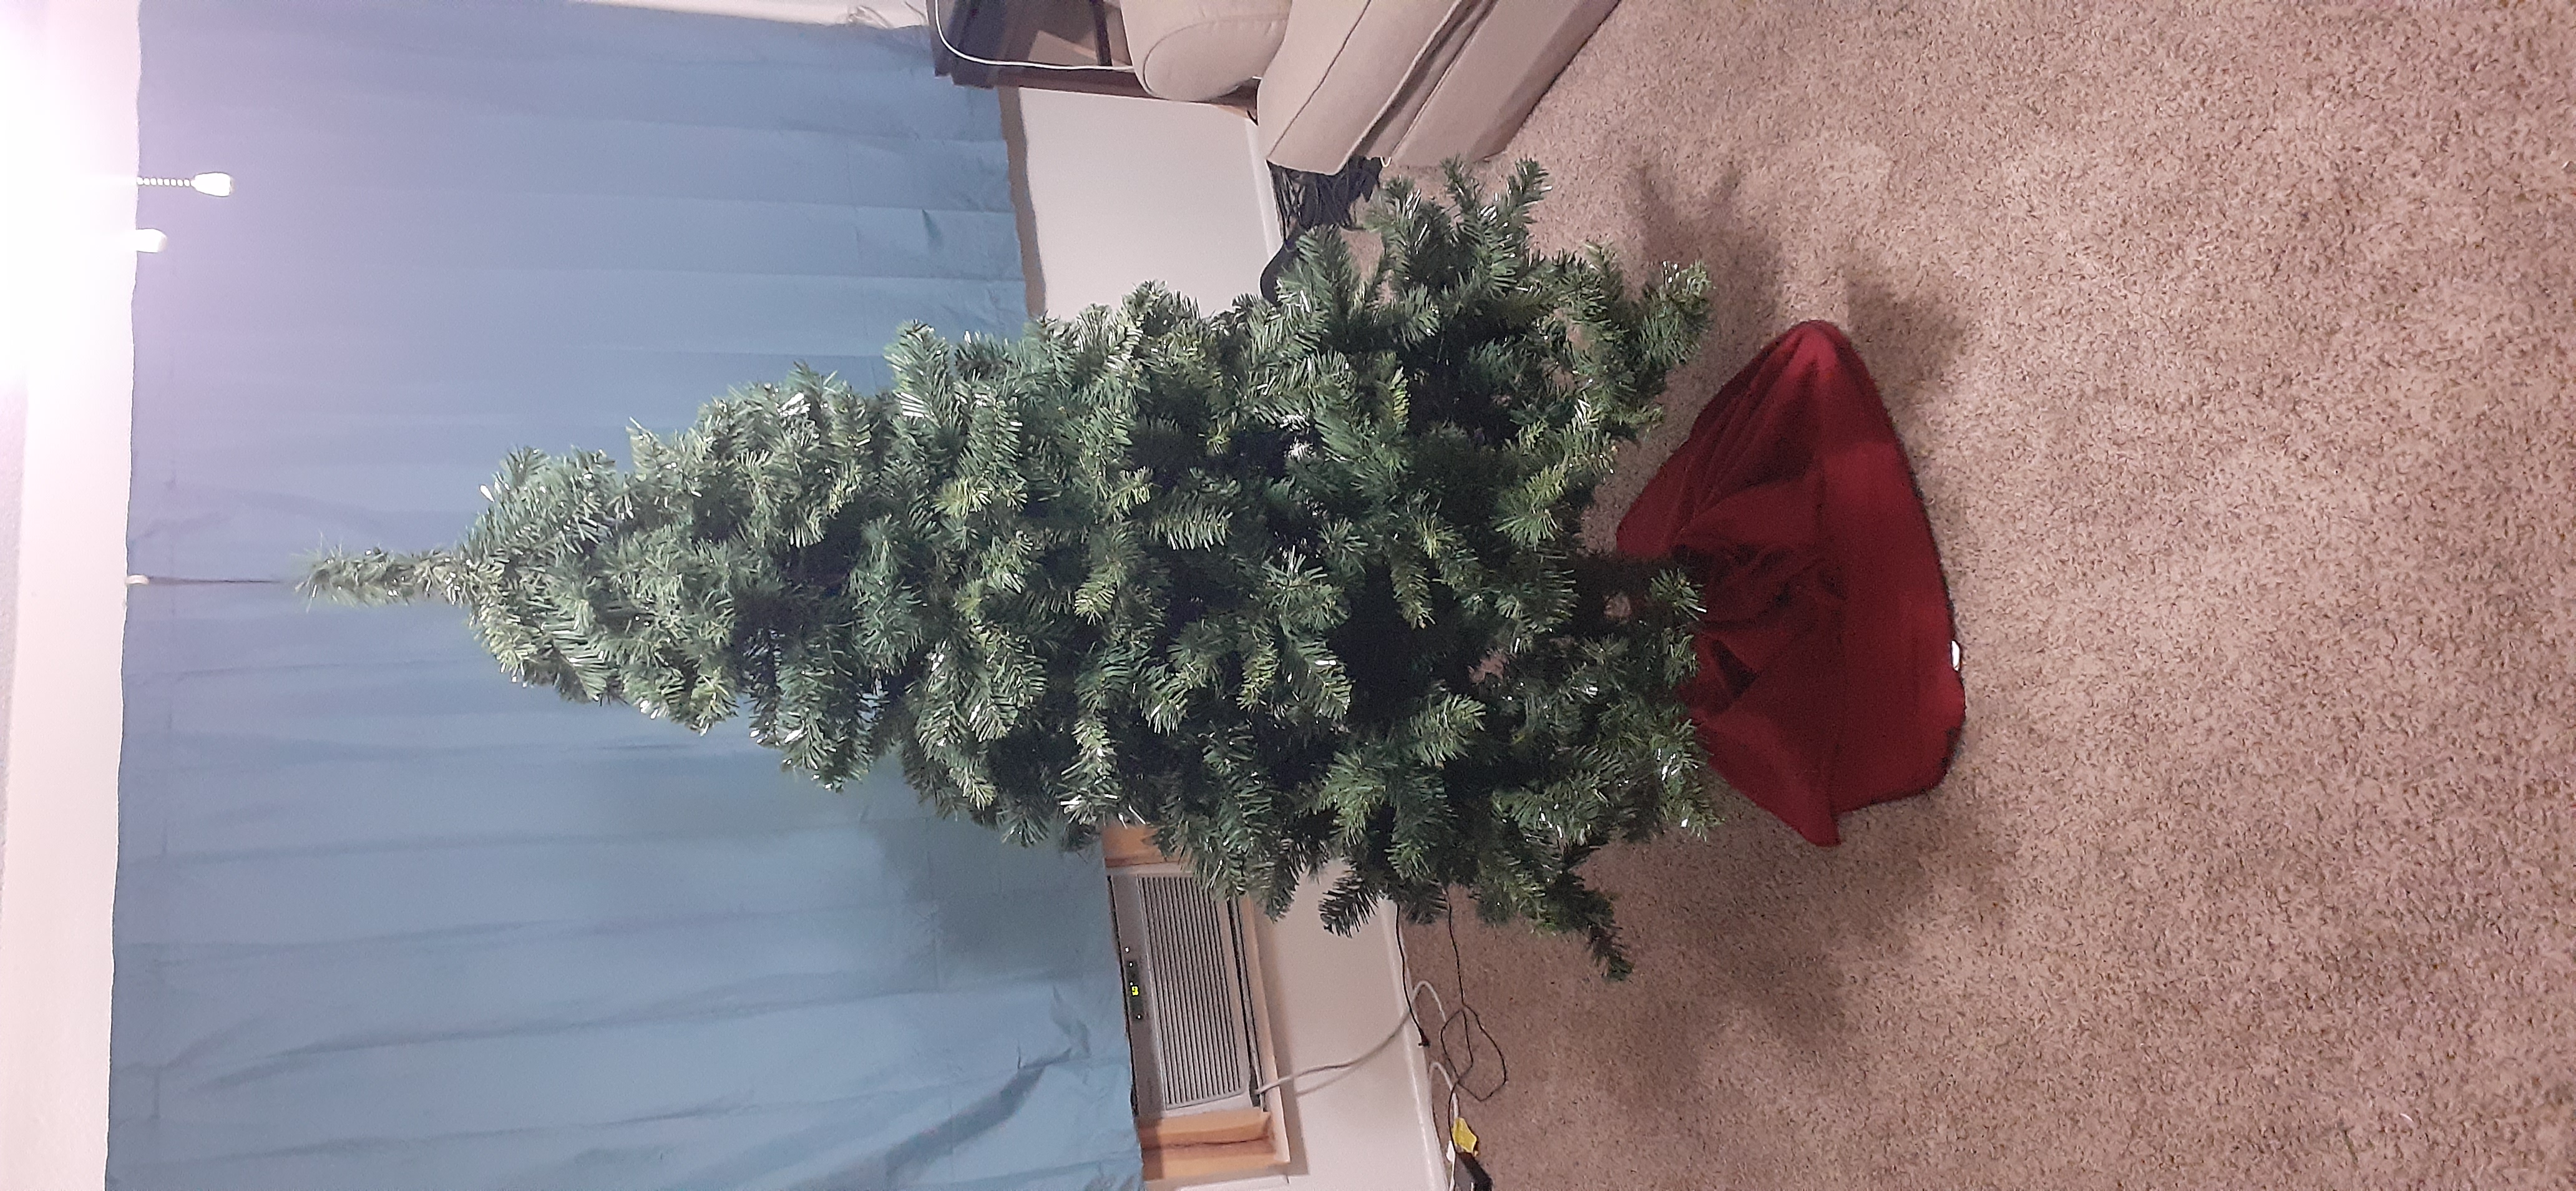
Before you move on, make sure you still like where you placed the tree! Once you start adding decorations and lights, it will be significantly more dangerous to move.
Warning: Do not attempt to move the tree with its three sections assembled. If you decide to move the tree, first take the top two sections off, one at a time, and place them somewhere safe. Then, move the bottom section to the new location, and follow the steps above to reassemble the tree.
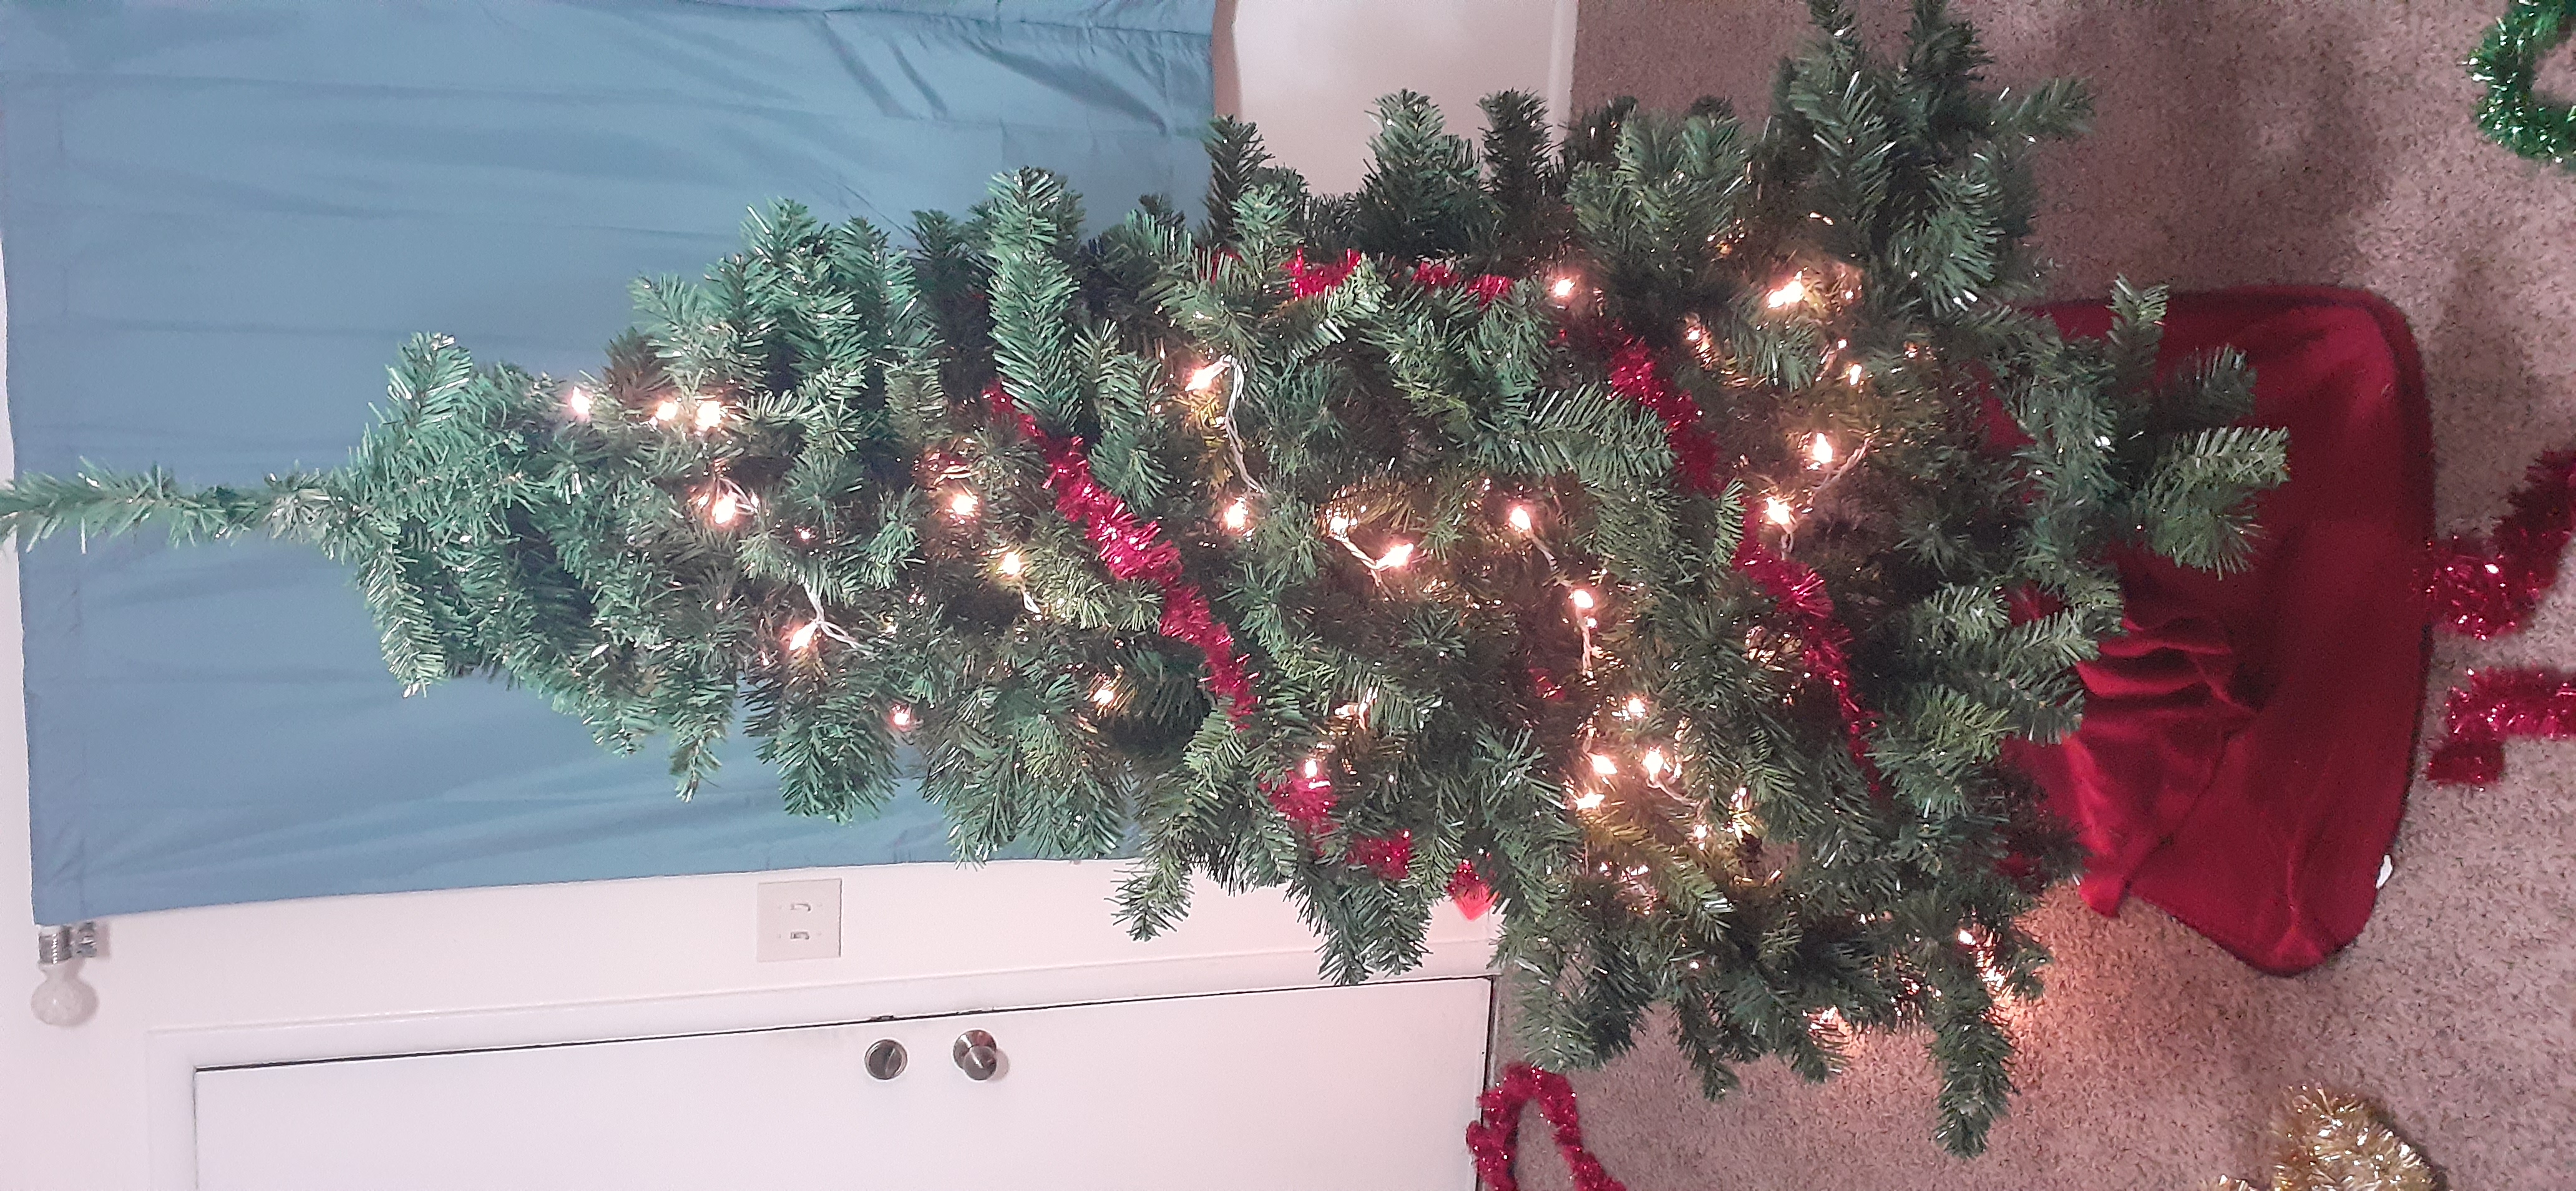
Step 3: Lights
Now you can begin decorating! First to go on the tree is the lights.
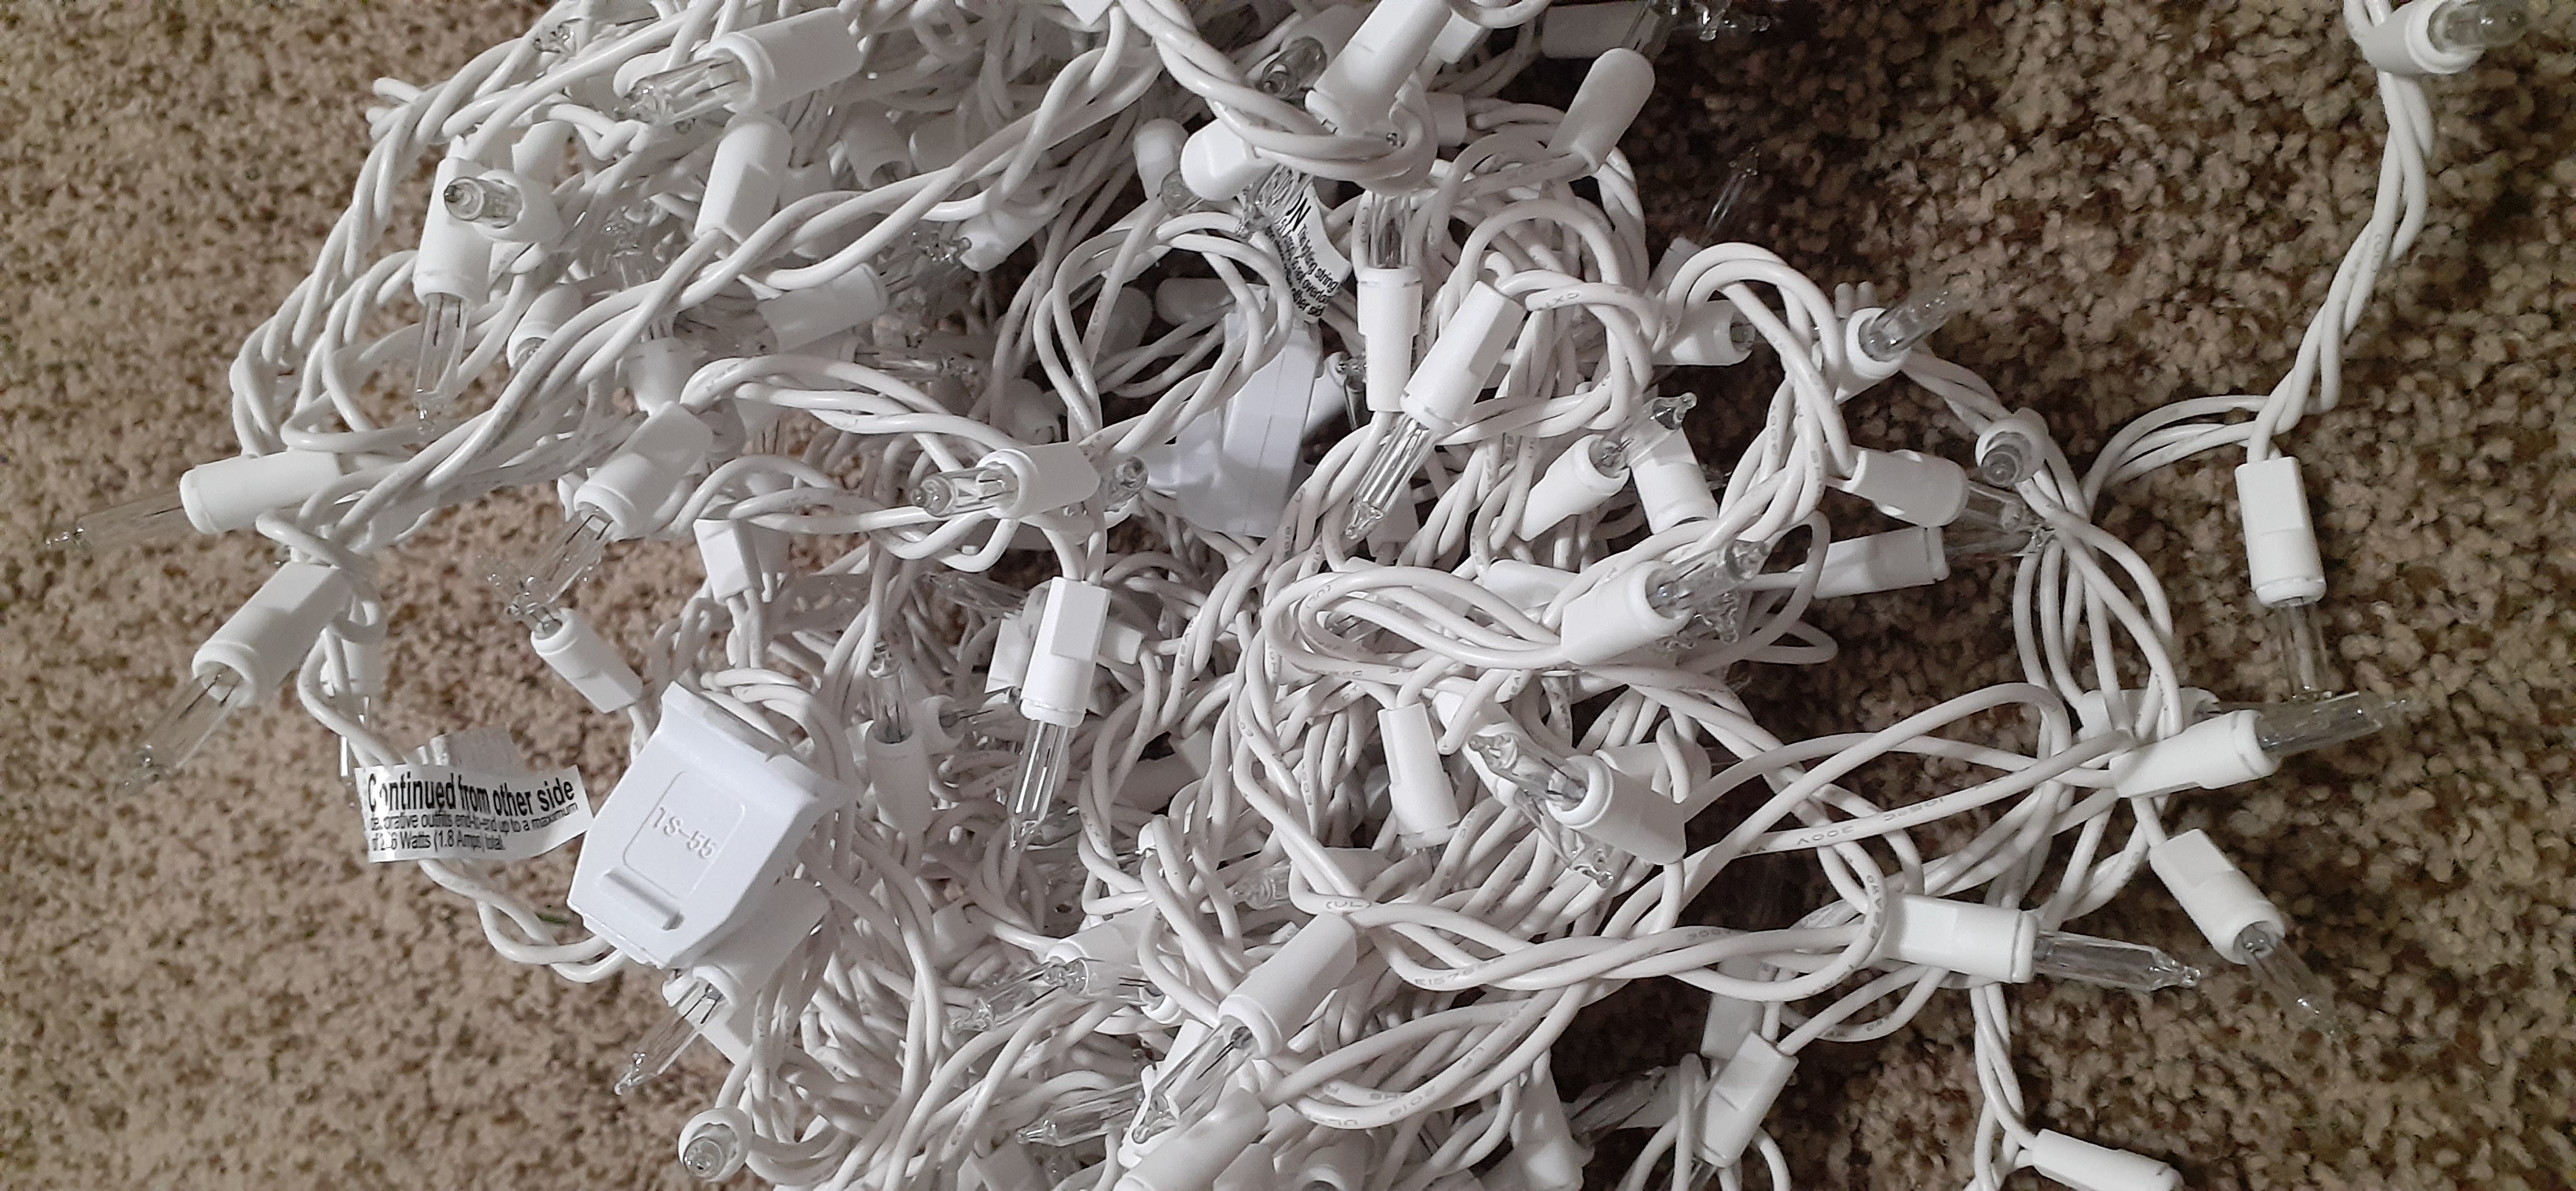
Since your Christmas lights are most likely tangled, the first unofficial part of step 3 will be to untangle the lights!
-
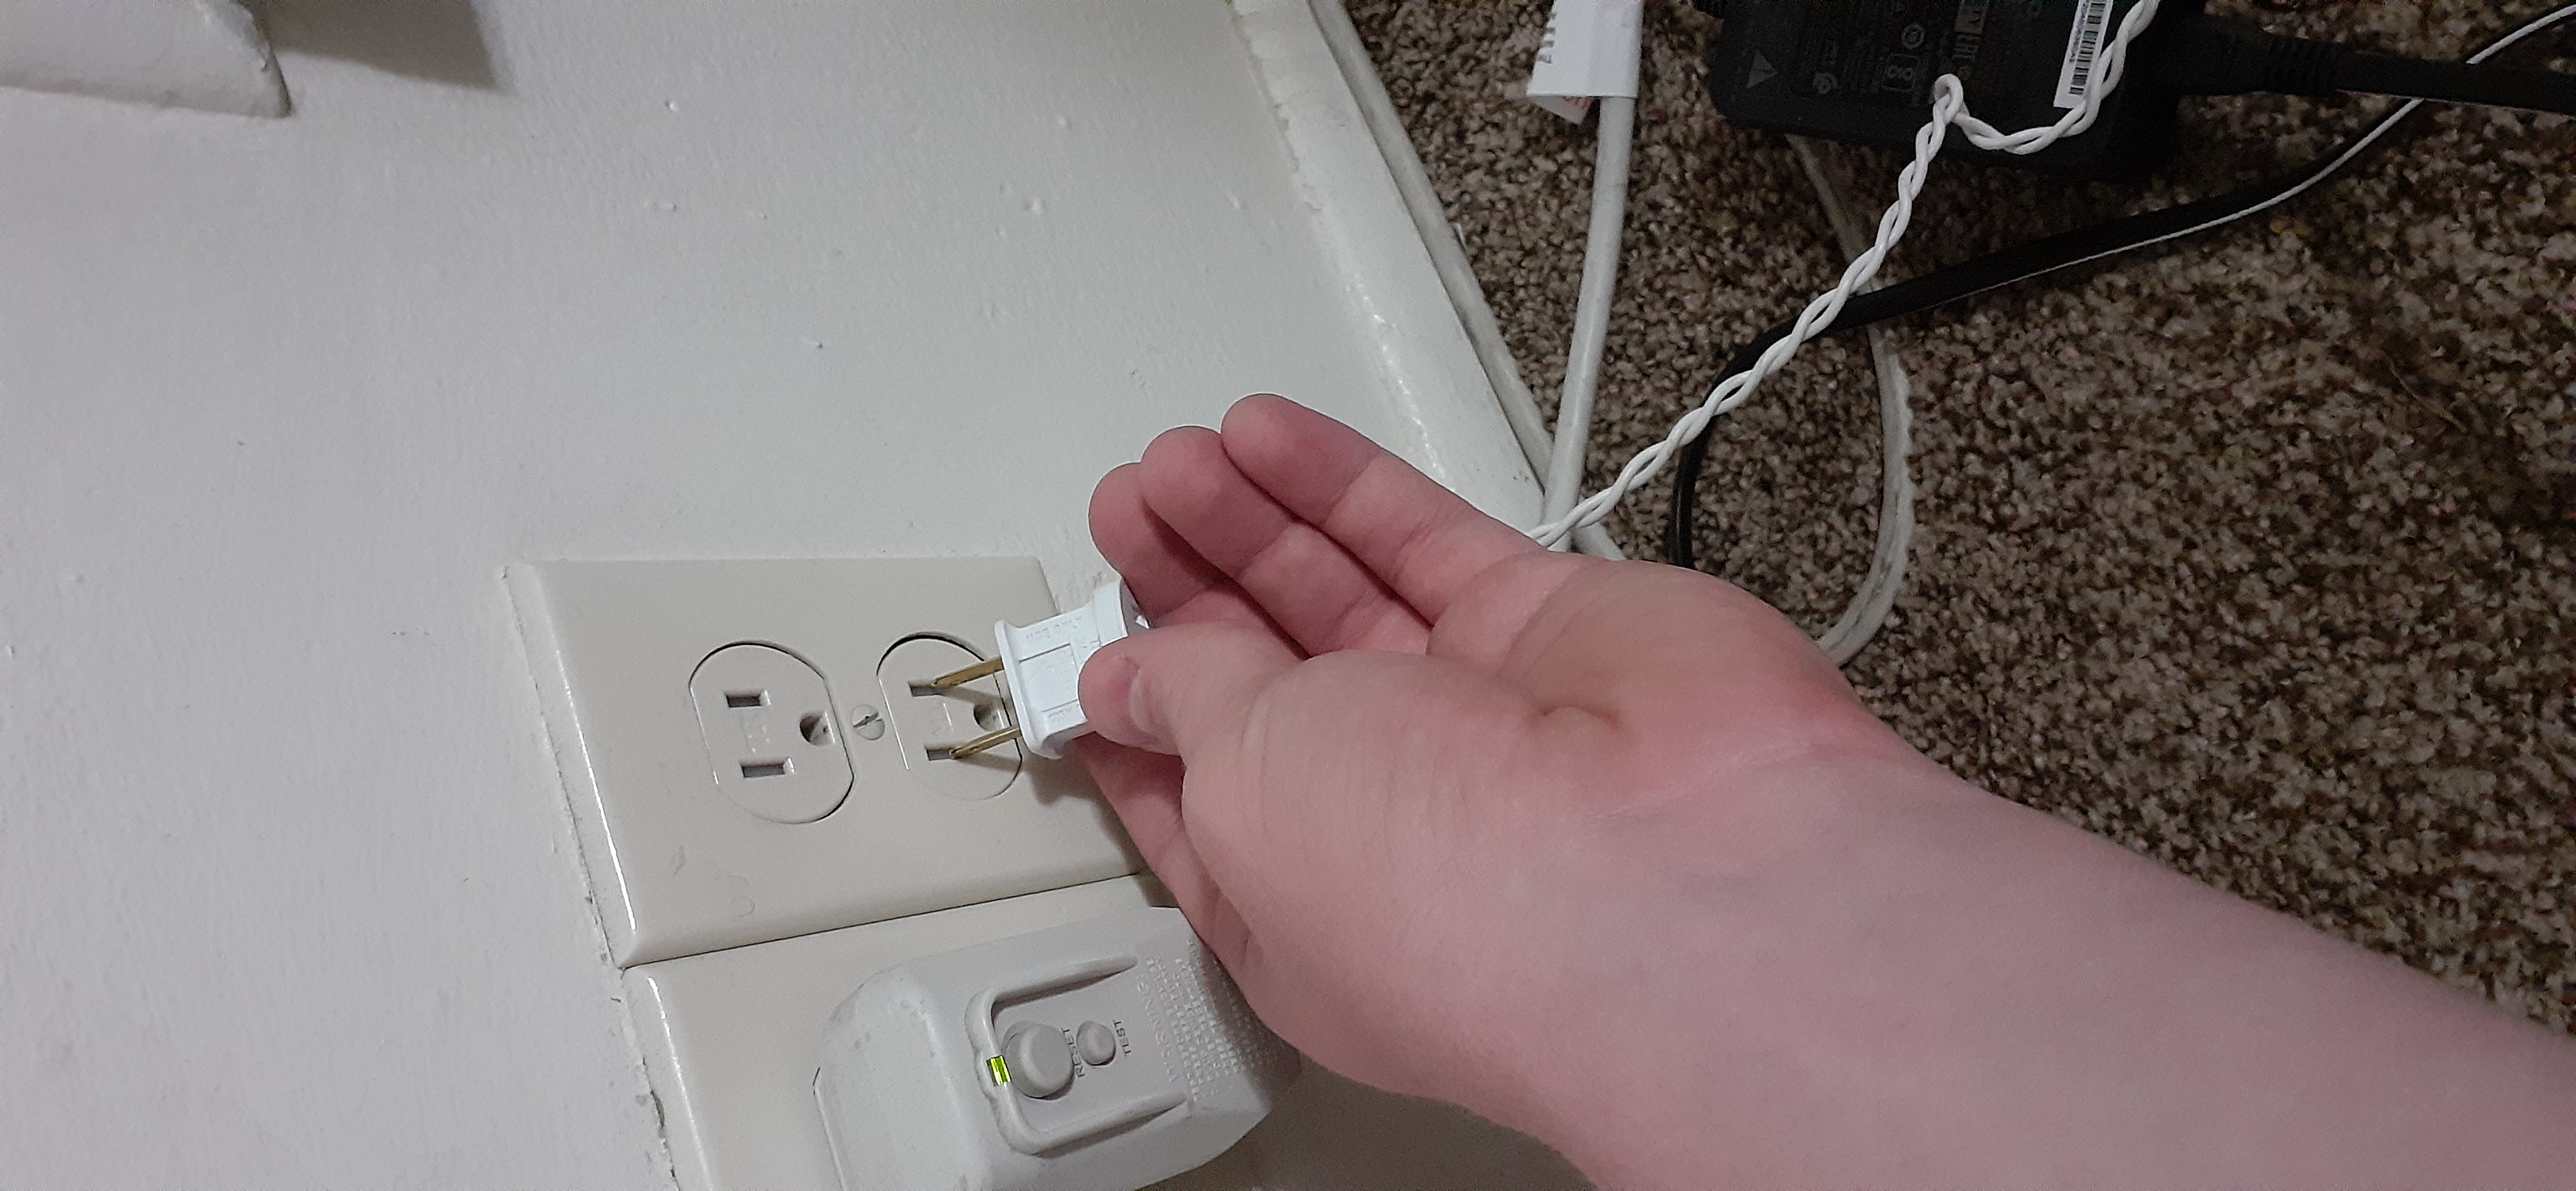
Before you begin wrapping the lights on the tree, plug one end into the power outlet.
Risk of Electric Shock! Always take care when plugging any appliance into the outlet. Keep your fingers away from the metal prongs. Only touch the plastic plug handle while inserting or removing the plug from the outlet.
Make sure that all of the lights turn on! You don't want to do all of the work to wrap the tree and then find out that the lights don't work.
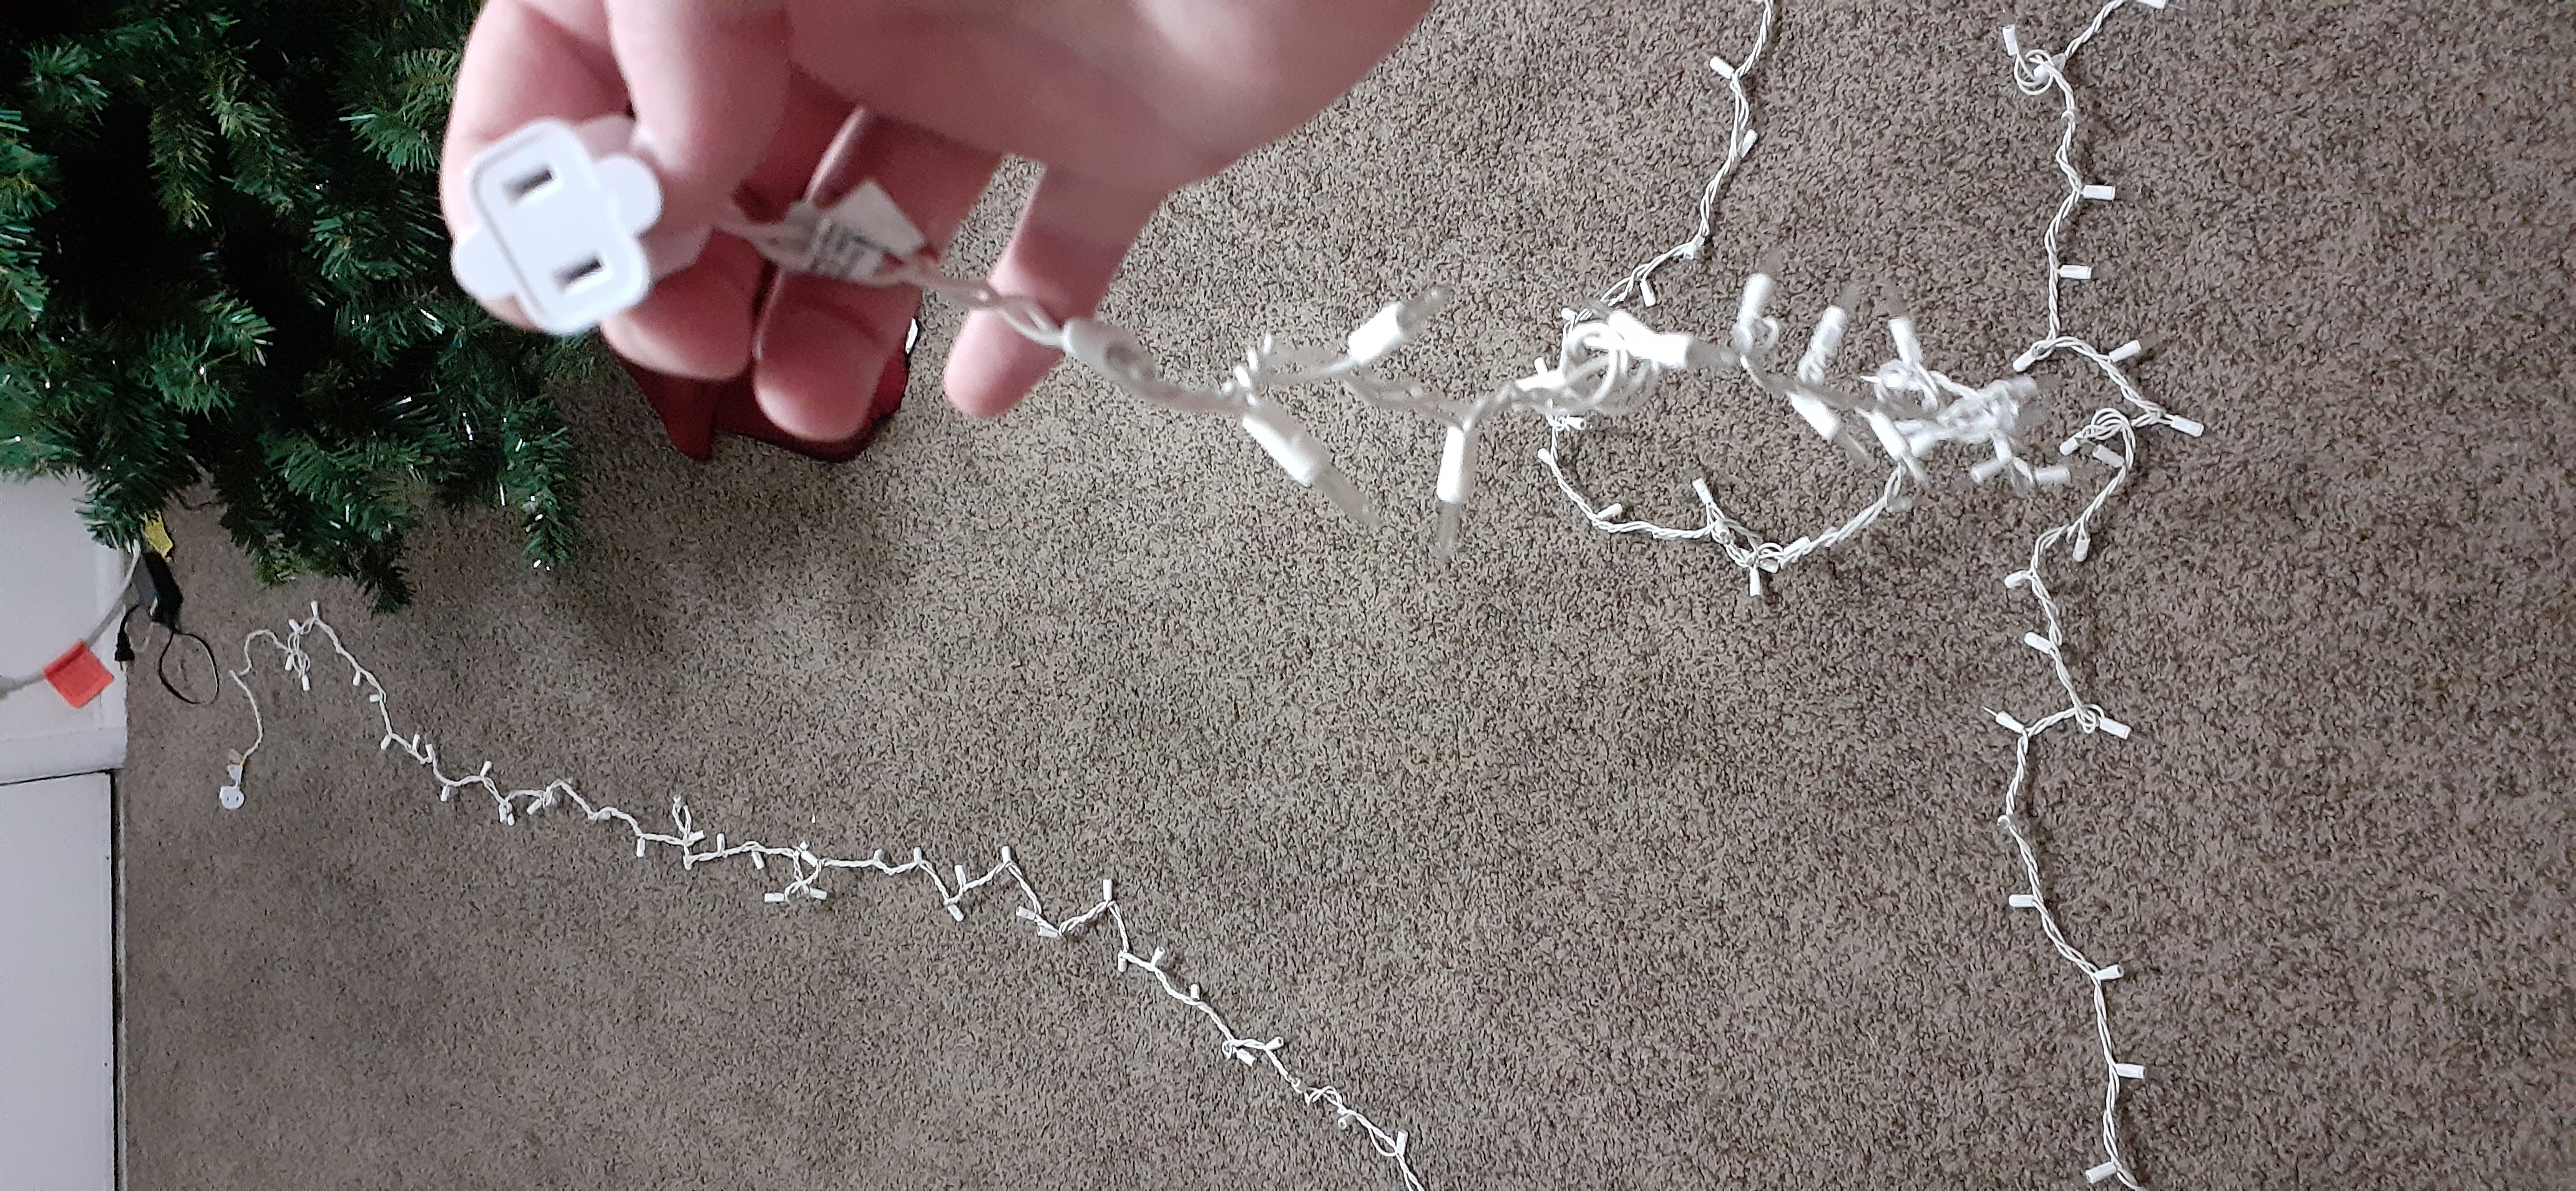
With the strand of lights plugged into the outlet, measure out enough cord so that you can plug in the lights again after you're done with Step 3. Once you've measured enough cord to leave out, unplug the lights from the outlet before continuing.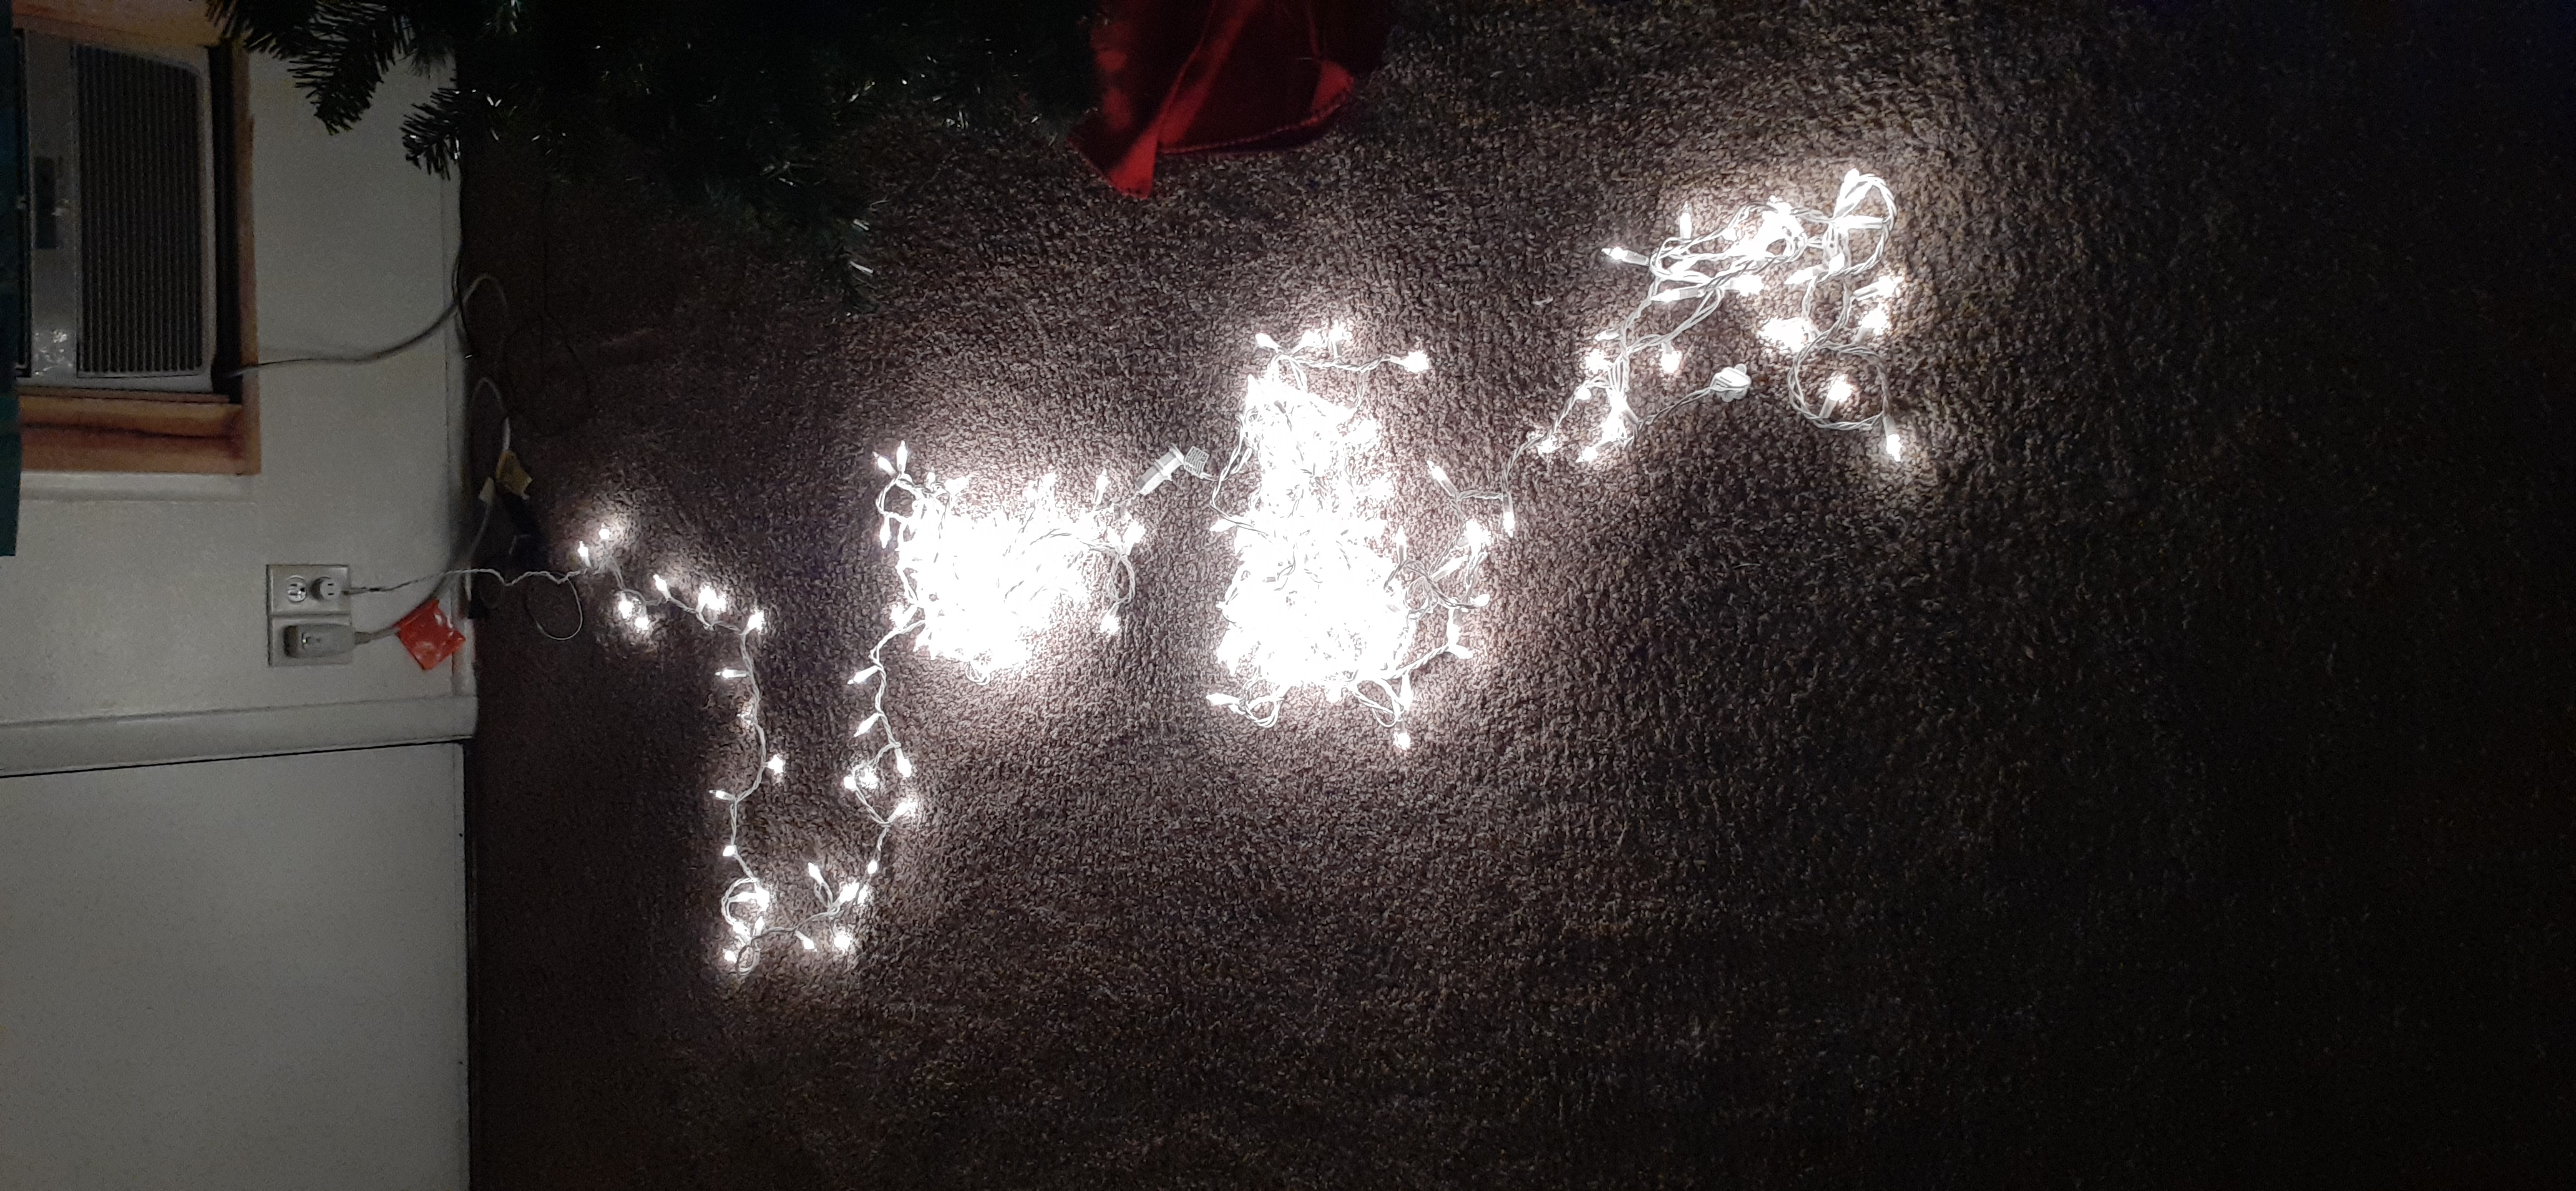
-
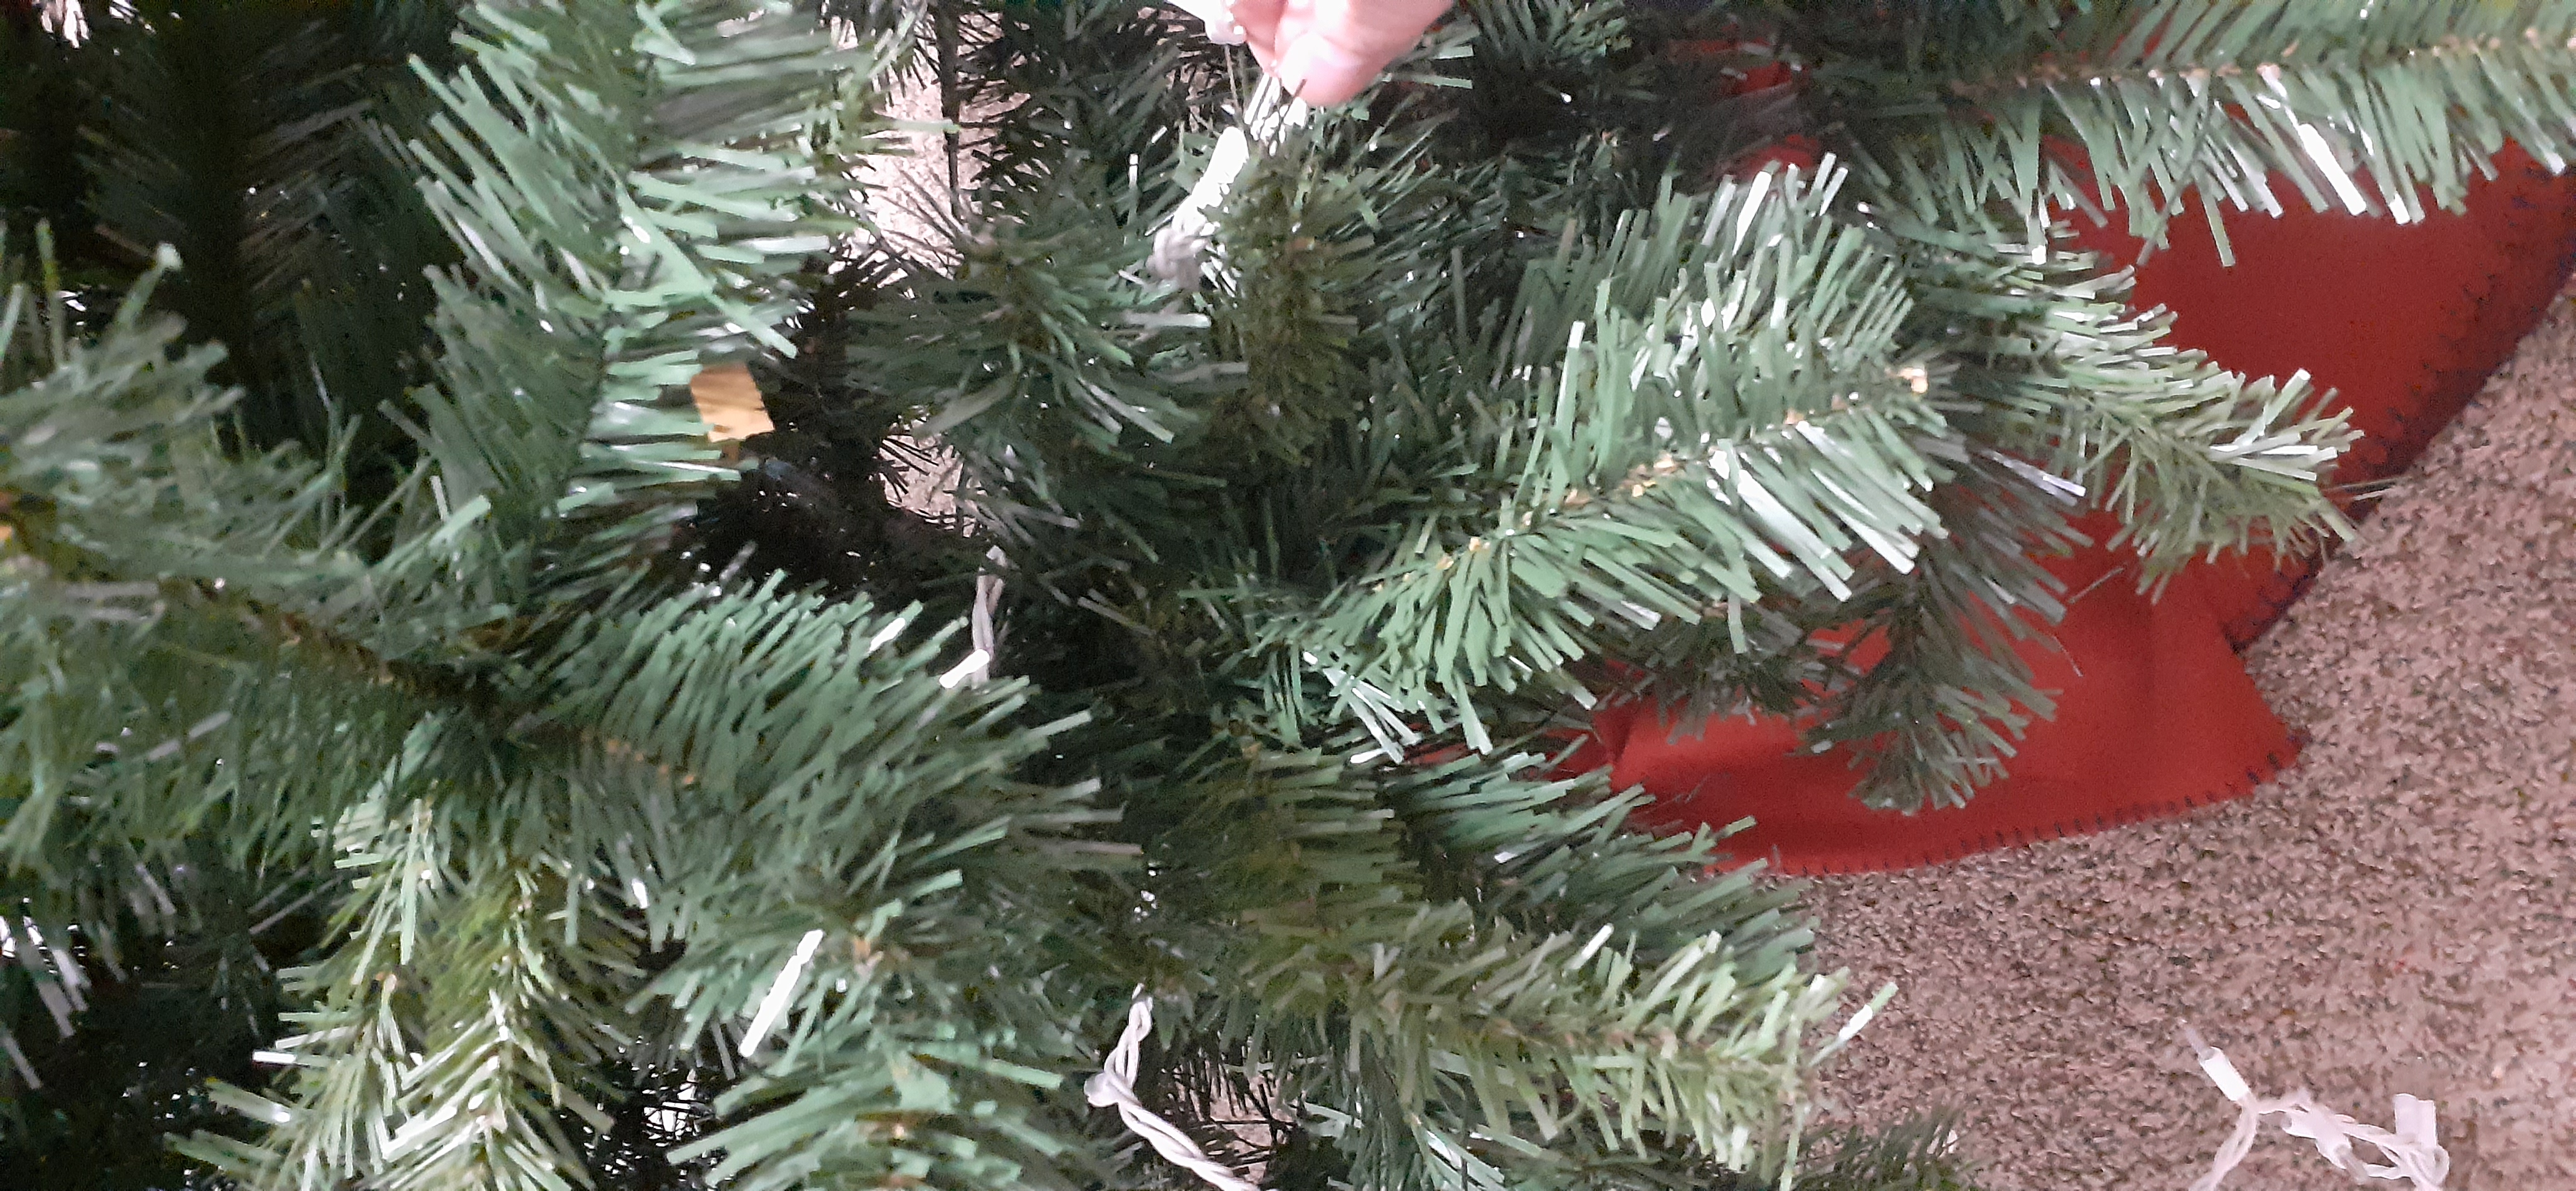
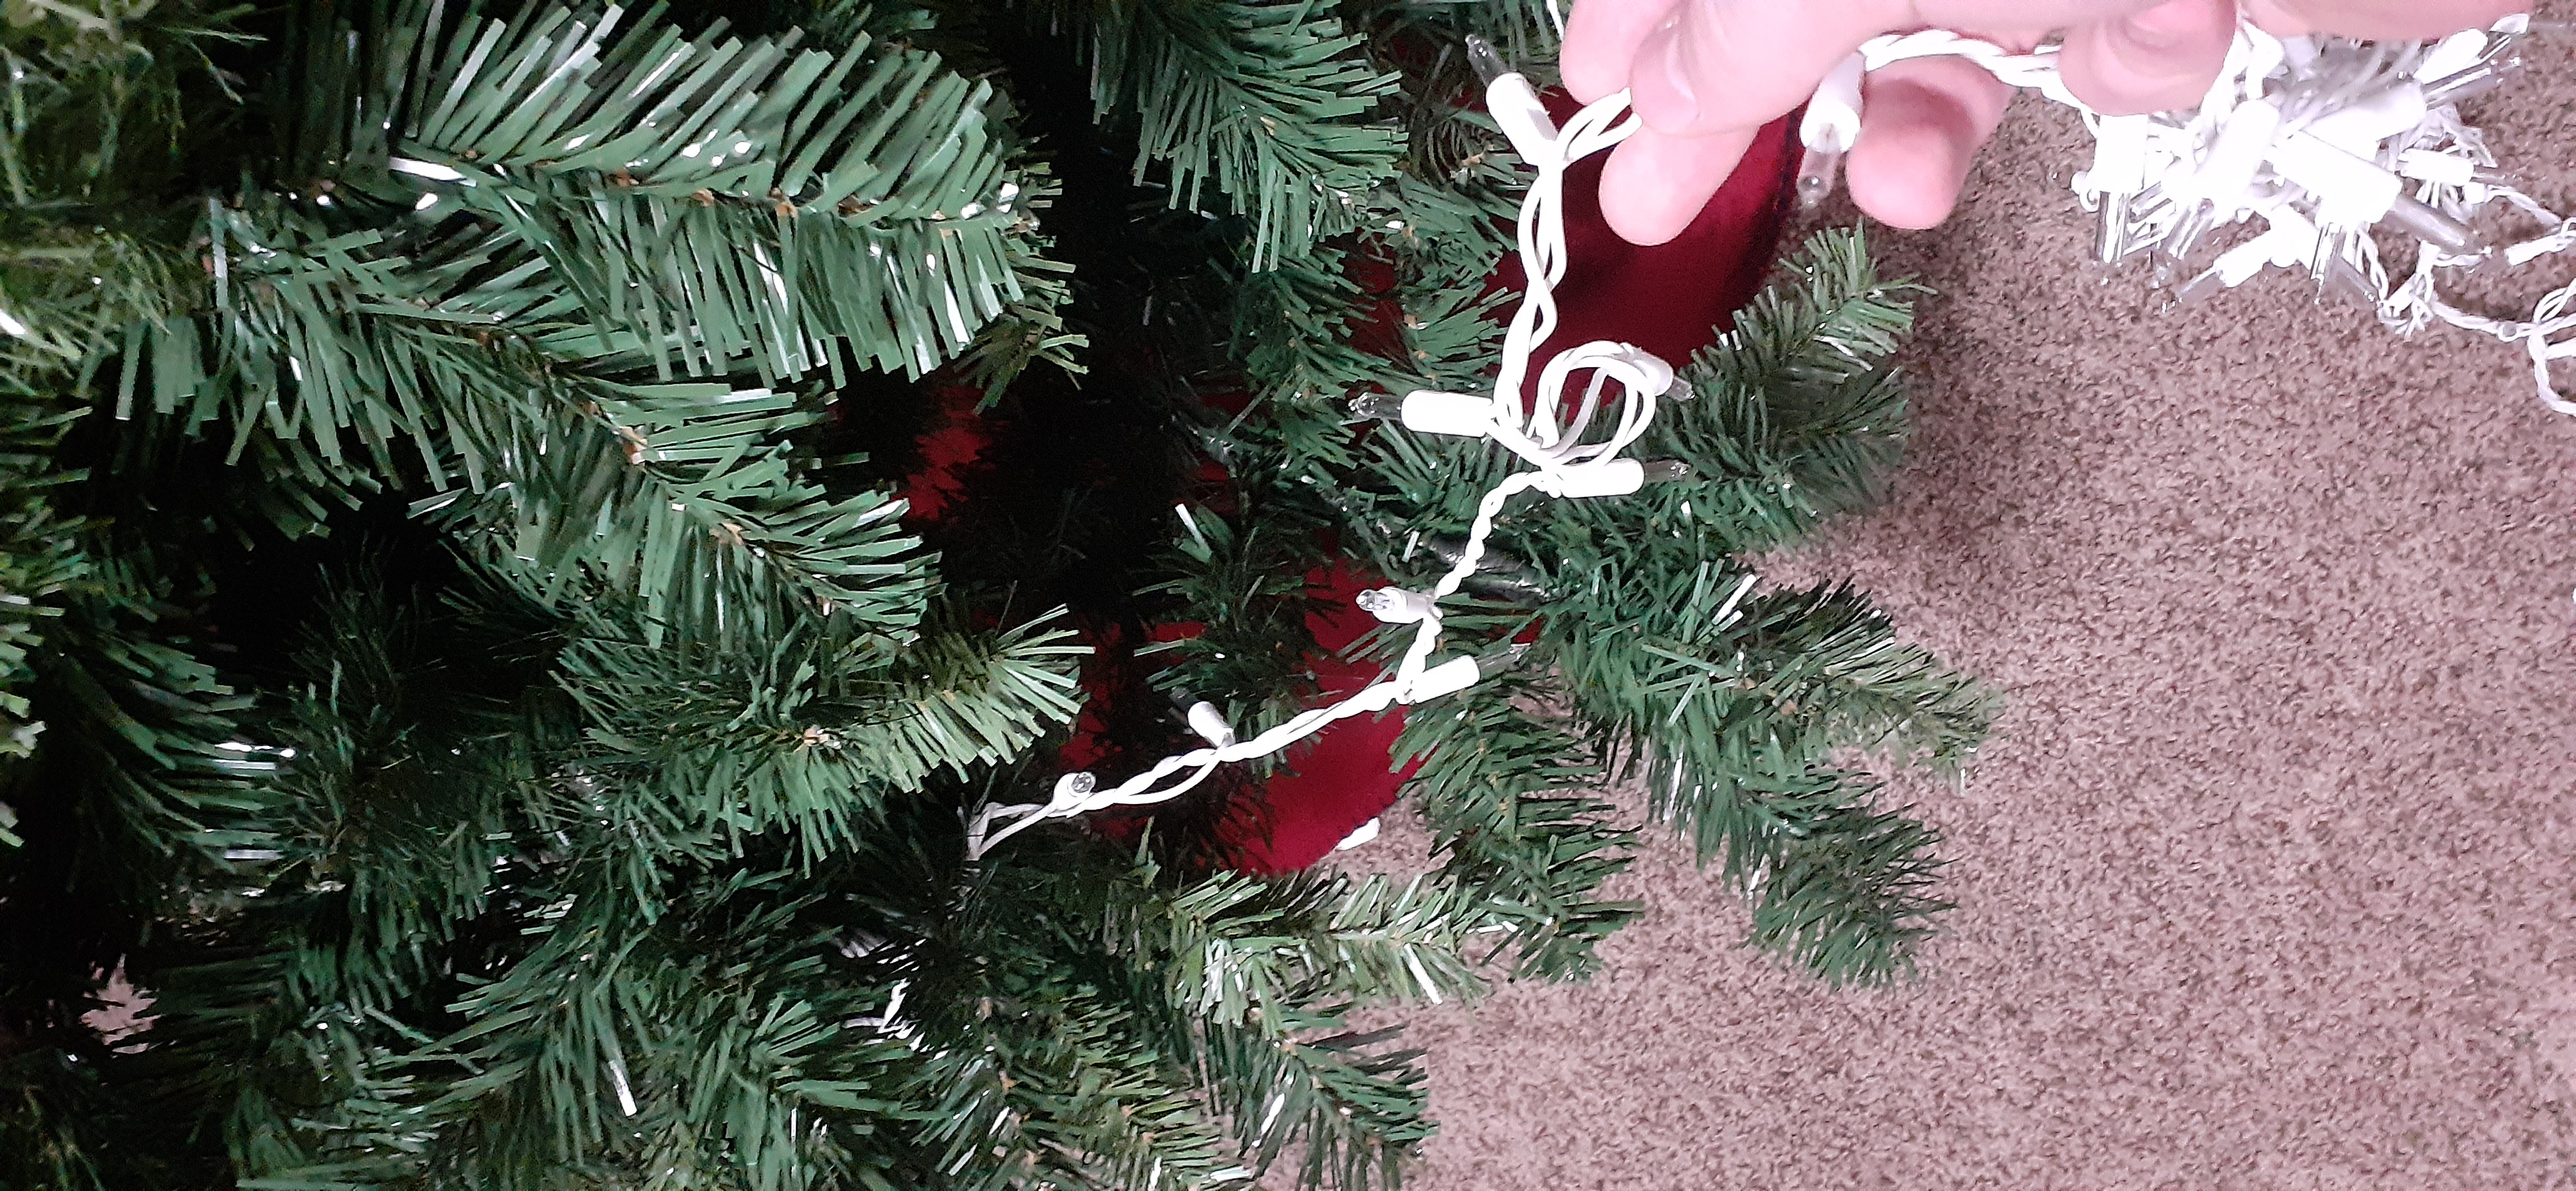
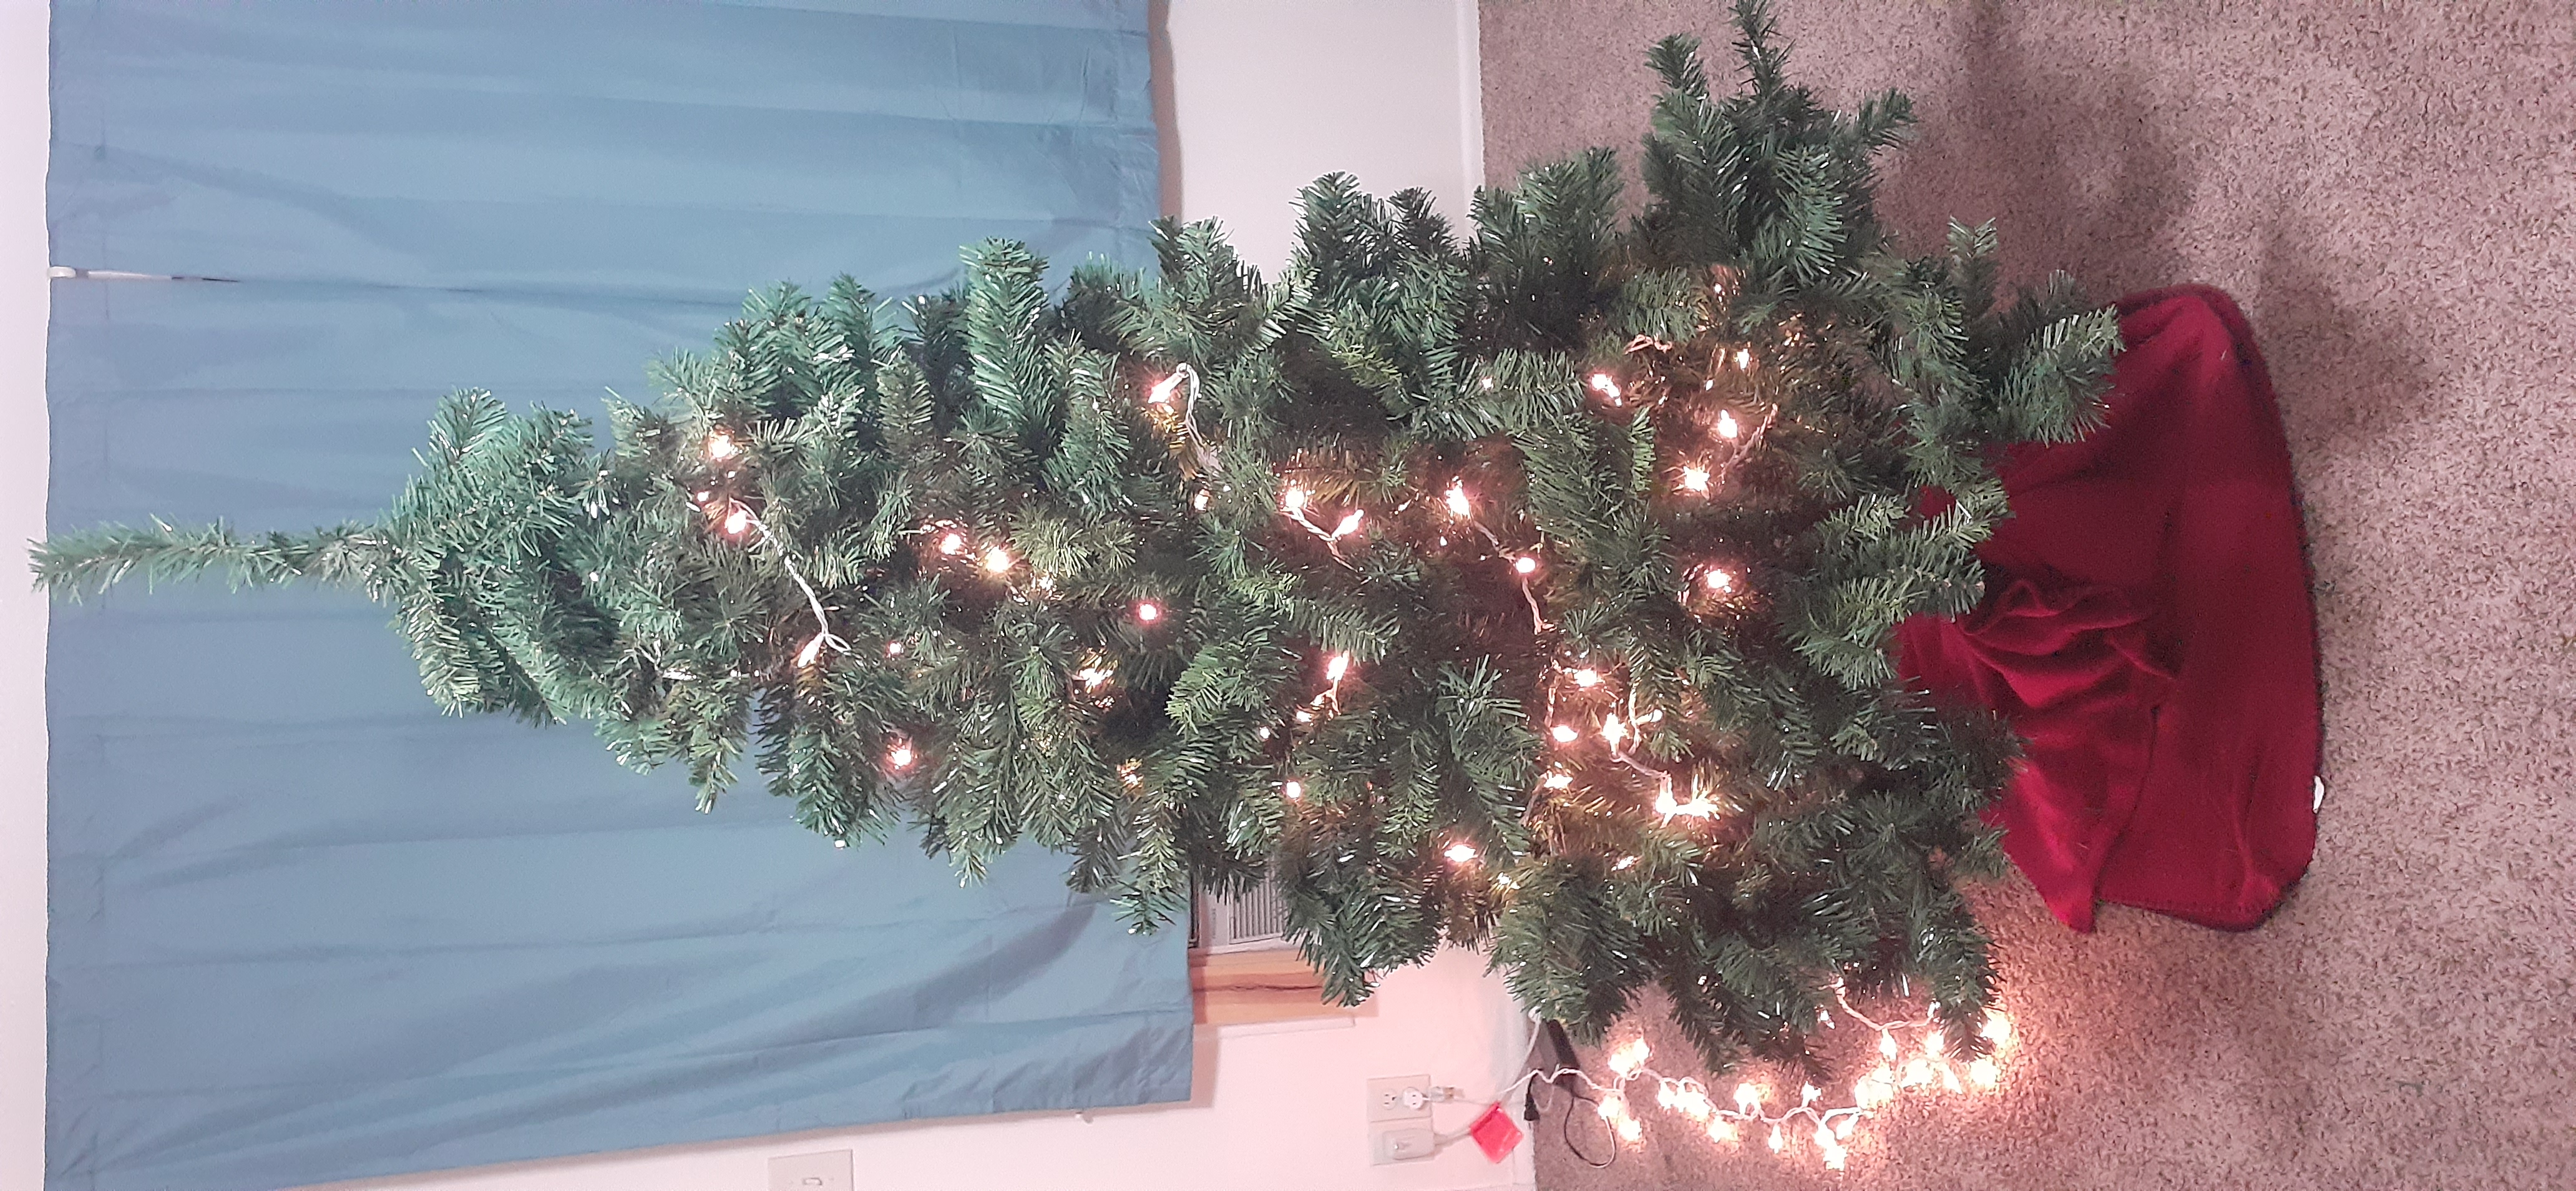
Starting at the base of the tree, carefully string the lights along the branches in a shallow spiral. Work your way slowly up the tree. As you go, keep this in mind:
Watch your step! You may have to carefully step over the lights on the ground in order to wrap the lights up the tree. If you are worried about stepping on them, feel free to tuck them under the tree while you wrap. Just make sure you still have enough at the bottom to reach all the way to the power outlet!
-
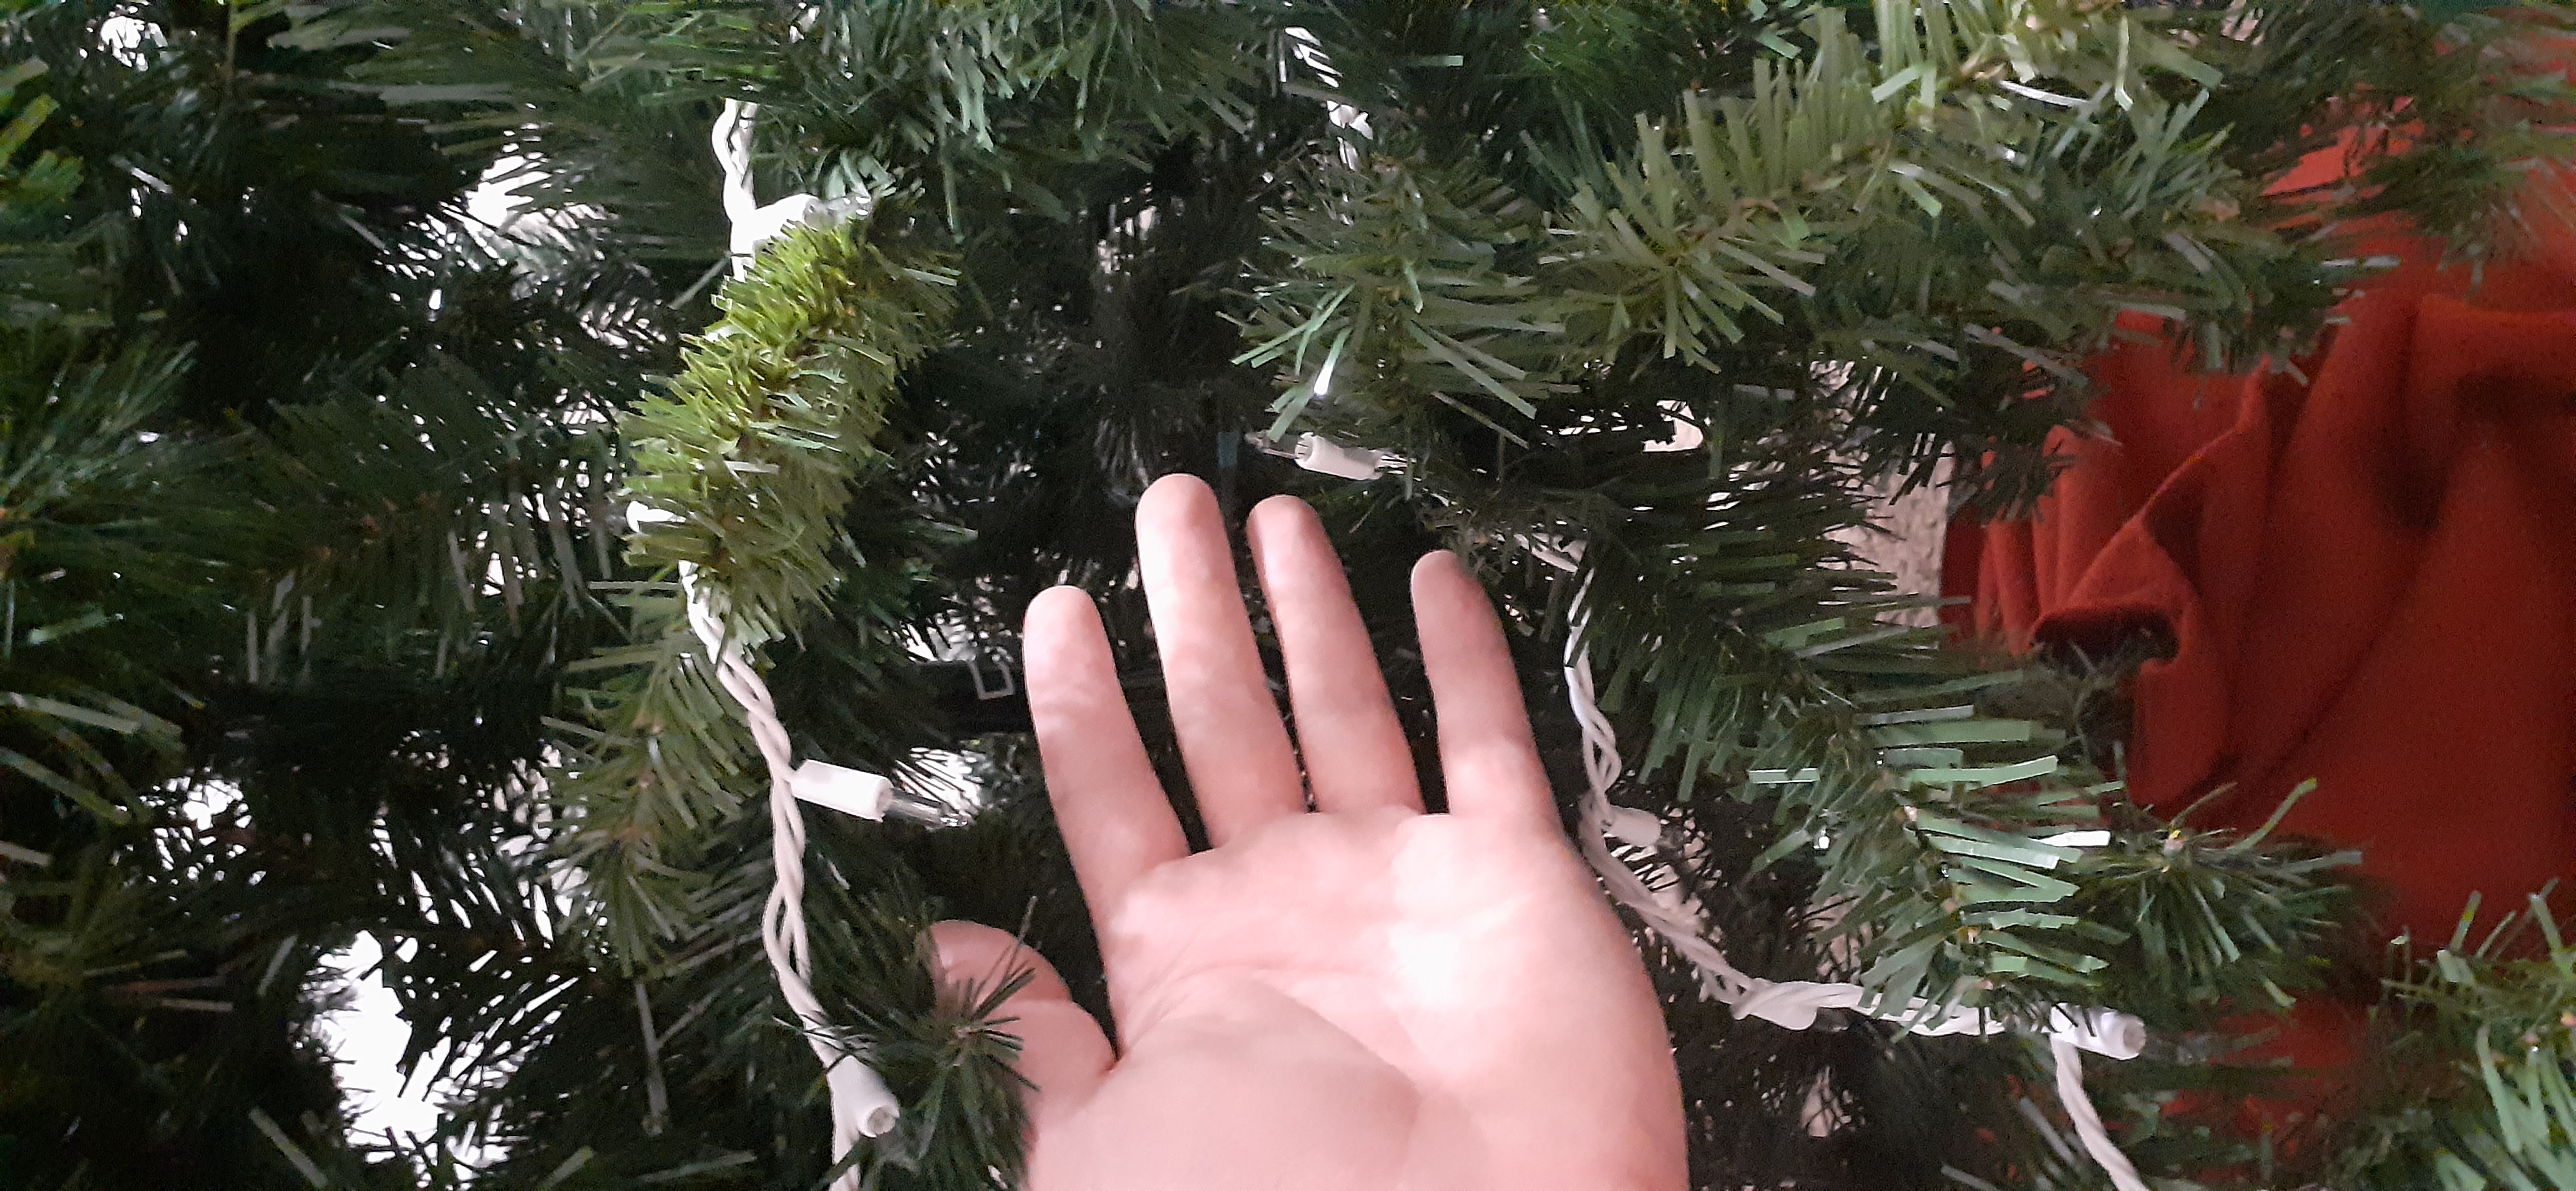
For best results, lay lights a few inches in from the tips of the branches (close enough to the center that the branches don't bend too much from the weight of the lights).
-
Pace your wrapping so that in the end, the lights will wrap the tree about 6 times. Each wrap should be about 8 inches above the previous wrap.
- Double-check that the male end of the light cord is at the bottom of the tree, so that you can plug in the lights again when you're done. Otherwise, you'll have to restart this step!
-
For best results, lay lights a few inches in from the tips of the branches (close enough to the center that the branches don't bend too much from the weight of the lights).
-
When you have placed all of the lights on the tree, carefully plug the bottom end of the lights into the outlet.
Examine the tree from all sides, looking for dark patches. If you find a dark patch, see if you can move some of the nearby lights so that the dark patch is less noticeable.
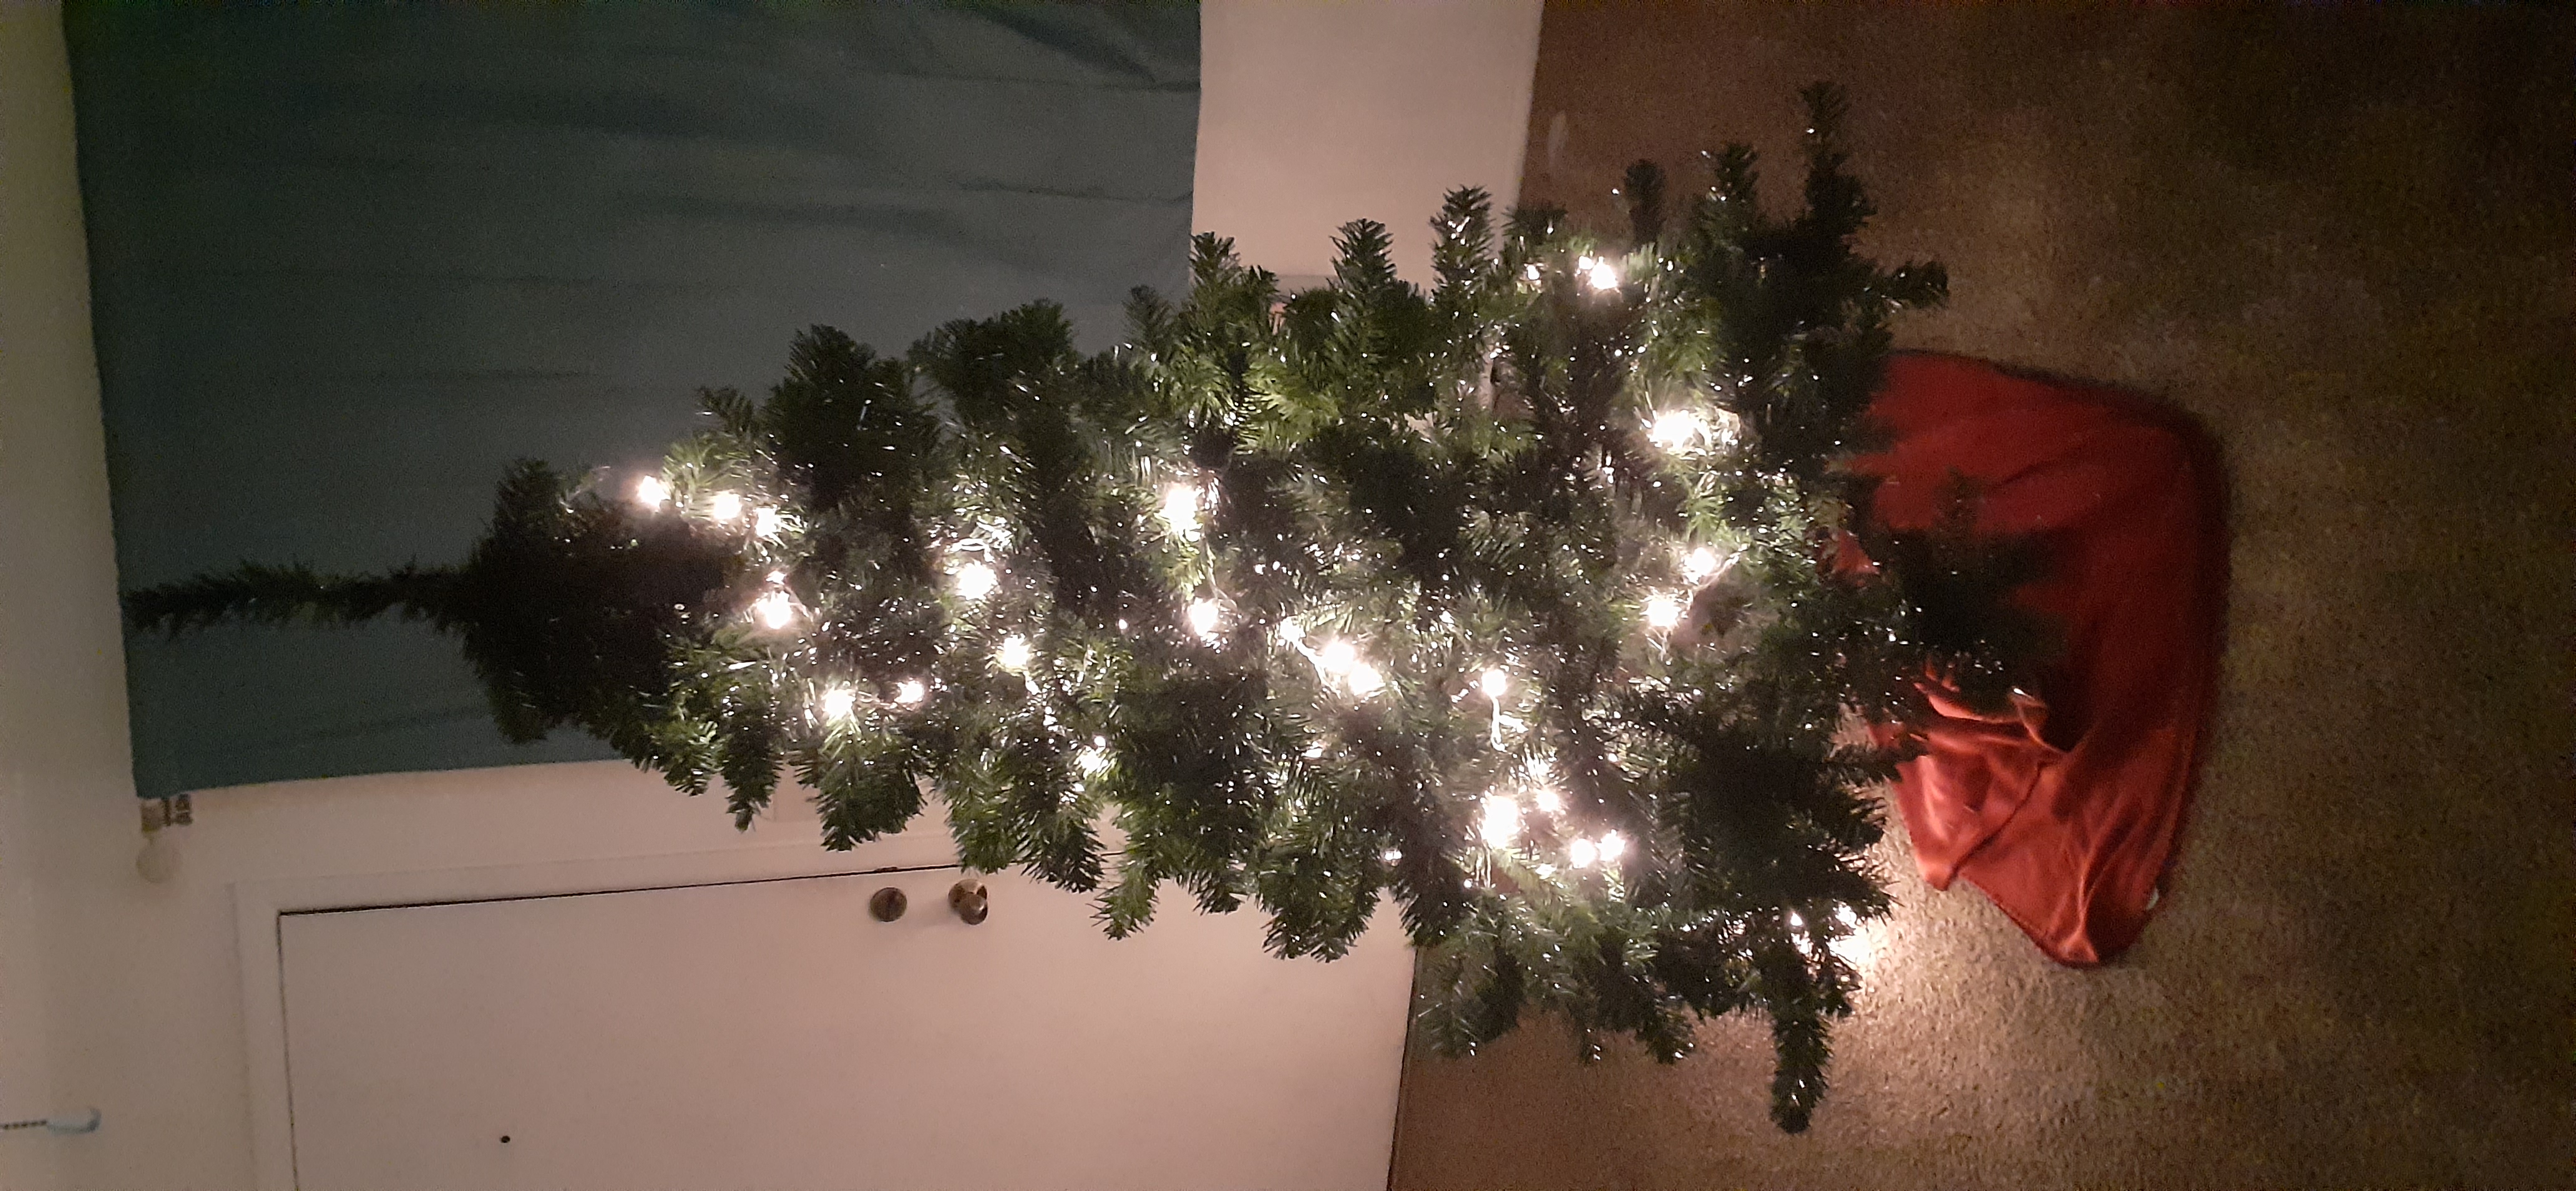
When you are satisfied with how evenly the tree is lit, move on to Step 4.
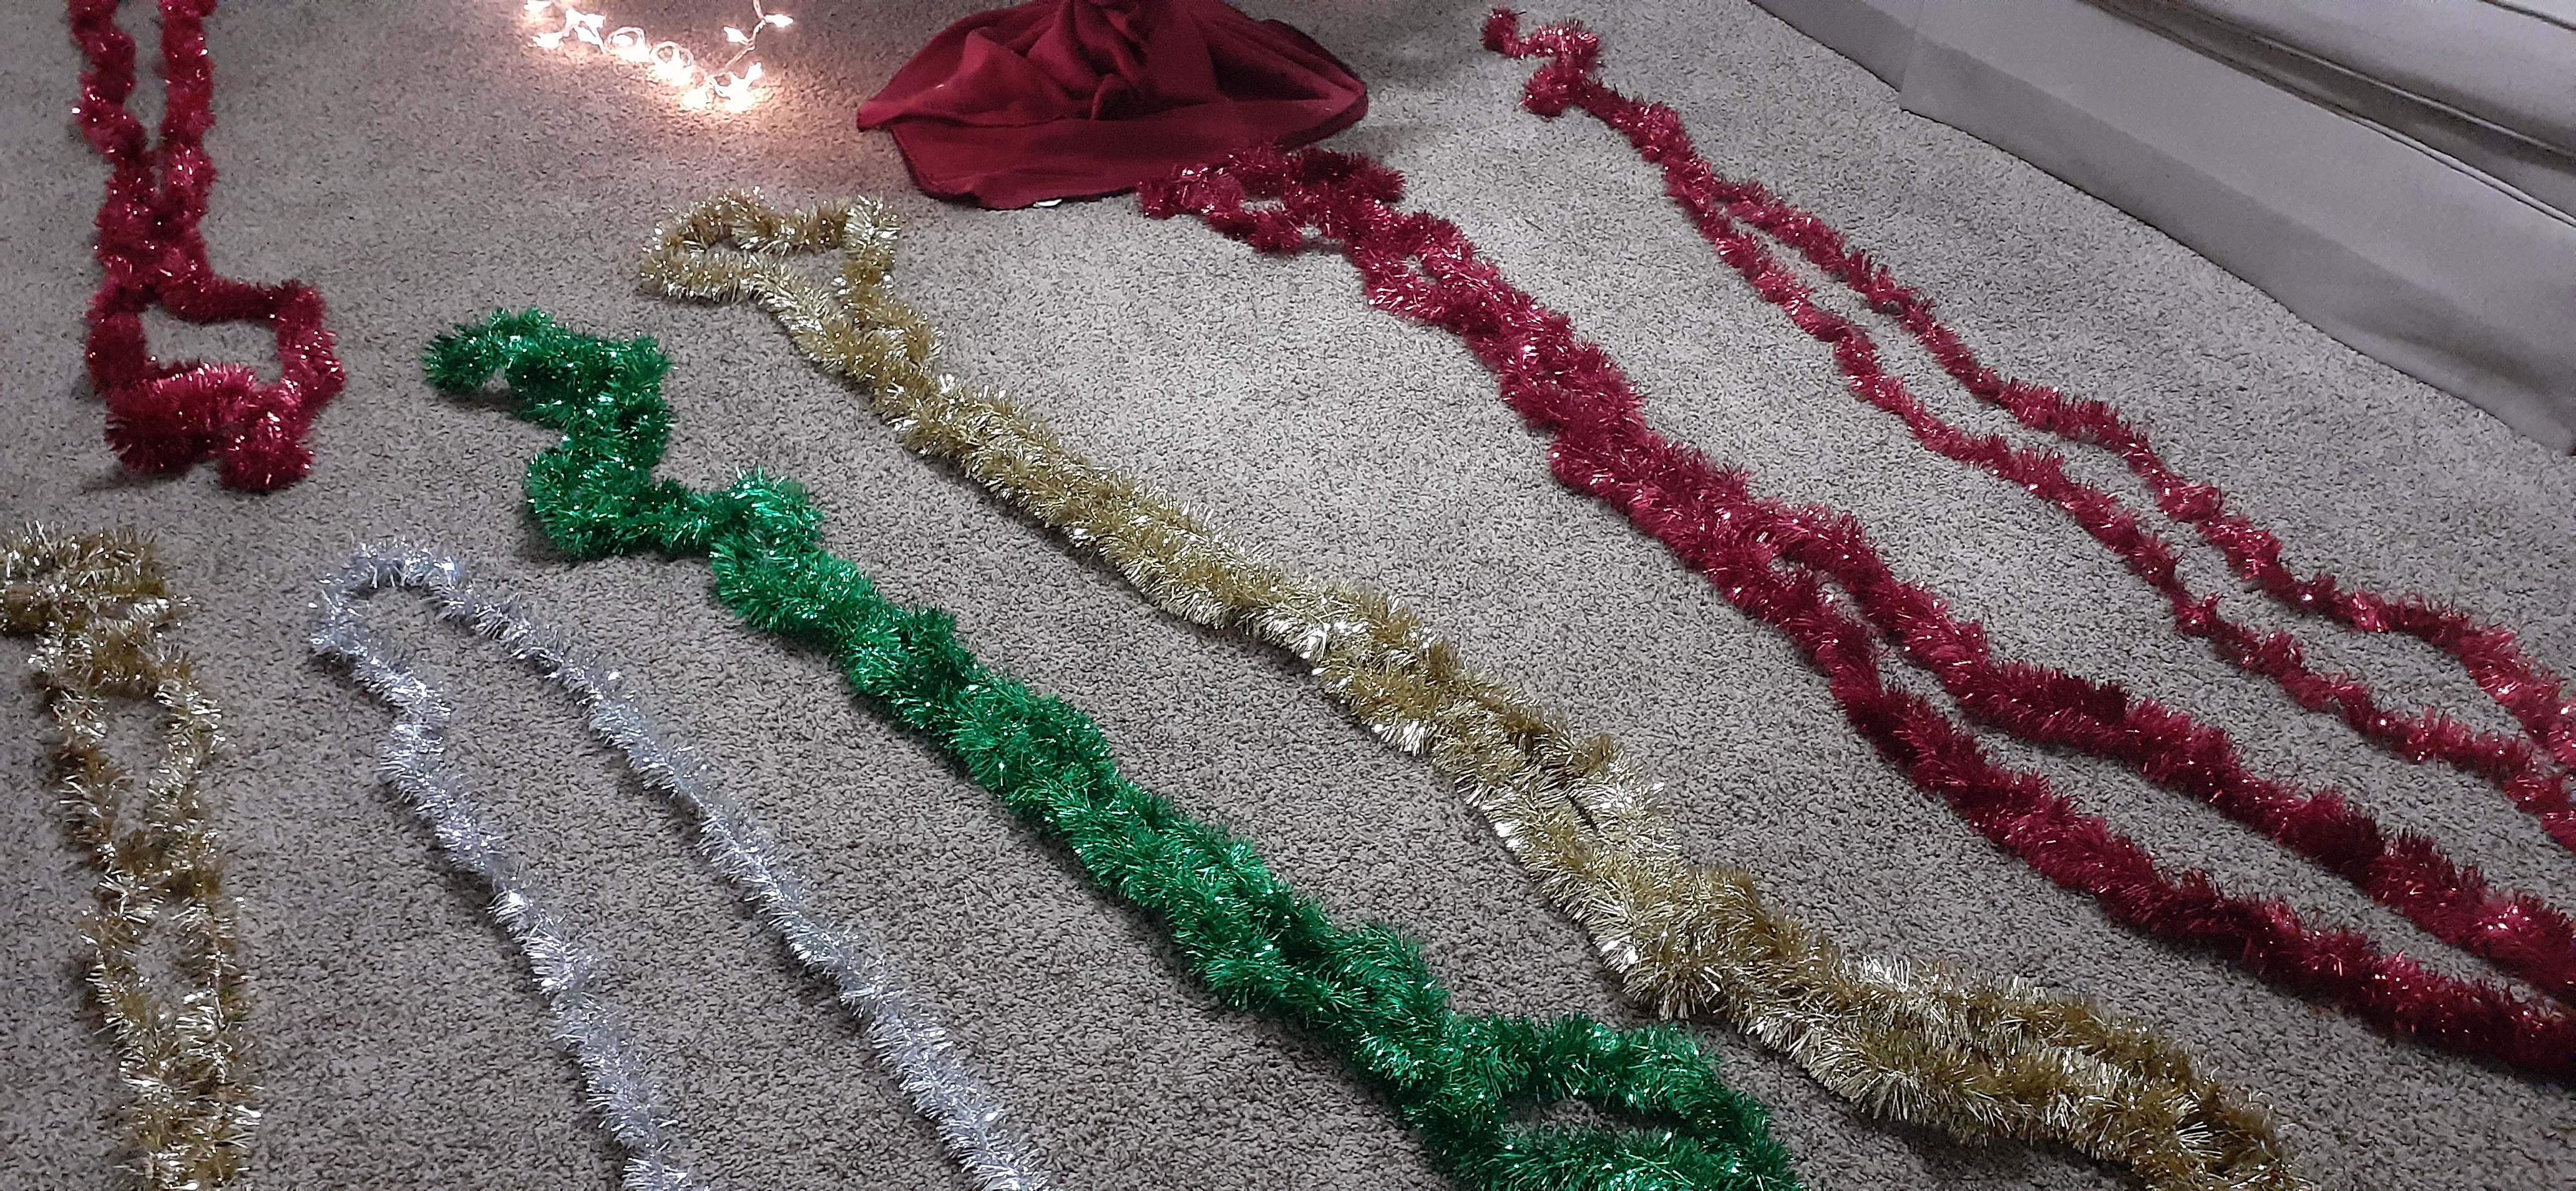
Step 4: Tinsel
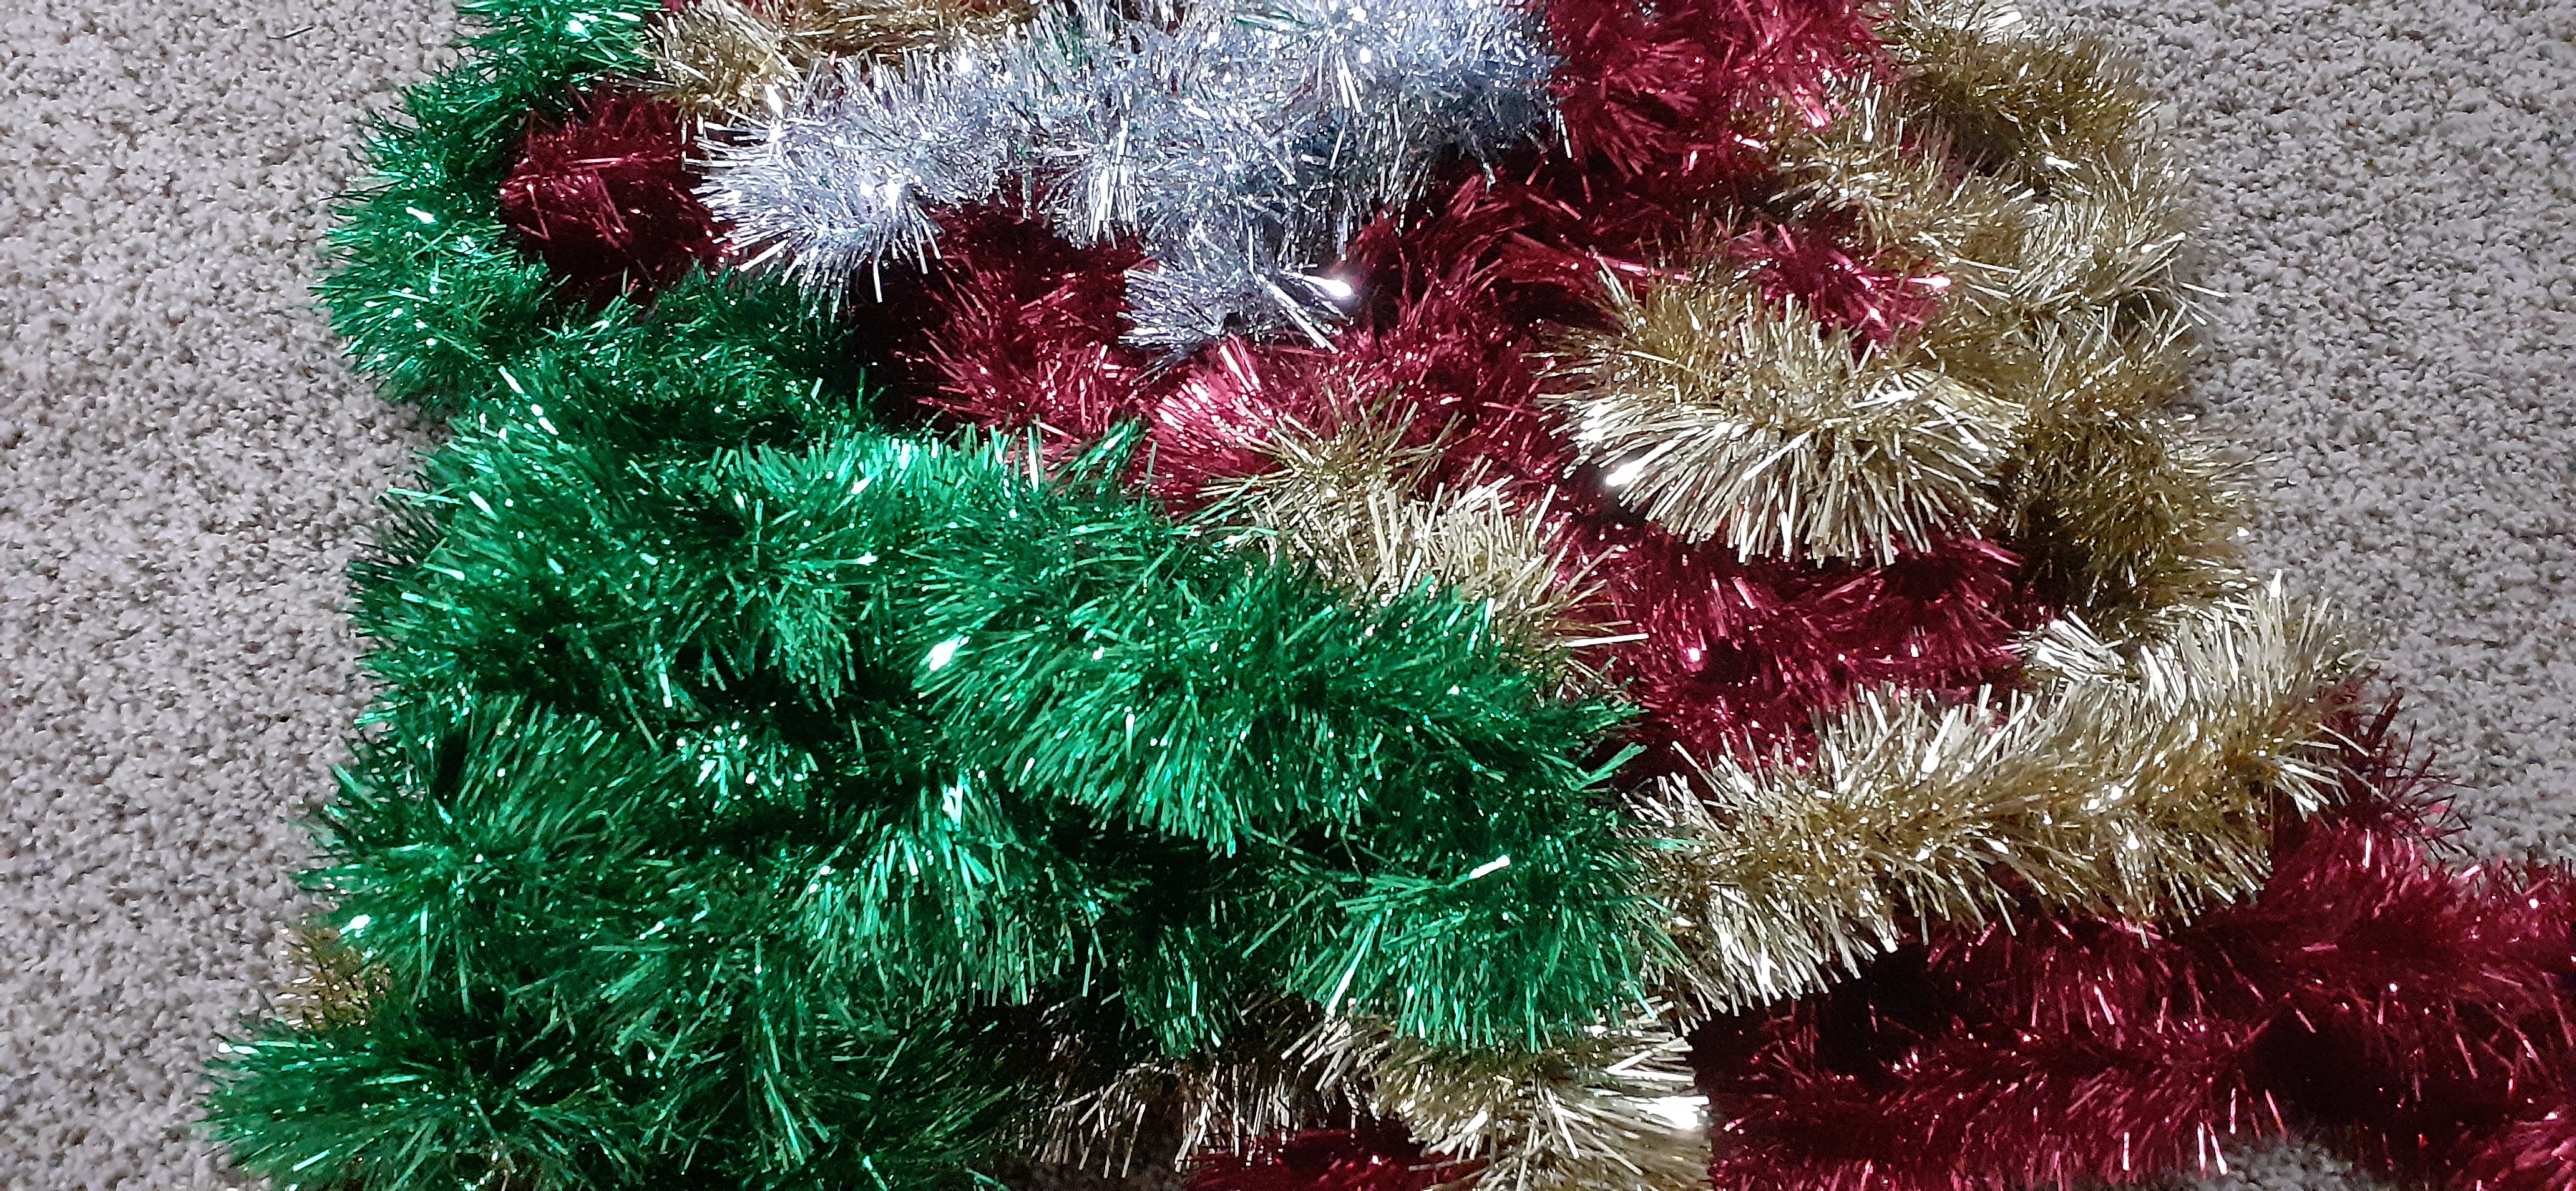
The next decoration to go on the tree is the tinsel. There aren't many rules for putting tinsel on a Christmas tree! You can follow the same sort of wrapping technique you used for the lights, or you can make it up as you go.
Just like Step 3, the first unofficial part of Step 4 will be to untangle the tinsel!
-
Watch your step! You may have to carefully step over the lights on the ground in order to apply the tinsel.
-
Starting at the base of the tree, wrap the tinsel along the branches in whatever pattern you desire! As you go, keep this in mind:
- Too much of one color in the same place doesn't look the best. Make sure to use the different colors together to bring an even variety to the entire tree.
- Don't use all of your tinsel up in one place! You'll want to make sure that the entire tree is covered evenly.
- It may help to vary the depth of the tinsel. Put some towards the center of the tree and some on the very outside. Have fun with it!
-
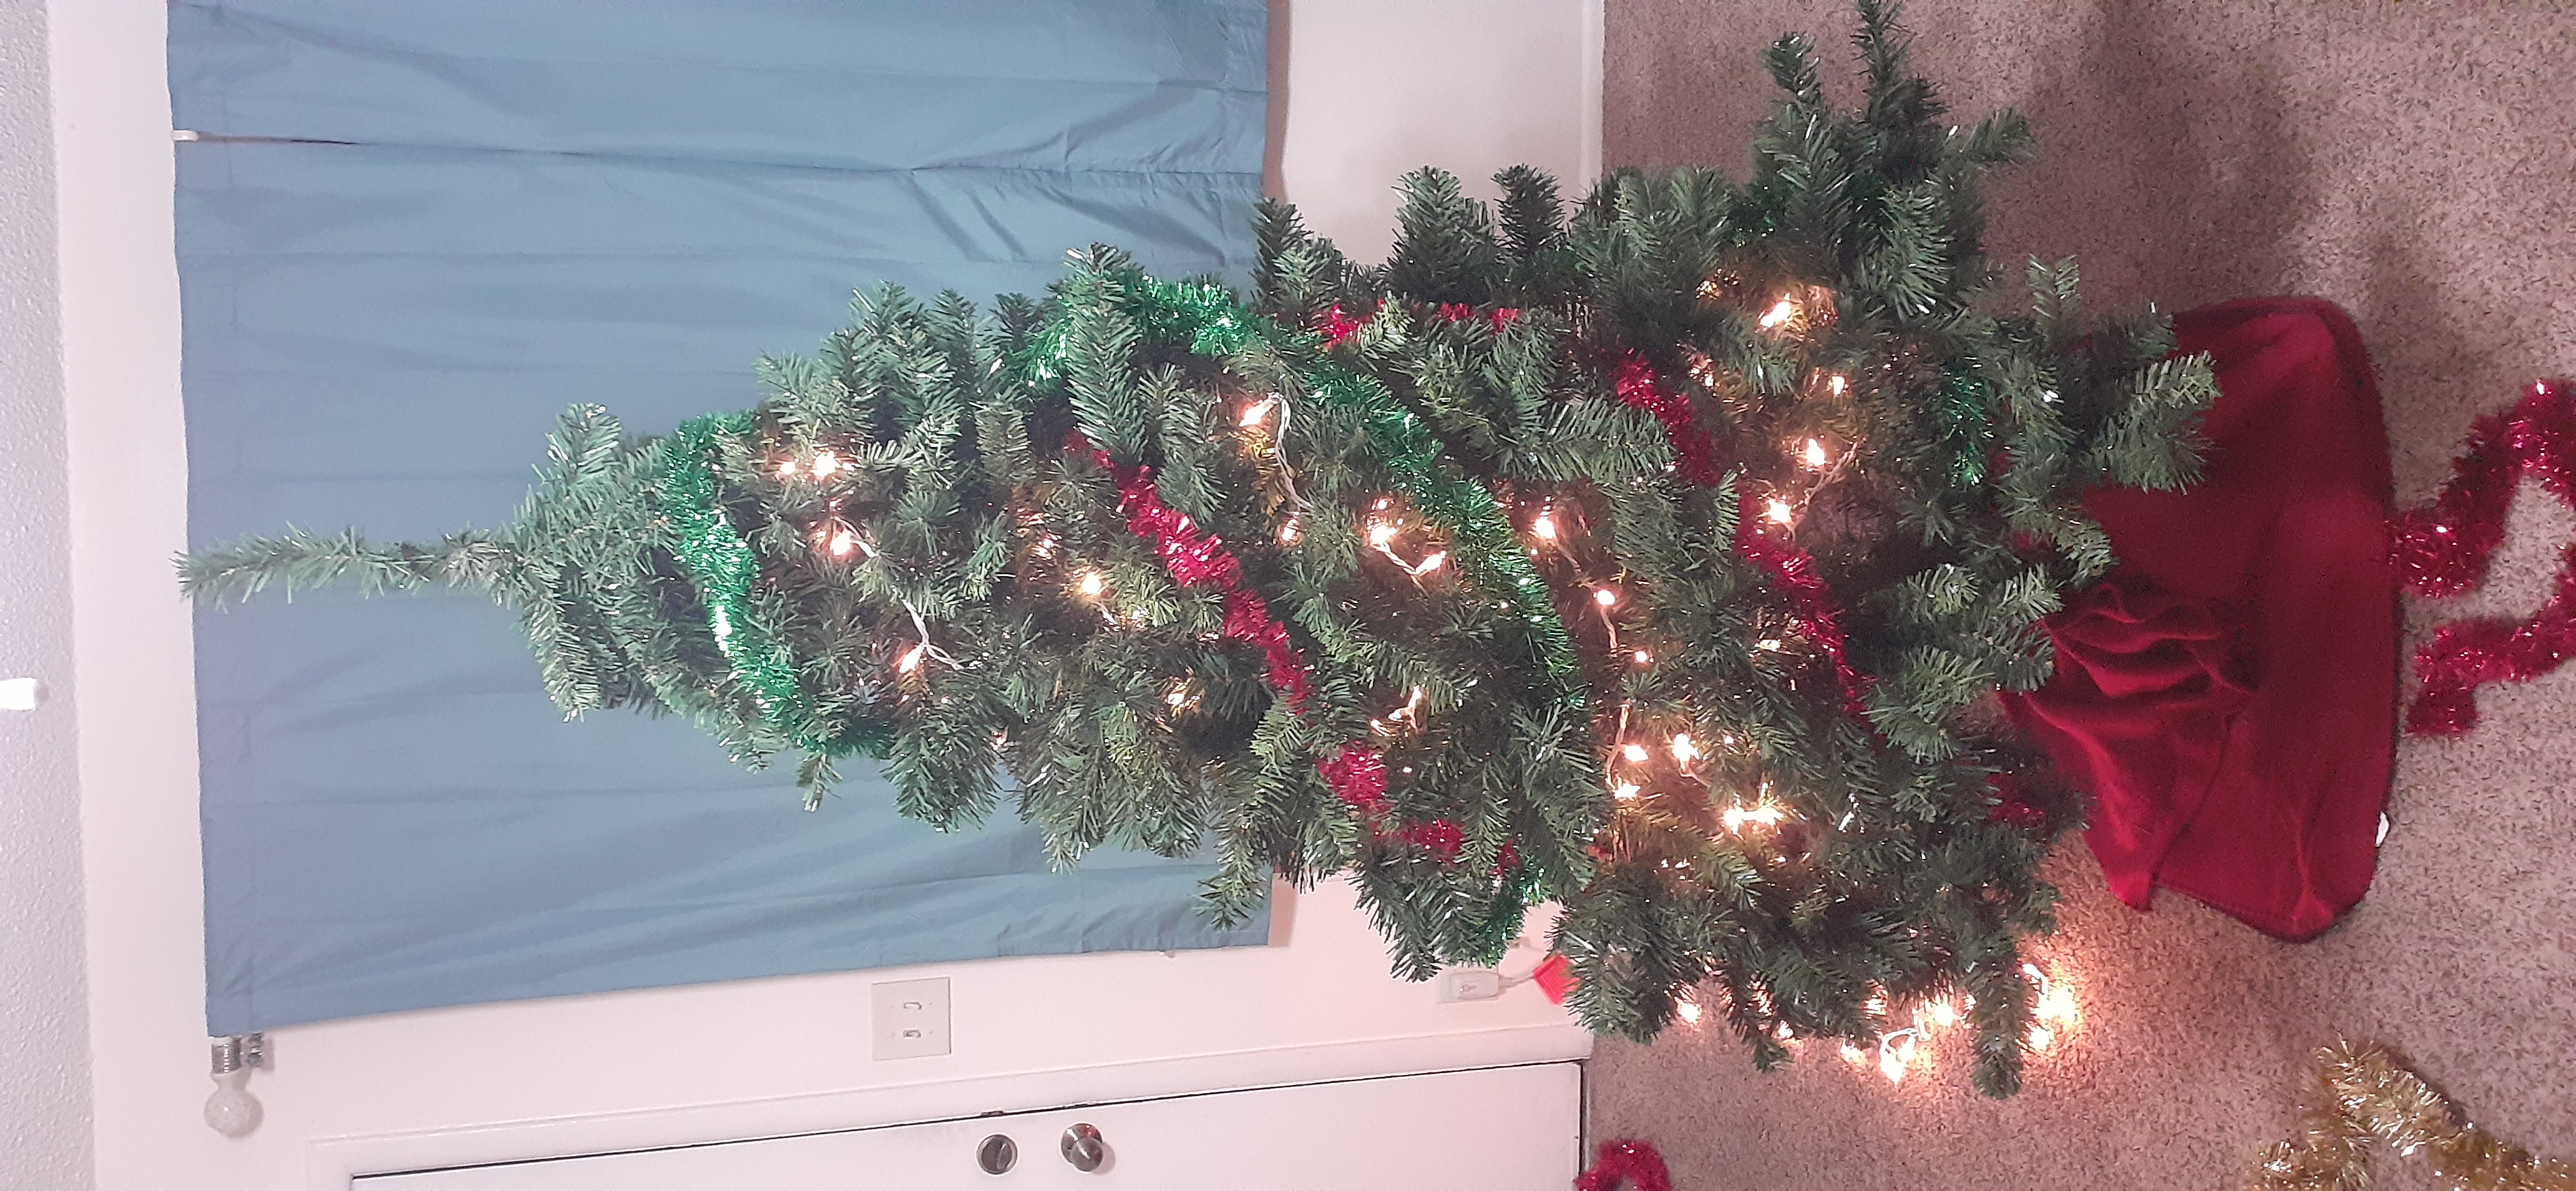
When you are satisfied with your work, or when you run out of tinsel, stand back and admire your work. Then, move on to Step 5!
Step 5: Ornaments
You're finally ready for the ornaments!
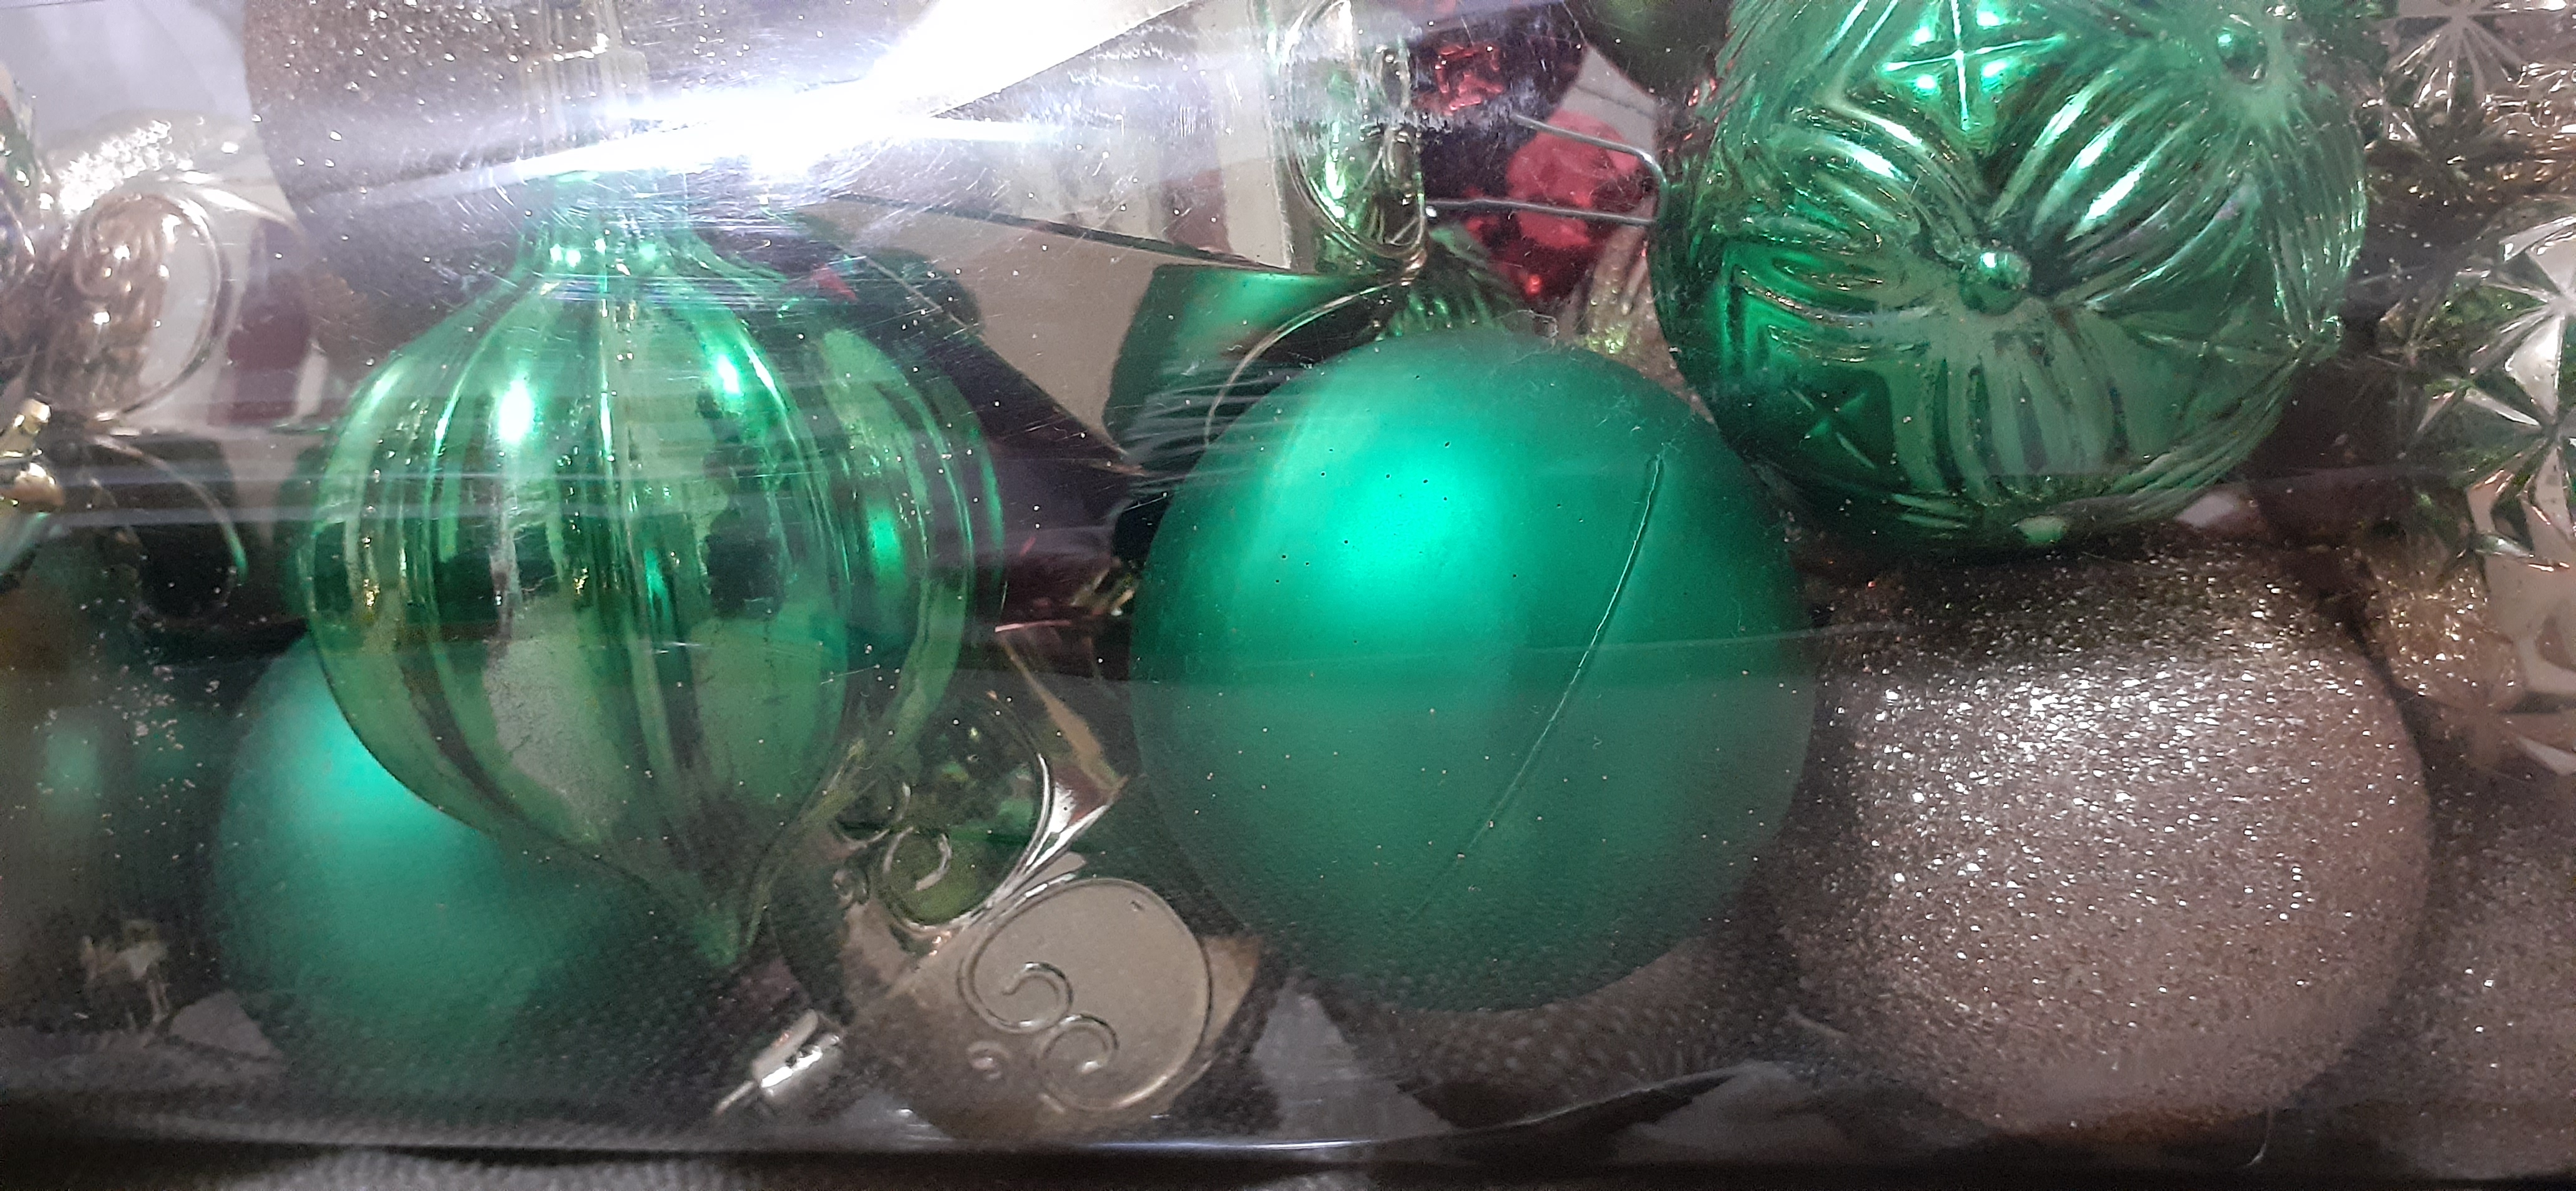
Warning: Christmas tree ornaments are often made of fragile materials. Take extra care when picking them up, hanging them, or setting them down. They may have sharp edges that can cause serious injury. They're also known to the State of California to cause cancer and reproductive harm.
-
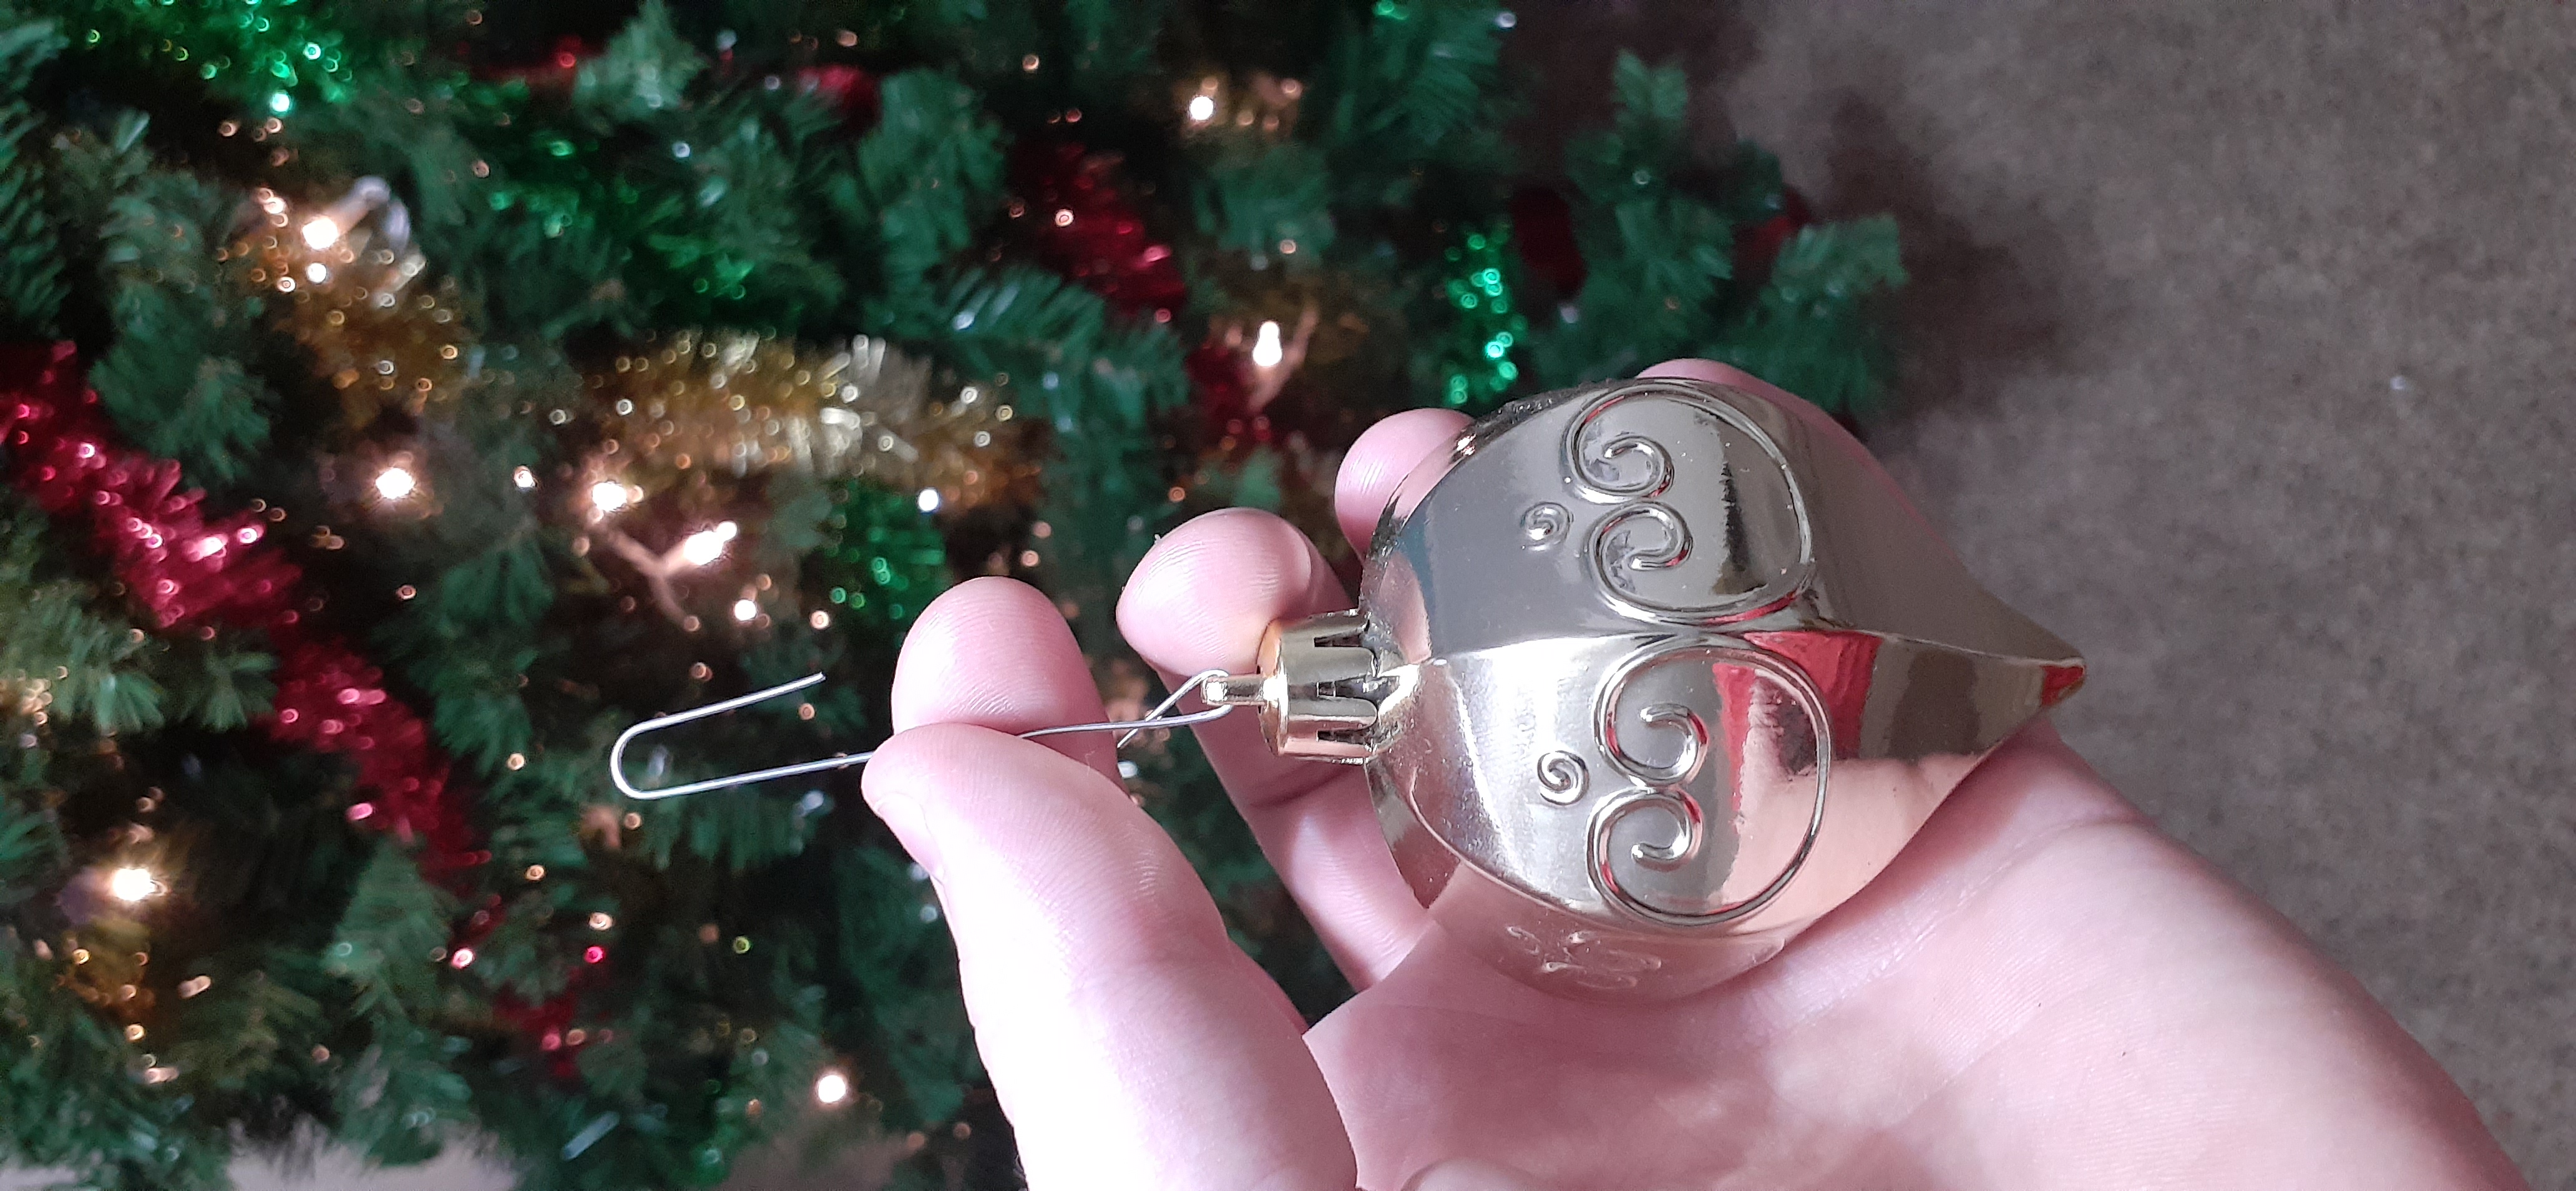
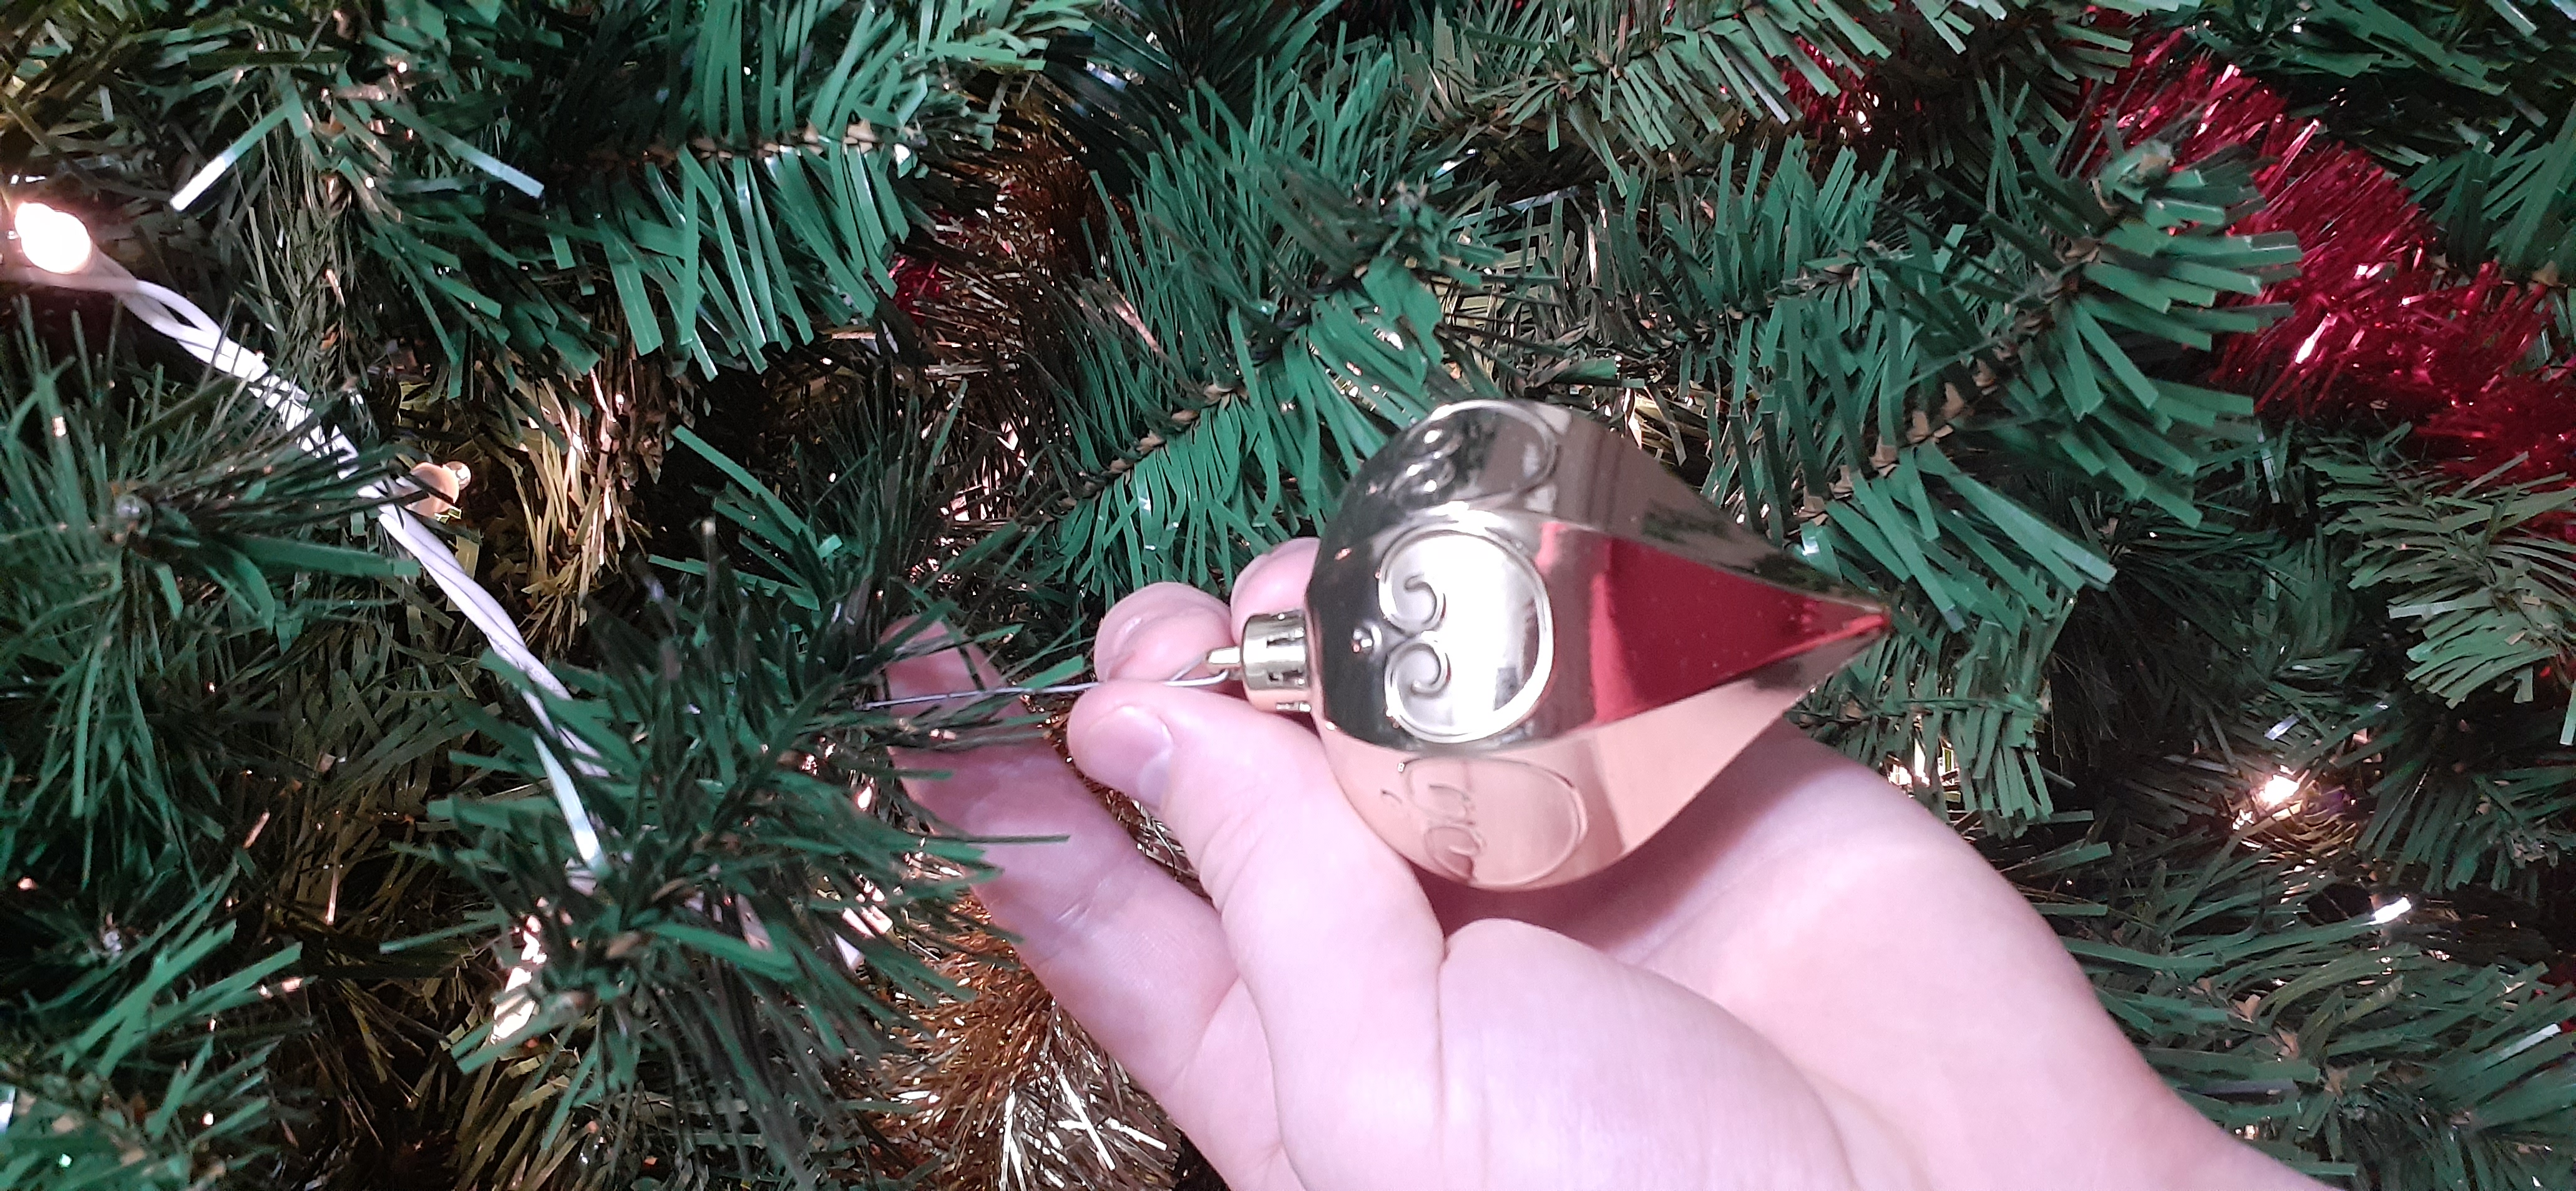
Take the ornaments, one by one, and hook them onto various parts of the tree.
As you go, here are a few tips:
- Too much of one color in the same place doesn't look the best. It is easiest to work with one color at a time, spacing out many ornaments of that color widely around the tree. Then, do the same with your remaining colors, and make sure that no two ornaments of the same color are too close together!
- By placing ornaments at varying depths within the tree (i. e. some near the "trunk" of the tree, others near the tips of the branches), you can make the tree seem very full and voluminous.
- Be careful putting ornaments on the higher parts of the tree. If you cannot reach the higher branches comfortably, ask another person for help!
-
When you are satisfied with your work, or when you run out of ornaments, stand back and admire your work. Then, move on to Step 6!
Step 6: Topper!
Here you are. It's the moment you've been waiting for... the topper!
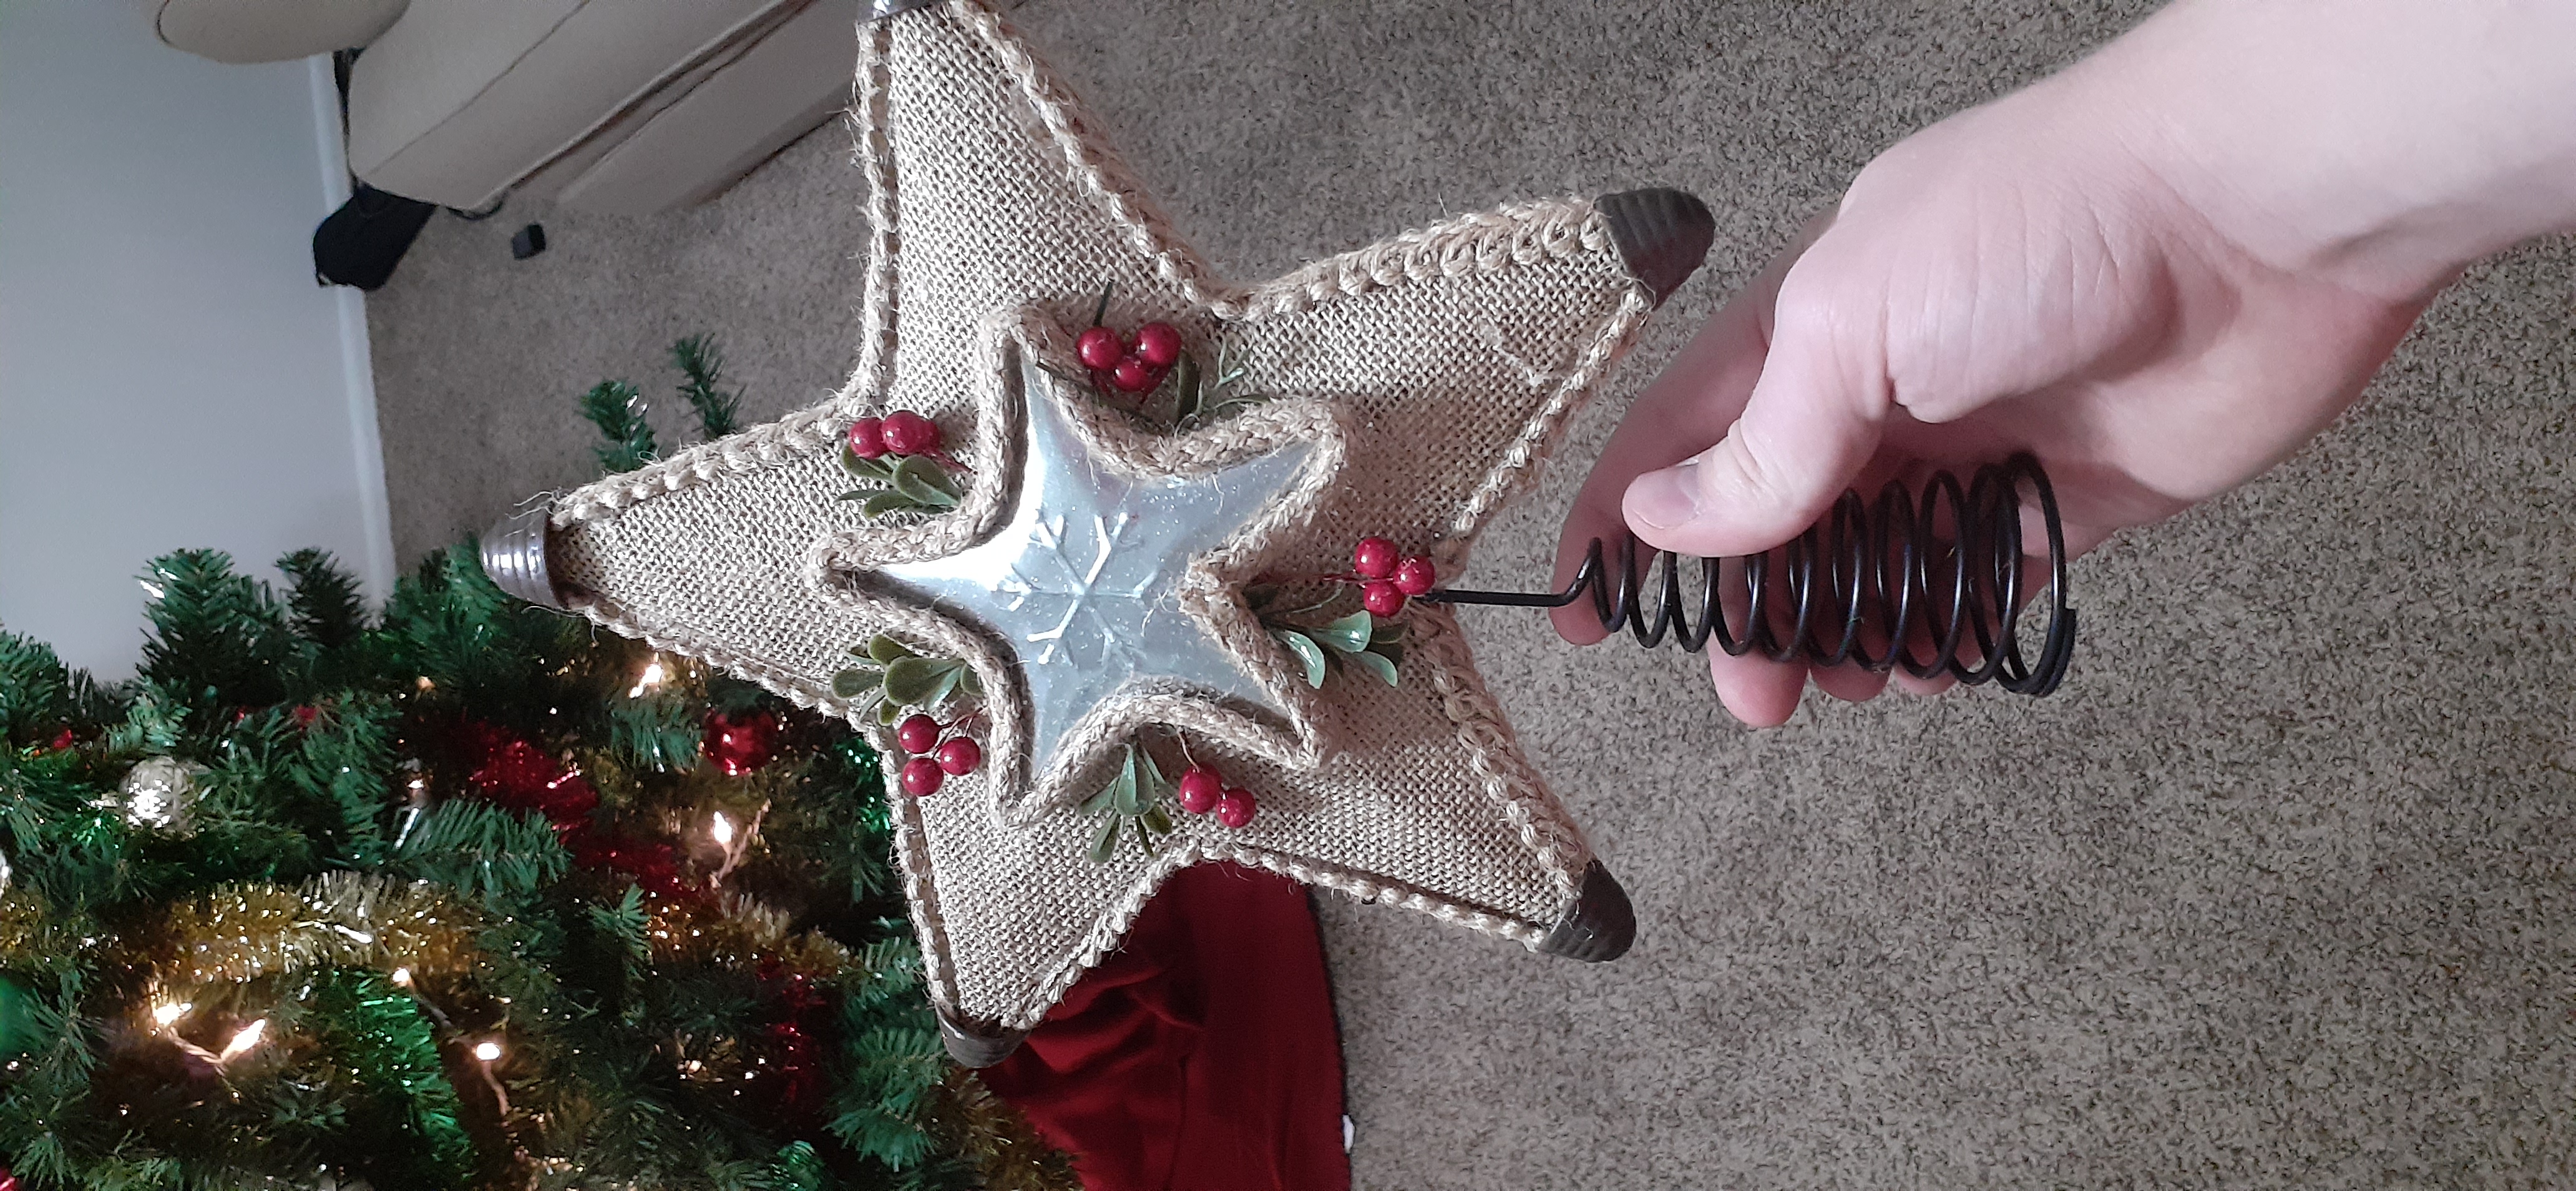
Warning: This topper is heavy enough to cause injury if it is dropped from an adequate height. Be careful as you place it on top of the tree. If you cannot reach the top of the tree on your own, ask another person for help.
-
Place the topper on the highest vertical branch of the tree.
Tip: It may be helpful to twist the top few branches together to provide extra stability for the topper.

And there you have it! Your Christmas tree has been assembled!
Feel free to stand back in awe.
Warnings:
The rate of housefires significantly increases during the holidays because of lighted trees left unattended. Do not leave your tree unattended with the lights plugged in. Do not leave the lights plugged in overnight.
Do not allow children to play on or near your tree. It may fall upon them and cause serious injury or death.
Remember to clear all unused decoration materials out of walkways. Always ask for help when lifting heavy things.